
300 SRT-8 V8-6.1L (2008)
Connecting Rod: Removal and Replacement
Piston and Connecting Rod - Removal
REMOVAL
1. Disconnect negative cable from battery.
2. Remove the following components:
-
Oil pan and gasket/windage tray. See: Engine Lubrication/Oil Pan/Service and Repair/Engine Oil Pan - Removal
-
Cylinder head covers. See: Cylinder Head Assembly/Valve Cover/Service and Repair/Cylinder Head Cover - Removal and See: Cylinder Head
Assembly/Valve Cover/Service and Repair/Cylinder Head Cover - Removal
-
Timing chain cover. See: Timing Components/Timing Cover/Service and Repair/Timing Cover - Removal
-
Cylinder head(s) See: Cylinder Head Assembly/Service and Repair/Removal and Replacement/Cylinder Head - Removal and See: Cylinder
Head Assembly/Service and Repair/Removal and Replacement/Cylinder Head - Removal
3. If necessary, remove top ridge of cylinder bores with a reliable ridge reamer before removing pistons from cylinder block. Be sure to keep tops of
pistons covered during this operation. Pistons and connecting rods must be removed from top of cylinder block. When removing piston and
connecting rod assemblies from the engine, rotate crankshaft so the each connecting rod is centered in cylinder bore.
CAUTION: DO NOT use a number stamp or a punch to mark connecting rods or caps, as damage to connecting rods could occur
NOTE: Connecting rods and bearing caps are not interchangeable and should be marked before removing to ensure correct reassembly.
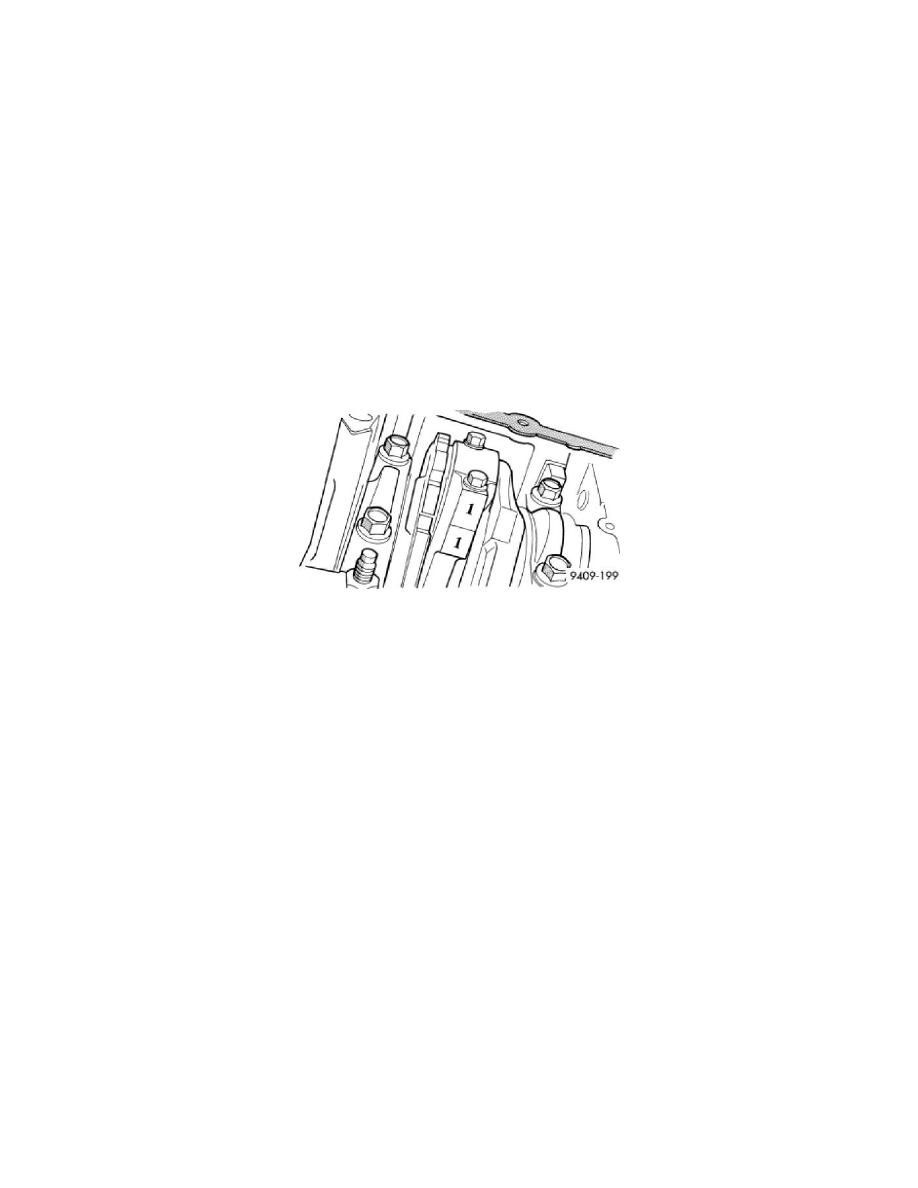
4. Mark connecting rod and bearing cap positions using a permanent ink marker or scribe tool.
CAUTION: Care must be taken not to damage the fractured rod and cap joint face surfaces, as engine damage may occur.