
300 SRT-8 V8-6.1L (2008)
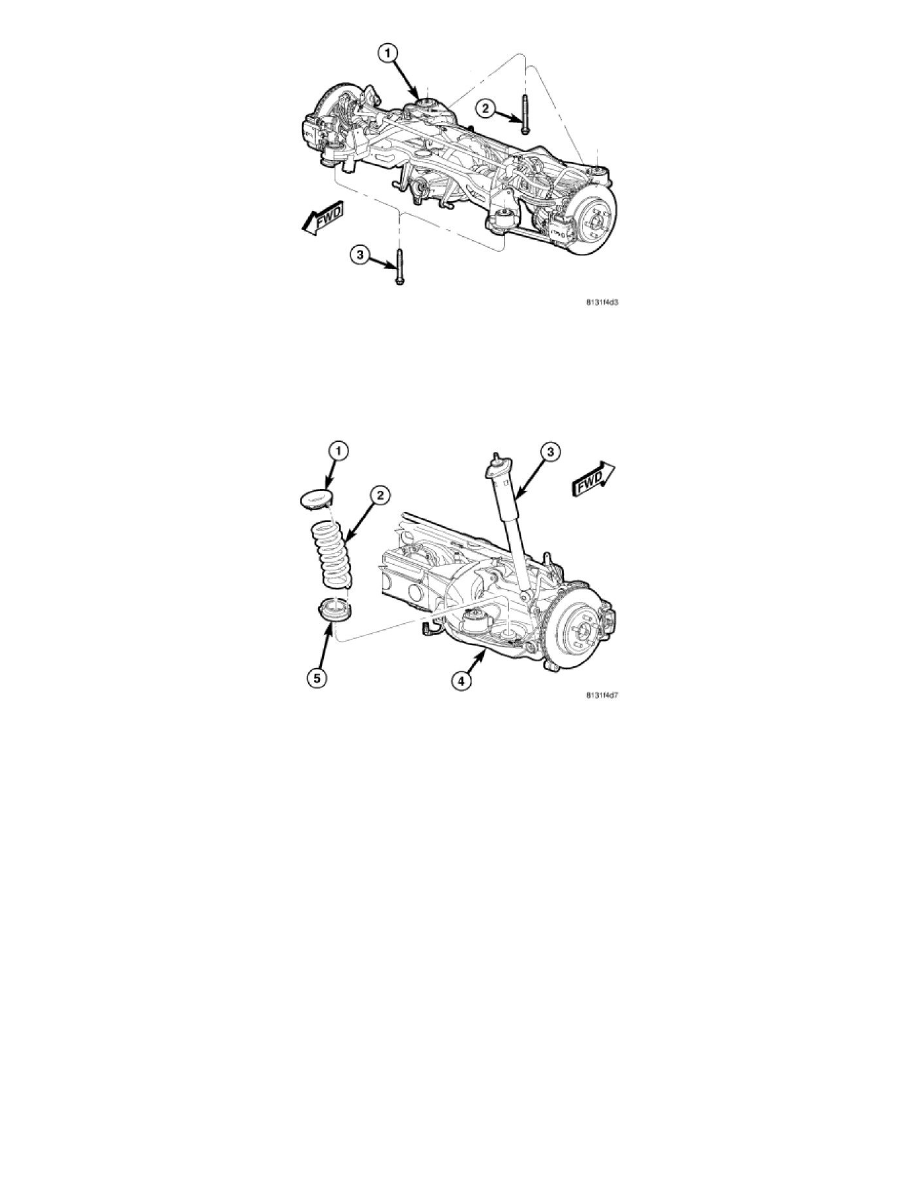
NOTE: There are four crossmember mounting bolts. Rear mounting bolts (2) are longer than front mounting bolts (3). Do not interchange
mounting bolts.
8. Continue to raise crossmember (1) with jack until crossmember mounting bolts (2 and 3) can be installed. Install left side crossmember mounting
bolts, but not the right side bolts. It is not necessary to tighten bolts at this point.
CAUTION: To avoid damaging other components of vehicle, do not lower crossmember any further than necessary to install coil spring (2).
9. Slowly lower jack allowing right side of crossmember to drop. Do not lower jack at a fast rate. Lower jack just enough to allow spring (2)
Installation. Do not lower jack any further than necessary.
NOTE: Before installing coil spring, make sure isolators (1 and 5) are completely installed on ends of spring.
10. Install coil spring (2) with isolators into spring pocket of spring link fitting the lower isolator to the shape of the pocket, then align top of spring
with body mount.