
300 SRT-8 V8-6.1L (2008)
Axle Shaft Assembly: Service and Repair
Half Shaft - Removal
REMOVAL
NOTE: This procedure requires the compression of the rear suspension to ride height. A drive-on hoist should be used. If a drive-on hoist is not
used, screw-style under-hoist jack stands are required to compress the rear suspension, facilitating rear halfshaft removal.
NOTE: Halfshaft inner and outer boots are not serviceable separately. Boot replacement requires entire shaft assembly replacement.
CAUTION: Unequal-length halfshafts are used. The left halfshaft is shorter than the right, and it is necessary to identify and tag halfshafts
upon removal to ensure proper installation.
CAUTION: Never grasp halfshaft assembly by the inner or outer boots. Doing so may cause the boot to pucker or crease, reducing the service
life of the boot and joint. Avoid over angulating or stroking the C/V joints when handling the halfshaft.
1. With vehicle in neutral, position and raise vehicle on hoist.
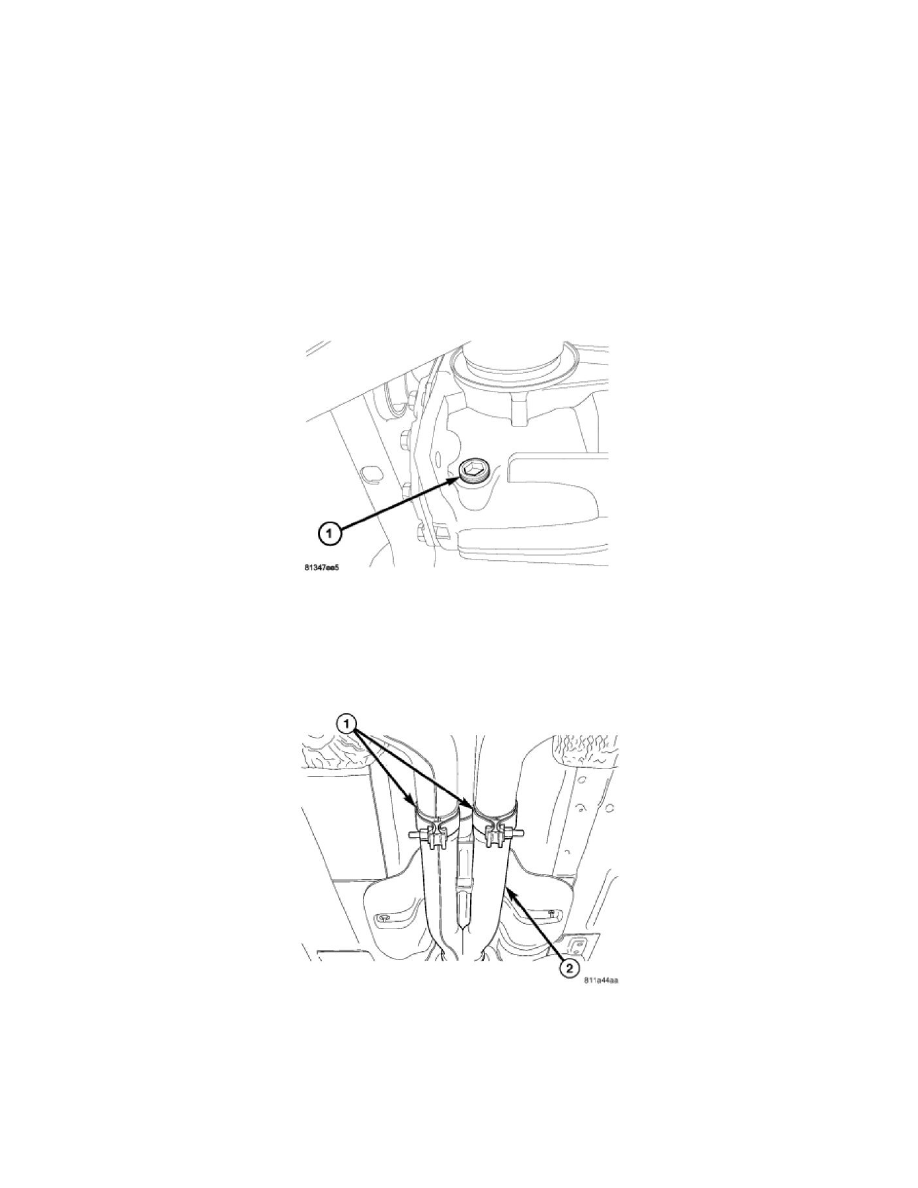
2. Using 14mm hex, remove axle drain plug (1) and drain rear axle fluid into container suitable for fluid reuse.
3. Install drain plug (1) and torque to:
-
198 Axle: 60 Nm (44 ft. lbs.)
-
210 Axle: 50 Nm (37 ft. lbs.)
4. Remove rear exhaust system (2) on V8-equipped models.