
300M V6-3.5L VIN G (2000)
Transmission Controller Mounting
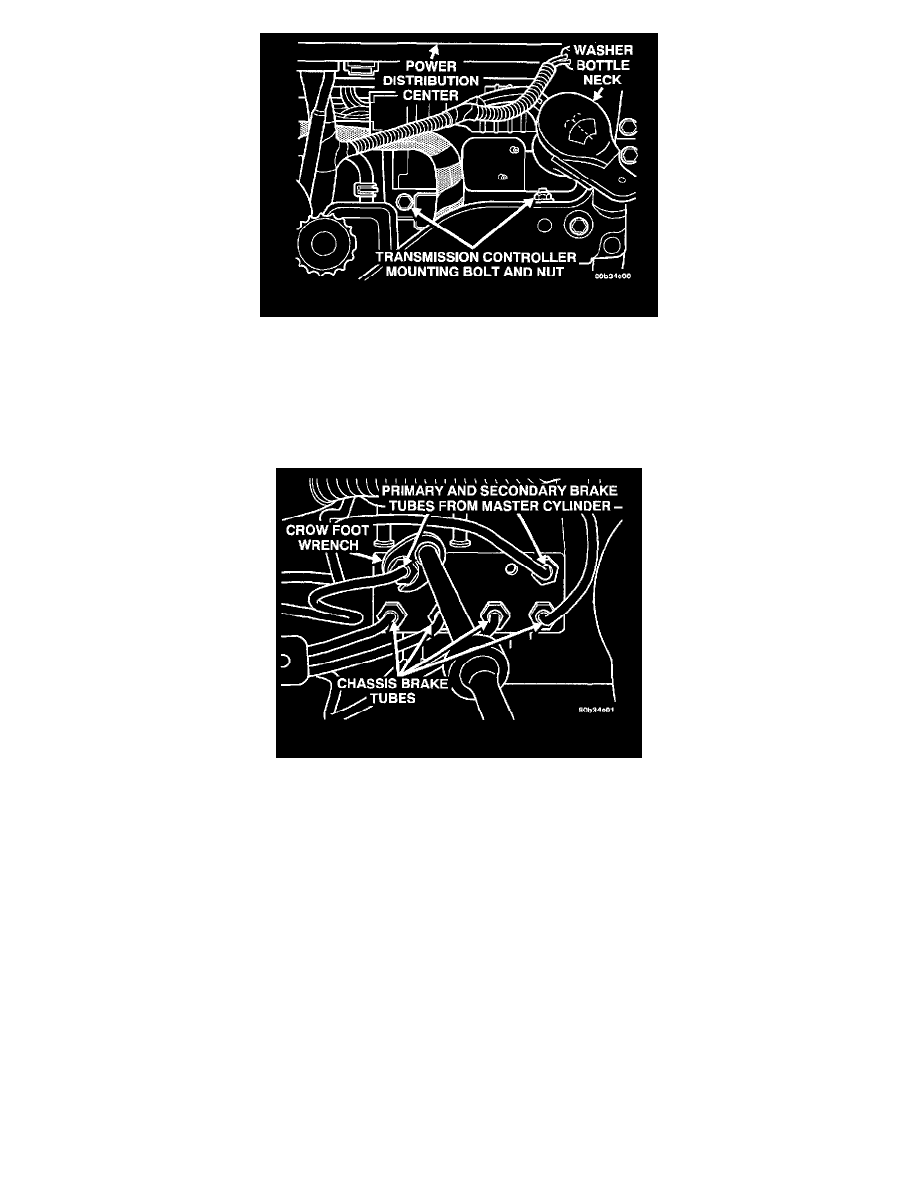
5. Remove the screw attaching the washer bottle filler neck to the vehicle. Move neck to the side without loosening the filler tube.
6. Remove the nut and bolt holding the transmission controller and bracket to vehicle). Lift transmission controller up and move away from mounting
position.
7. Using Mopar, Brake Parts Cleaner or an equivalent, thoroughly clean all surfaces of the HCU. Also, thoroughly clean all brake tube to HCU
connections.
Brake Tube Fittings
8. Remove the primary and secondary brake tubes coming from the master cylinder, at the HCU, using a crow foot wrench.
9. Remove the chassis brake tubes at the HCU, using a crow foot wrench.
CAUTION: Do not apply a 12-volt power source to any terminals of the 25-way HCU connector when disconnected from the CAB.