
300M V6-3.5L VIN G (2000)
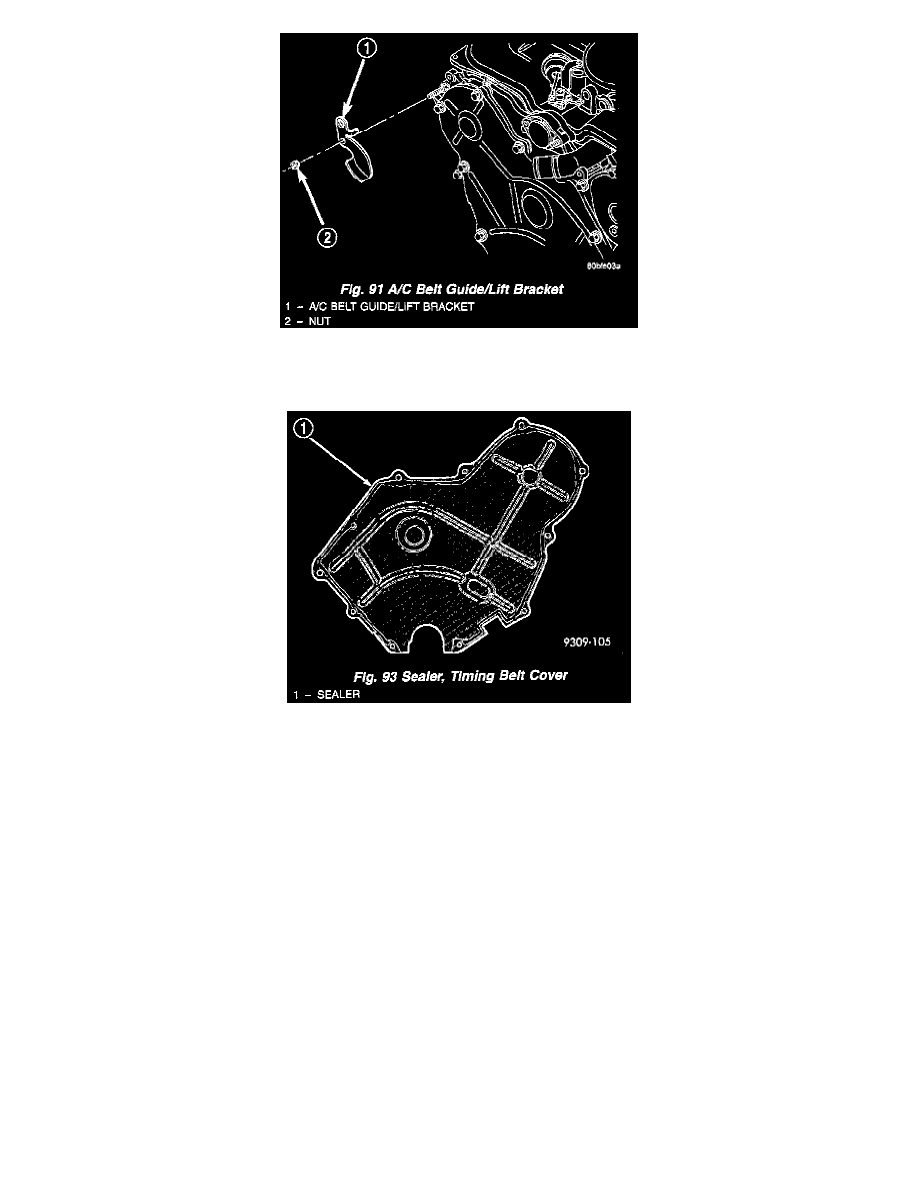
Fig. 91
7. Remove the A/C belt guide/lift bracket (Fig. 91).
Fig. 93
8. Remove the stamped steel cover (Fig. 92). Do not remove the sealer on the cover, it is reusable (Fig. 93). If some sealer is missing use Mopar
Engine RTV GEN II to replace the missing sealer.
9. Remove the left cast cover (Fig. 92).
INSTALLATION
1. Install the left cast cover (Fig. 92) and generator/power steering belt tensioner pulley and bracket.
2. Install the right stamped steel cover (Fig. 92).
3. Install A/C belt guide/lift bracket (Fig. 91).
4. Install the lower cover (Fig. 92).
5. Install the crankshaft damper using Special Tools C-4685-C1 Bolt (5.9 inch) and 6792-1. Install center bolt, and while holding damper with
Special Tool 8191, tighten center bolt to 115 Nm (85 ft. lbs.).
6. Install the cooling fan module, accessory drive belts. Refer to Cooling System for procedures.
7. Install upper radiator crossmember.
8. Connect negative cable to remote jumper terminal.