
300M V6-3.5L VIN G (2000)
Exhaust Manifold: Service and Repair
RIGHT EXHAUST MANIFOLD
REMOVAL
1. Disconnect negative cable from remote jumper terminal.
2. Raise vehicle on hoist.
3. Remove exhaust system.
4. Loosen converter pipe support attaching bolt at transaxle mount.
5. Loosen A/C belt.
6. Lower vehicle.
7. Remove air cleaner housing and air inlet tube.
8. Loosen and remove V-Band clamp at exhaust manifold connector.
NOTE: Do not reuse V-Band clamp.
9. Remove A/C compressor attaching bolts and set compressor aside.
10. Remove engine oil dipstick tube.
11. Remove air conditioning compressor bracket.
12. Disconnect oxygen sensor electrical connector and remove sensor.
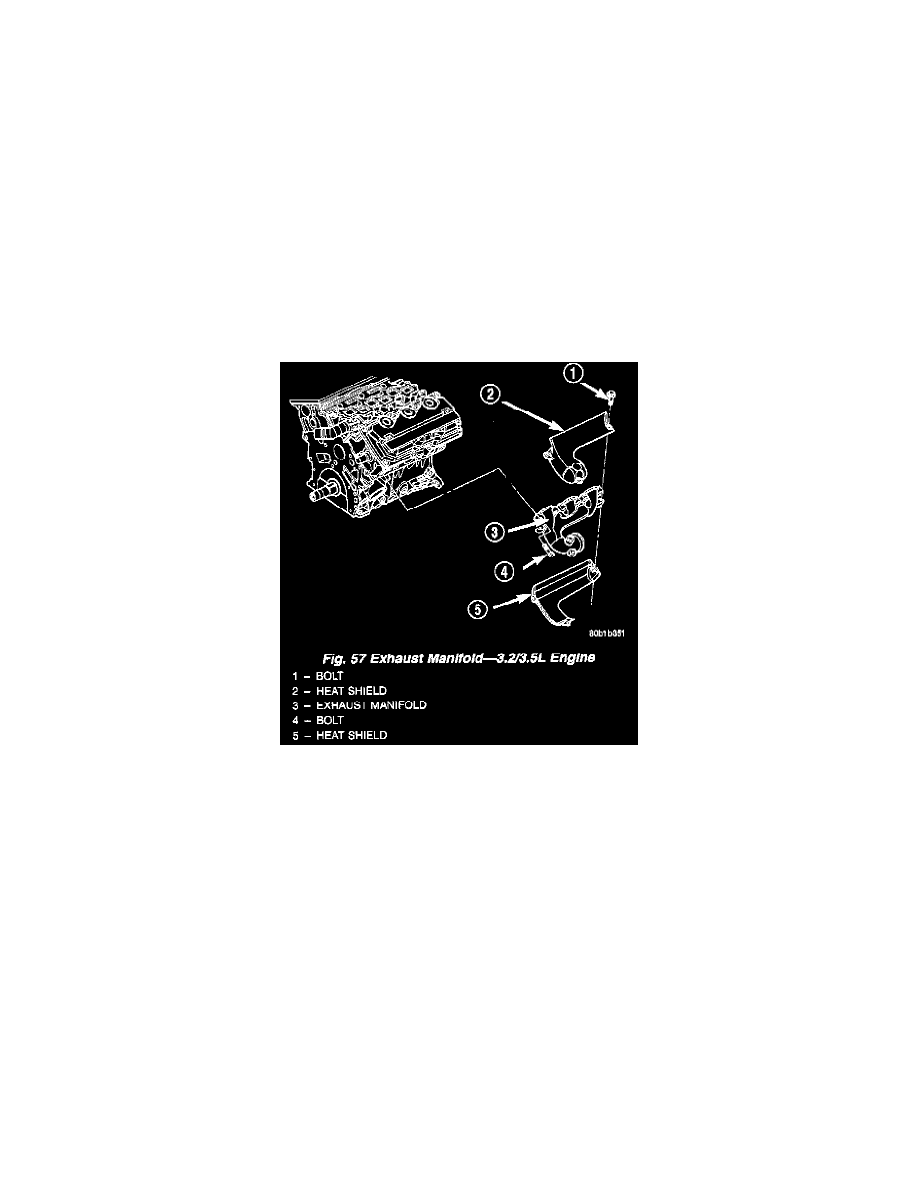
13. Remove heat shield attaching bolts and remove heat shield.
14. Remove exhaust manifold attaching bolts.
15. Remove exhaust manifold.
INSTALLATION
1. Install exhaust manifold. Tighten bolts starting at the center working outward to 23 Nm (200 inch lbs.).
2. Install heat shields and tighten attaching bolts to 12 Nm (106 inch lbs.).
3. Install oxygen sensor to manifold and connect electrical connector.
4. Install air conditioning compressor mounting bracket.
5. Install engine oil dipstick tube.
6. Install air conditioning compressor and drive belt.
7. Install a new V-Band clamp and tighten to 11 Nm (100 inch lbs.).
8. Raise vehicle on hoist.
9. Install exhaust system.
10. Install and/or tighten nut attaching converter pipe support to transaxle mount to 47 Nm (35 ft. lbs.).
11. Lower vehicle.
12. Install air cleaner housing and air inlet tube.
13. Connect negative cable.
LEFT EXHAUST MANIFOLD
REMOVAL
1. Disconnect negative cable from remote jumper terminal.
2. Raise vehicle on hoist.