
300M V6-3.5L VIN G (2000)
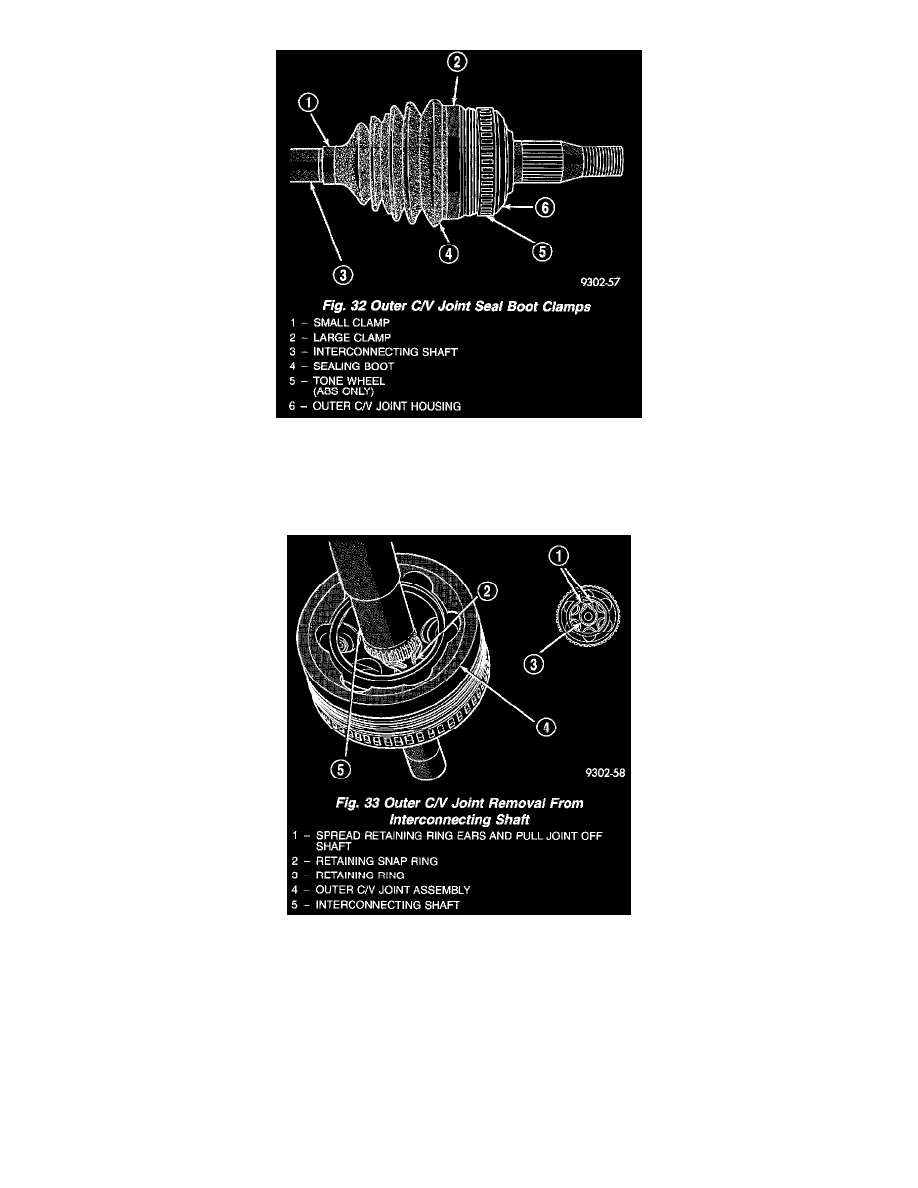
Fig. 32
2. Remove large boot clamp, retaining C/V joint sealing boot, to C/V joint housing (Fig. 32) and discard. Remove small clamp, which retains outer
C/V joint sealing boot to interconnecting shaft and discard. Remove sealing boot from outer C/V joint housing and slide it down interconnecting
shaft.
Fig. 33
3. Wipe away grease to expose outer C/V joint to interconnecting shaft retaining ring. Spread ears apart on C/V joint assembly to interconnecting
shaft retaining snap ring (Fig. 33). Slide outer C/V joint assembly off end of interconnecting shaft.
4. Slide failed sealing boot off interconnecting shaft.
5. Thoroughly clean and inspect outer C/V joint assembly and interconnecting joint for any signs of excessive wear. If any parts show signs of
excessive wear, the driveshaft assembly will require replacement. Component parts of the driveshaft assemblies are not serviceable.
INSTALLATION
1. Slide a new seal boot to interconnecting shaft retaining clamp, onto the interconnecting shaft. Then slide the replacement outer C/V joint assembly
sealing boot onto the interconnecting shaft.