
Aspen 2WD V8-4.7L (2007)
Exhaust Pipe: Removal and Replacement
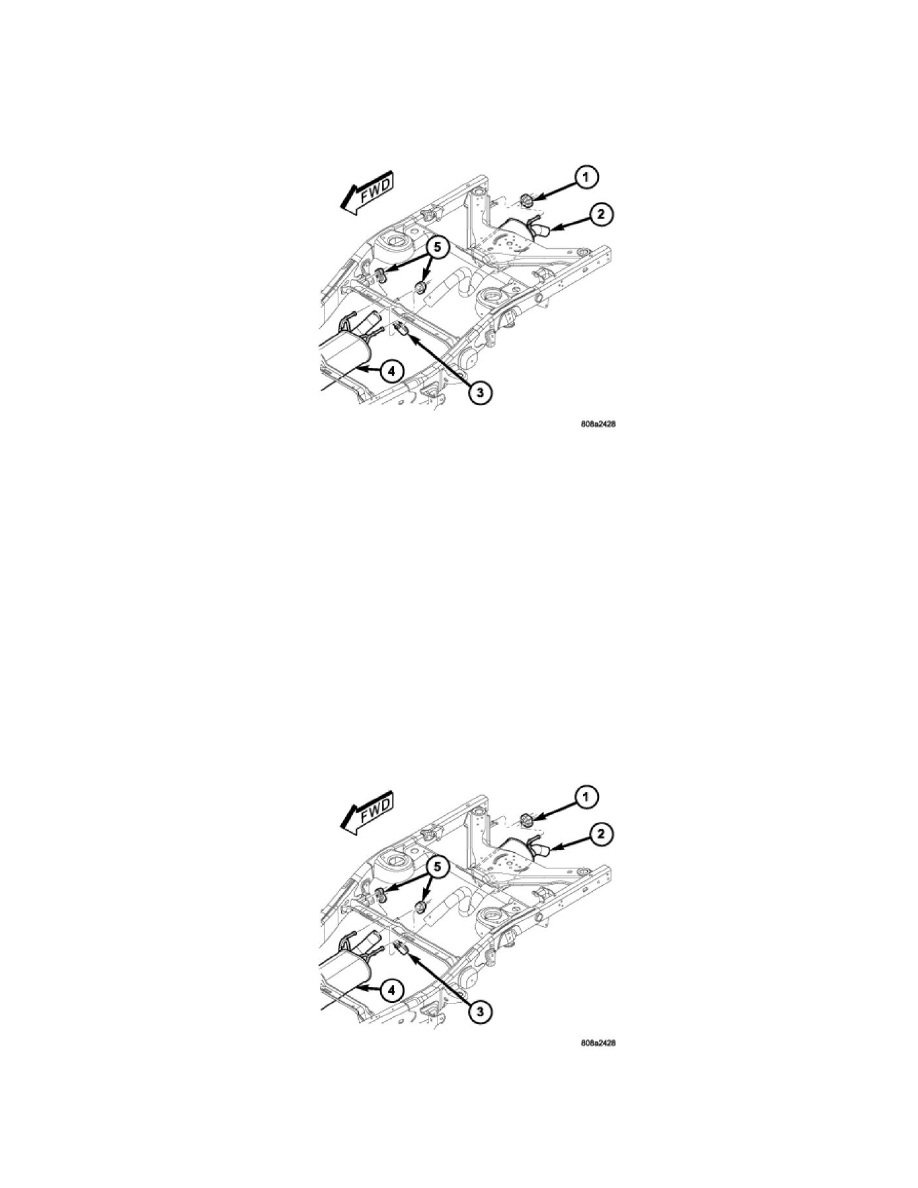
Removal
REMOVAL
WARNING: IF TORCHES ARE USED WHEN WORKING ON THE EXHAUST SYSTEM, WEAR PROTECTIVE EYE COVERING AND
DO NOT ALLOW THE FLAME NEAR THE FUEL LINES.
CAUTION: When servicing or replacing exhaust system components, be sure to disconnect all oxygen sensor connectors. Allowing the exhaust
system to hang by the harness will damage the wiring and/or sensor.
1. Raise and support the vehicle.
2. Saturate the bolts and nuts with Mopar(R) Rust Penetrant. Allow 5 minutes for penetration.
3. Remove the exhaust pipe-to-muffler clamp (3).
4. Grind any tack weld, if present.
5. Remove the exhaust pipe insulators (1).
6. Remove the rear muffler insulators (5) if necessary.
7. If necessary, heat connection with an oxygen/acetylene torch and twist tailpipe out of muffler.
8. Remove the exhaust pipe (2) from the muffler (4).
Installation
INSTALLATION
NOTE: The band clamps are not reusable. After removal, they must be replaced.
1. Remove any burrs from the exhaust pipe (2).
2. Connect the exhaust pipe (2) to the muffler (4).