
Aspen 4WD V8-5.7L Hybrid (2009)
and Repair/Instrument Panel - Removal.
2. Remove the defroster duct See: Defroster Duct - Removal.
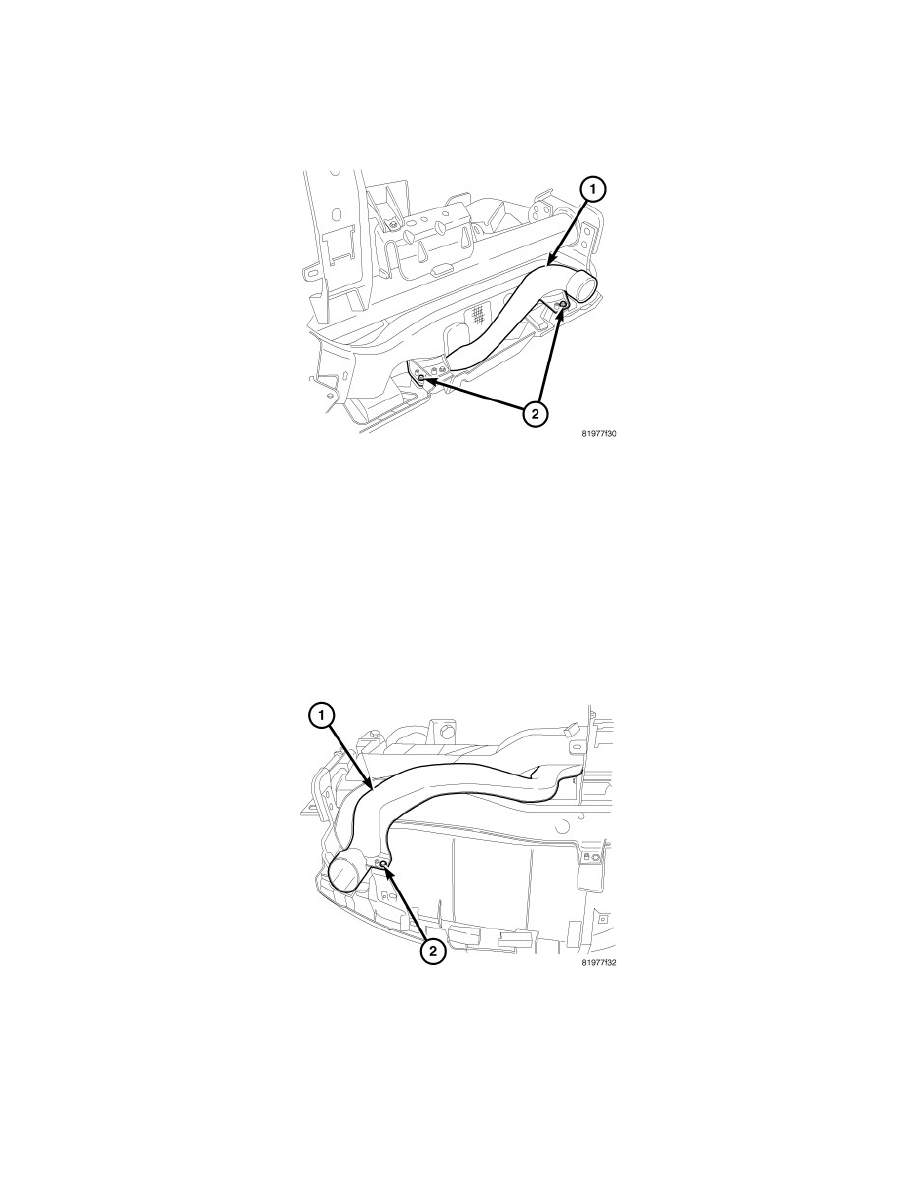
3. Remove the two screws (2) that secure the passenger side inner demister duct (1) to the back of the instrument panel.
4. Disconnect the passenger side inner demister duct from the passenger side outer demister duct (3) and remove the inner duct. Tilt and rotate the
duct as necessary.
PASSENGER SIDE OUTER
1. Remove the instrument panel and place it on a workbench See: Body and Frame/Interior Moulding / Trim/Dashboard / Instrument Panel/Service
and Repair/Instrument Panel - Removal.
2. Remove the instrument panel top cover.
3. Remove the defroster duct See: Defroster Duct - Removal.
4. Remove the passenger side inner demister duct.
5. Remove the two screws (2) that secure the passenger side outer demister duct (1) to the top of the instrument panel.
6. Remove the passenger side outer demister duct from the instrument panel. Tilt and rotate the duct as necessary.
Instrument Panel Demister Duct - Installation
INSTALLATION
DRIVER SIDE
1. Position the driver side demister duct (1) to the instrument panel. Tilt and rotate the duct as necessary.
2. Install the one screw (2) that secures the driver side demister duct to the top of the instrument panel. Tighten the screw to 2 Nm (17 in. lbs.).