
Aspen 4WD V8-5.7L Hybrid (2009)
Drive Motor Power Relay: Service and Repair
High Voltage Positive Contactor - Installation
INSTALLATION
WARNING: On vehicles equipped with the high voltage system, you must thoroughly read and follow all High Voltage Safety procedures. In
addition, before performing any diagnostic or service procedure near a high voltage component, you must perform the High
Voltage Power Down. Failure to follow these instructions may result in possible serious or fatal injury See: Battery System, Hybrid
Drive/Service Precautions
WARNING: Once the battery cover is removed from the battery, high voltage is still present in the system even with the service disconnect
removed. When performing any diagnostic or service procedures, use extreme care with tools and other test equipment around
unisolated terminals and wires. Failure to take proper precaution could result in serious or fatal injury.
1. Install the pre-contactor, pre-charge resistor, and pre-charge relay assembly.
2. Install the three mounting nuts. Tighten to 6 Nm (53 in. lbs.)
3. Connect the wire harnesses to the pre-charge relay and the positive contactor.
4. Install the harness into the harness clip.
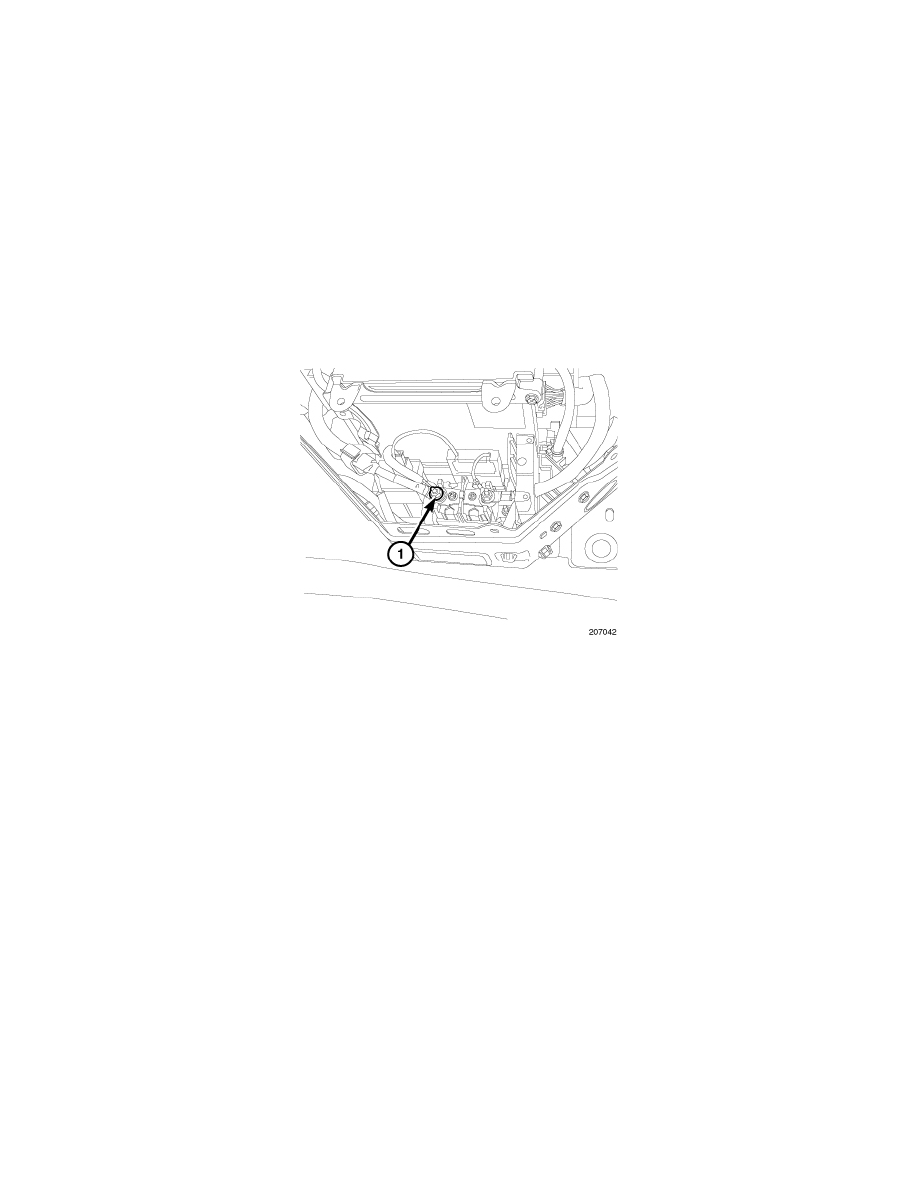
5. Install the contactor terminal nut (1). Tighten to 3.4 Nm (30 in. lbs.)
6. Install the current sensor See: Battery System, Hybrid Drive/Battery Current Sensor/Service and Repair/High Voltage Current Sensor - Installation
.
7. Install the high voltage battery cover See: Battery System, Hybrid Drive/Hybrid Battery Cover/Service and Repair/High Voltage Battery Cover -
Installation.
8. Perform the high voltage power up procedure . See: Battery System, Hybrid Drive/Service and Repair/Battery System - High Voltage Power Up