
Cirrus V6-2.5L VIN H (1995)
Evaporator Core: Service and Repair
NOTE: The Heater A/C housing must be removed from the vehicle when replacing the evaporator. For Heater A/C Housing removal procedures,
please refer to Airflow Control Box/Service and Repair. See: Housing Assembly HVAC/Service and Repair
1. Remove evaporator case as described under "Evaporator Case, Replace".
2. Remove recirculation door inlet cover.
3. Remove evaporator temperature probe.
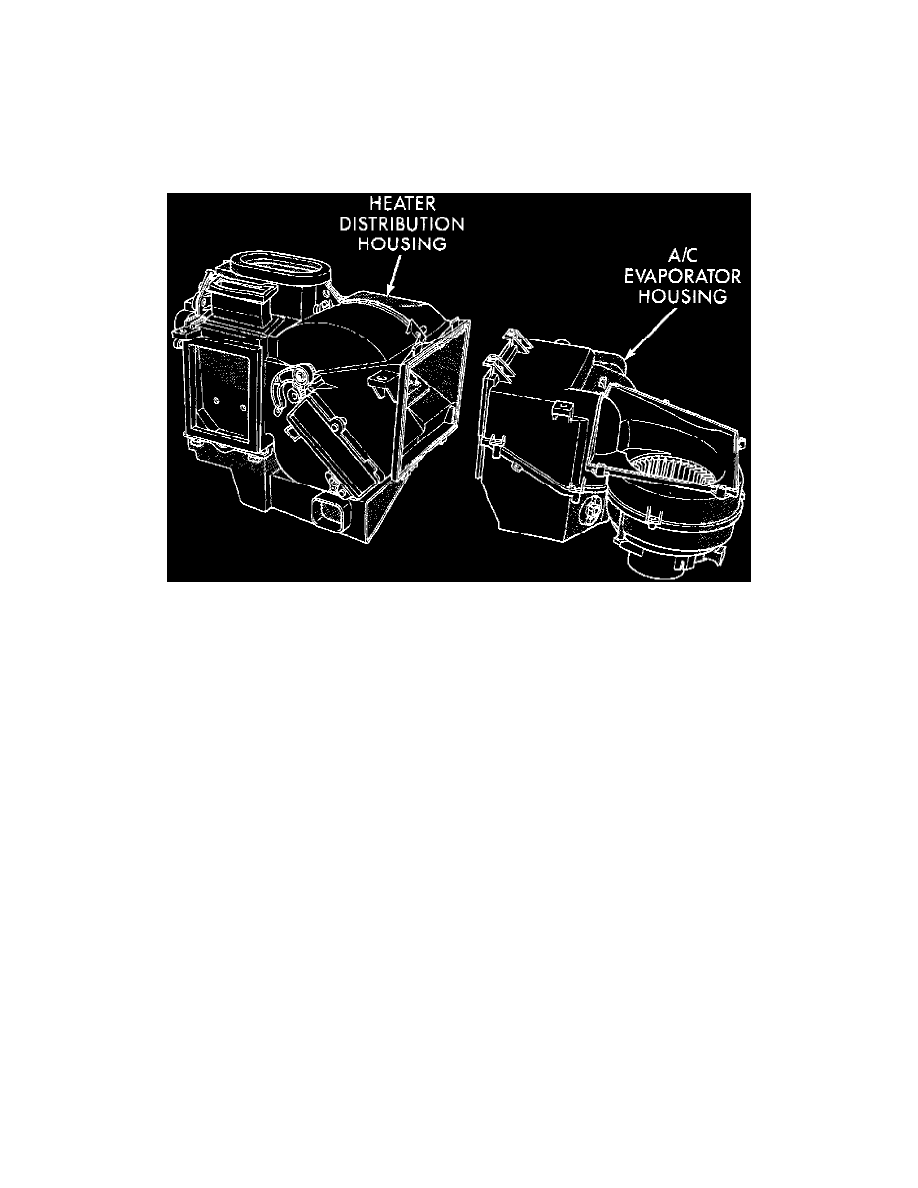
4. Remove clips retaining evaporator housing to heater/distribution housing.
Fig. 1 A/C & Heater Housing Unit
5. Separate evaporator housing from heater/distribution housing.
6. Remove seal around evaporator tube inlet.
7. Remove evaporator housing upper cover.
8. Lift evaporator out of lower housing.
9. Remove foam seal around evaporator.
10. Transfer evaporator sensor. Place the evaporator sensor in the same location as on the previous evaporator.
11. Reverse procedure to install.
NOTE: When charging system -- after replacing Evaporator -- add 59 ml (2.00 oz) SP10 PAG (polyalkalene glycol) refrigerant oil or equivalent.