
Concorde V6-2.7L VIN R (1998)
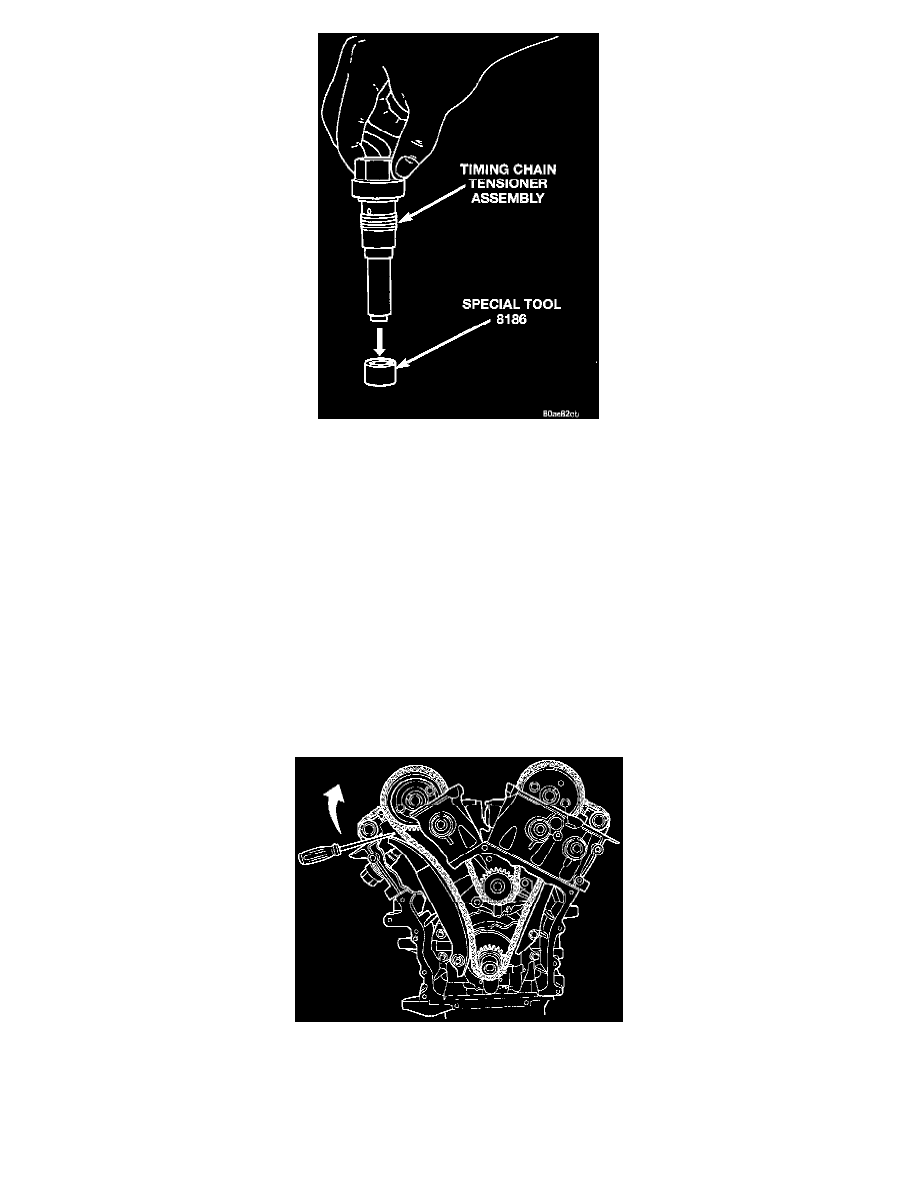
Figure 58 Timing Chain Tensioner Resetting
e. Position cylinder plunger into the deeper end of Special Tool 8186.
f.
Apply a downward force until tensioner is reset.
NOTE: If oil was not first purged from the tensioner, use slight finger pressure to assist the center arm of Special Tool 8186 to unseat the
tensioners check ball.
CAUTION: Ensure that the tensioner is properly reset. The tensioner body must be bottom against the top edge of Special Tool 8186. Failure to
properly perform resetting procedure may cause tensioner jamming.
13. Install chain tensioner into the right cylinder head.
14. Starting at the right cylinder bank, insert a 3/8" square drive extension with a breaker bar into intake camshaft drive hub. Rotate camshaft until the
camshaft hub aligns to the camshaft sprocket and damper attaching holes. Install the sprocket attaching bolts and tighten to 28 Nm (250 inch lbs.).
15. Turn the left side camshaft by inserting a 3/8" square drive extension with a breaker bar into intake camshaft drive hub and rotate camshaft until
the sprocket attaching bolts can be installed. Tighten sprocket bolts to 28 Nm (250 inch lbs.).
16. Rotate engine slightly clockwise to remove timing chain slack, if necessary.
Figure 59-Timing Chain Tensioner Arming
17. To arm the timing chain tensioner: Use a flat bladed pry tool to gently pry tensioner arm towards the tensioner slightly. Then, release the tensioner
arm. Verify the tensioner is armed (extends).
18. Install the timing chain cover, crankshaft damper, and cylinder head covers.
19. Install camshaft position sensor and connect electrical connector.