
Concorde V6-201 3.3L VIN T FI (1993)
^
Second - All to 88 Nm (65 ft.lbs.)
^
Third - All (again) to 88 Nm (65 ft.lbs.)
^
Fourth + 1/4 Turn Do not use a torque wrench for this step.
NOTE: Bolt torque after 1/4 turn should be over 122 Nm (90 ft.lbs.). If not, replace the bolt.
6. Tighten head bolt number 9 Fig. 34 to 33 Nm (25 ft.lbs.) after head bolts 1 thorough 8 have been tighten to specifications.
7. Inspect push rods and replace worn or bent rods.
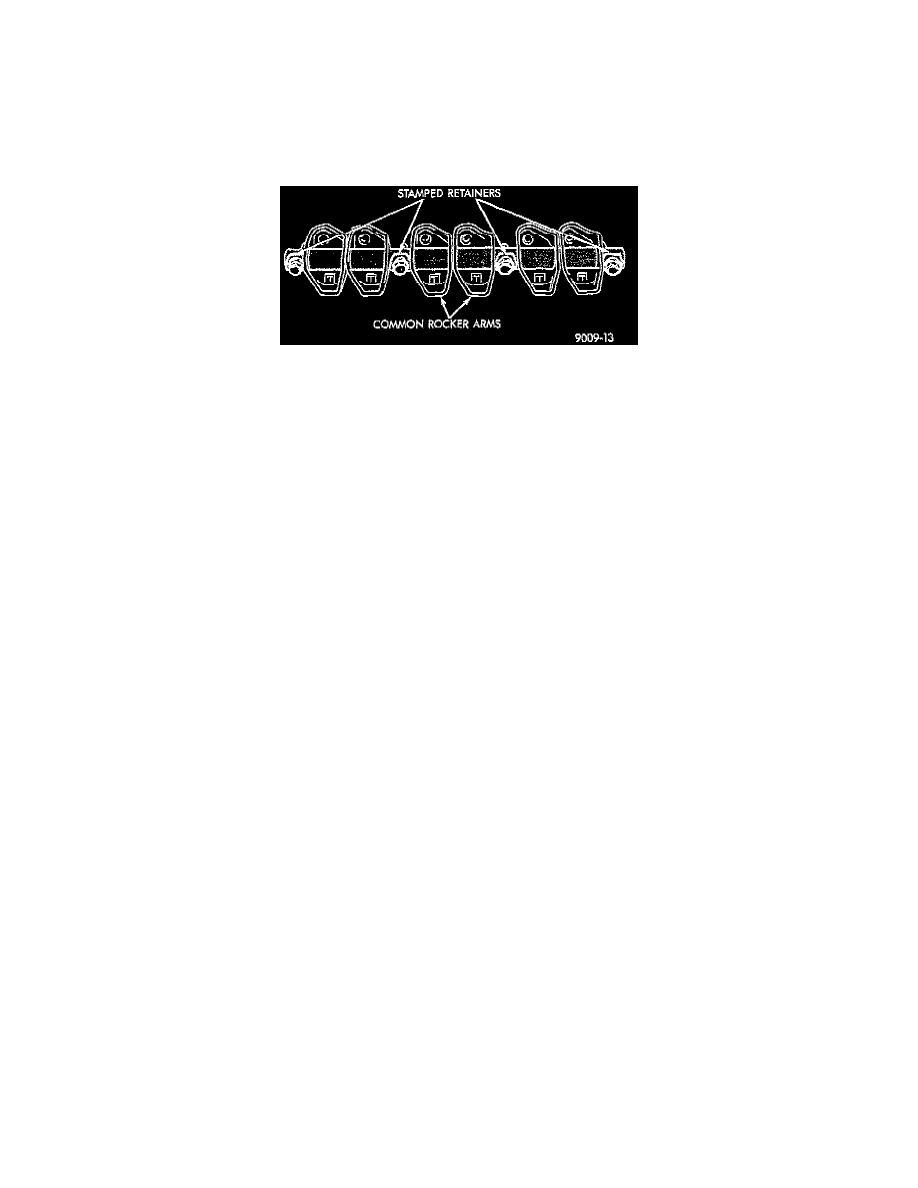
Fig. 35 Rocker Arm Shaft Retainers
8. Install push rods, rocker arm and shaft assemblies with the stamped steel retainers in the four positions, tighten to 28 Nm (250 in.lbs.) Fig. 35.
9. Place new cylinder head cover gaskets in position and install cylinder head covers. Tighten to 12 Nm (105 in.lbs.).
10. Install intake manifold, Refer to Engine/Intake Manifold/Service and Repair.
See: Intake Manifold/Service and Repair
11. Install exhaust manifolds and tighten bolts to 27 Nm (20 ft. lb.) and nuts to 20 Nm (15 ft.lbs.).
12. Adjust spark plugs to specification in Powertrain Management/Powertrain Management/Spark Plug/Specifications, and install the plugs.
See: Tune-up and Engine Performance Checks/Spark Plug/Specifications