
Concorde V6-215 3.5L SOHC (1996)
21.
Release the glove box to allow access to mounting screws. There are four screws located behind the glove box. Remove these screws and then
close the glove box.
22.
Remove left and right kick panels.
23.
Remove lower bolster retaining screws.
24.
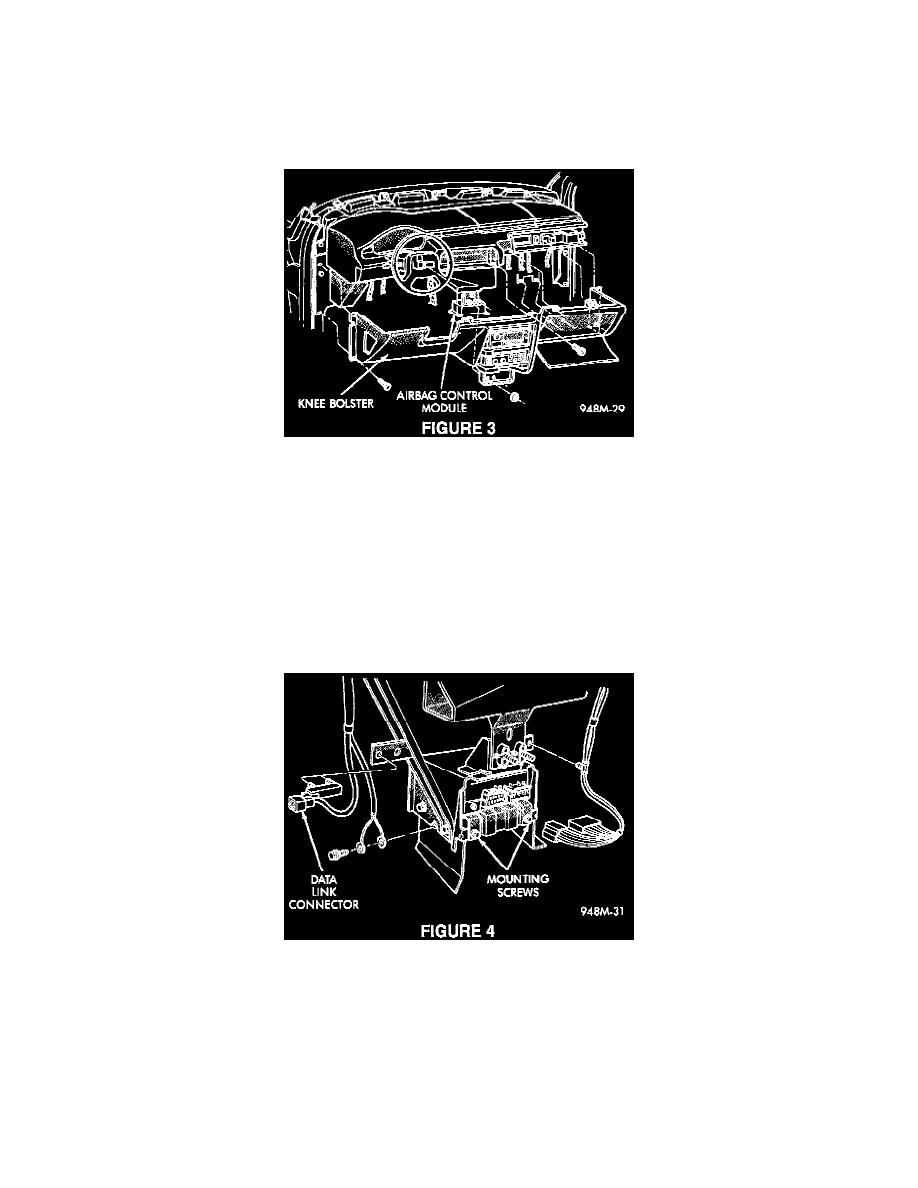
Carefully lower the bolster and disconnect the trunk release and glove box light wiring. Unplug cigar lighter and ash receiver light wiring. Then
remove the lower bolster from the vehicle. (Figure 3).
25.
Remove the center duct mounting bolt located directly above the Airbag Control Module (ACM).
26.
Free the radio antenna connector from the hamess.
27.
Remove the instrument panel top cover. It is held in place by retainer clips at both ends of the cover. To remove, carefully pry upward at one end
of the cover until the clip is disengaged. Proceed to the opposite side and gradually pry the rear edge of the top cover along the entire width of the
panel.
28.
Remove left and right windshield pillar trim covers.
29.
Disconnect the scan tool (DRB) connector from (diagonal) steering column support bracket (Figure 4).
30.
Remove instrument panel ground strap. This strap is located on the lower left side of the Airbag Control Module (ACM) mounting bracket.
31.
Disconnect wiring to Airbag Control Module (ACM).
32.
Remove under column and right floor air distribution ducts.
33.
Remove (Diagonal) Steering column support bracket.
34.
Disconnect blower module connector, blower motor connector, and all related HVAC unit wiring connectors. Unplug the brake lamp switch wiring