
Concorde V6-215 3.5L SOHC (1996)
Axle Shaft: Service and Repair
The content of this article reflects the changes called out by TSB 02-13-94.
1. Raise and support vehicle.
2. Remove wheel and tire assemblies.
3. Remove brake caliper assembly as outlined under the "Disc Brake" section.
4. Remove brake rotor by pulling it straight off mounting studs.
5. Remove speed sensor cable routing bracket from strut assembly.
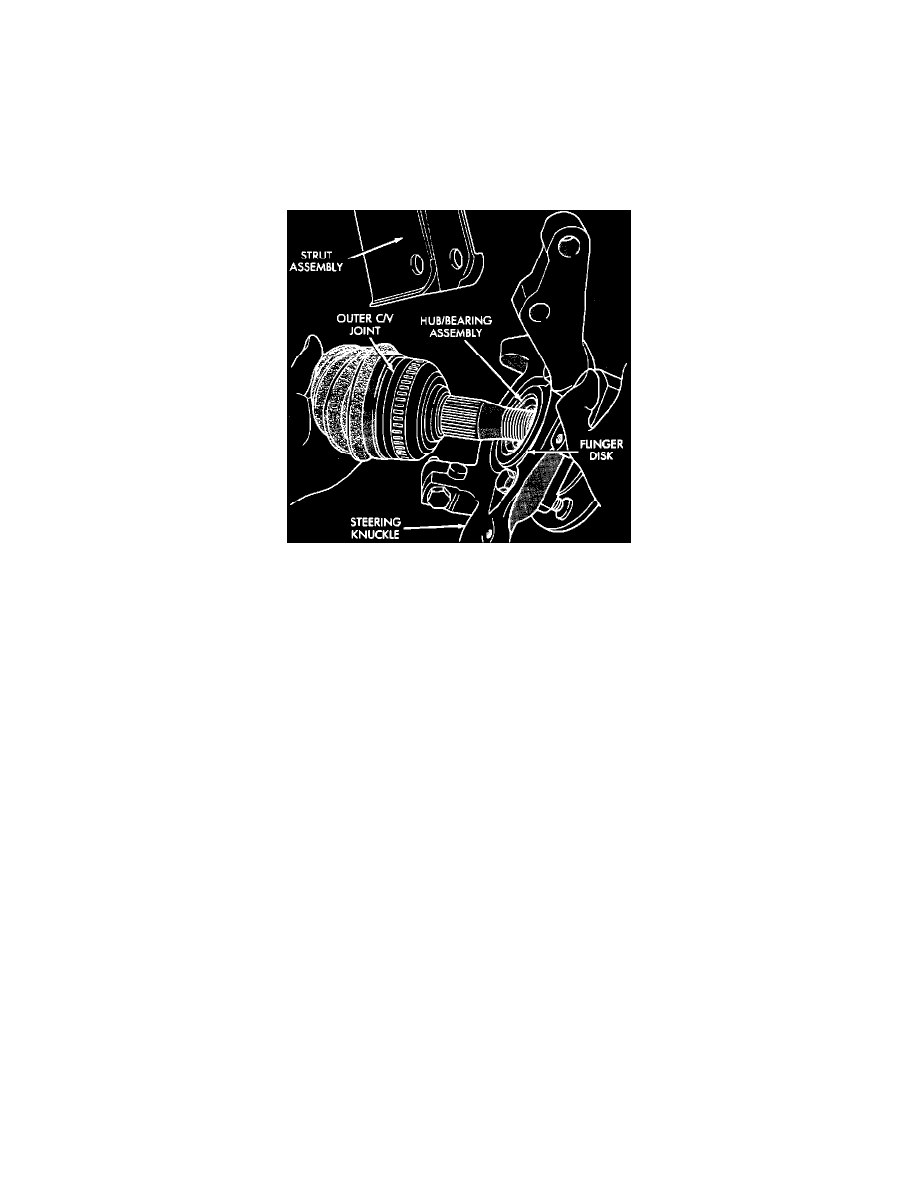
6. Remove stub axle and hub retaining nut.
Outer C/V Joint Removal
7. Insert suitable pry bar between transmission case and driveshaft, then pry driveshaft from transmission. Do not pull on driveshaft and do not insert
pry bar deep enough to damage oil seal. Only pry inner joint from retaining snap ring. Do not attempt to remove inner tripod joint from transaxle
stub shaft.
8. Support steering knuckle then disconnect and remove strut assembly from steering knuckle.
9. Hold outer CV joint assembly with one hand, grasp steering knuckle with the other hand and rotate it out and to the rear of the vehicle, until outer
CV joint clears hub and bearing assembly.
10. Remove driveshaft inner tripod joint from transaxle stub shaft. Do not pull on interconnecting shaft to remove inner tripod joint from stub shaft.
11. Reverse procedure to install, noting the following:
a. Install new O-ring seal and tripod joint retaining circlip.