Concorde V6-3.5L VIN G (2002)

Rear Bumper Cover / Fascia: Service and Repair
REAR FASCIA
REMOVAL
1. Release deck lid latch and open deck lid.
2. Partially remove trunk carpet to gain access to fascia attaching nuts and remove nuts.
3. 300M only, remove both tail lamp housings to gain access to fascia attaching fasteners and remove attaching fasteners.
4. Remove fasteners attaching fascia to rear quarter and splash shield.
5. Remove upper push pins attaching the fascia to the body.
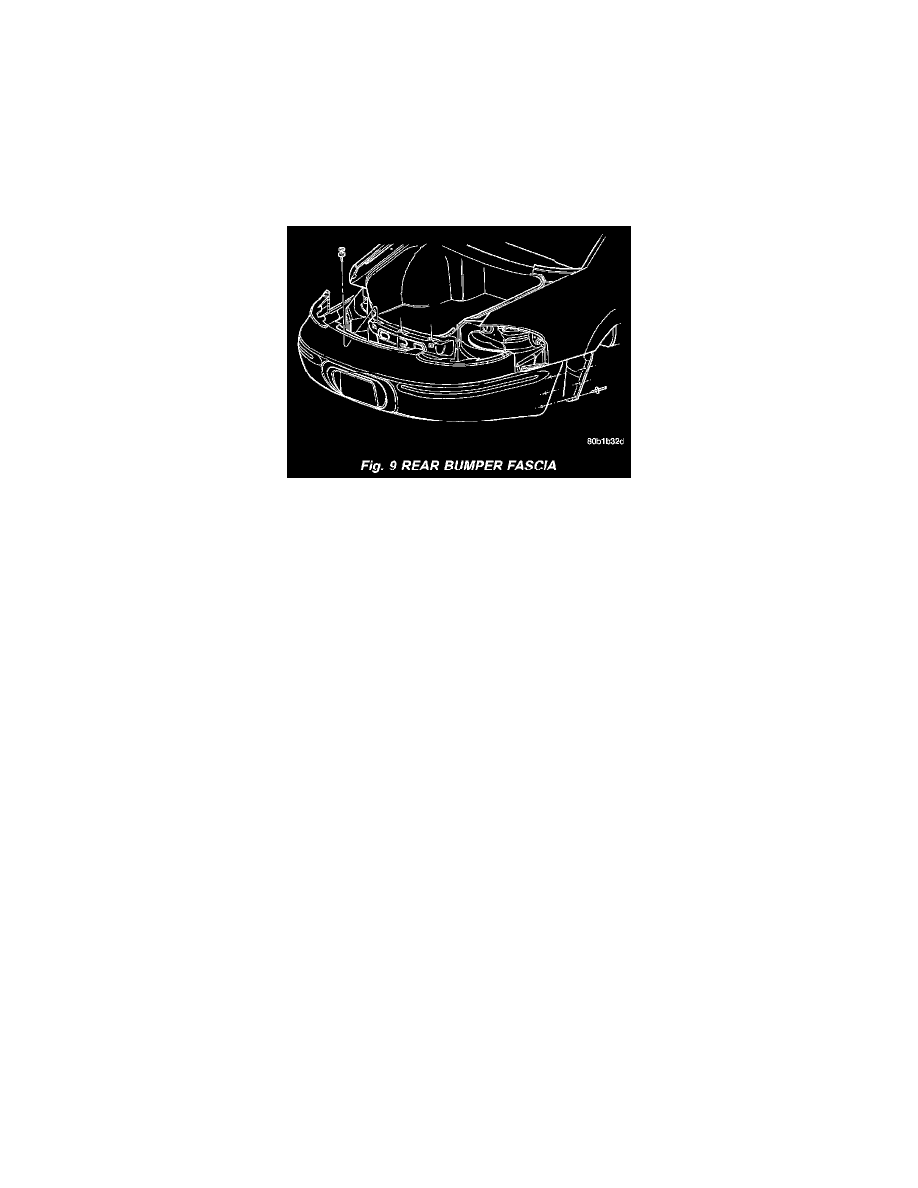
Fig. 9
6. Pull fascia with 30 pound force to disengage plastic clip and grommet that attaches the fascia to the quarter panel vertical flange one side at a time
(Fig. 9).
7. Disengage main wire connector from the body harness. The connector is on the left side of vehicle.
8. Remove fascia from vehicle.
INSTALLATION
1. Connect main wire connector to the body harness connector.
2. Place rear fascia in position on bumper reinforcement.
3. Align the two fascia studs to the quarter panel vertical attachment, at the same time align the fascia key hole slot on the horizontal flange with the
drive pin.
Push fascia forward to engage the fasteners.
4. Install push pins attaching top of fascia to body.
5. 300M only, install nut on fascia stud and install tail lamp and fasteners under tail lamp.
6. Install trunk carpet back in position.
7. Install fasteners attaching fascia to rear quarter panel and splash shields.
REMOVAL - INTREPID
1. Open deck lid.
2. Remove fasteners attaching fascia to rear quarter and splash shields.
3. Remove fasteners attaching fascia to lower trunk panel.
