
Concorde V6-3.5L VIN G (2002)
Camshaft Position Sensor: Service and Repair
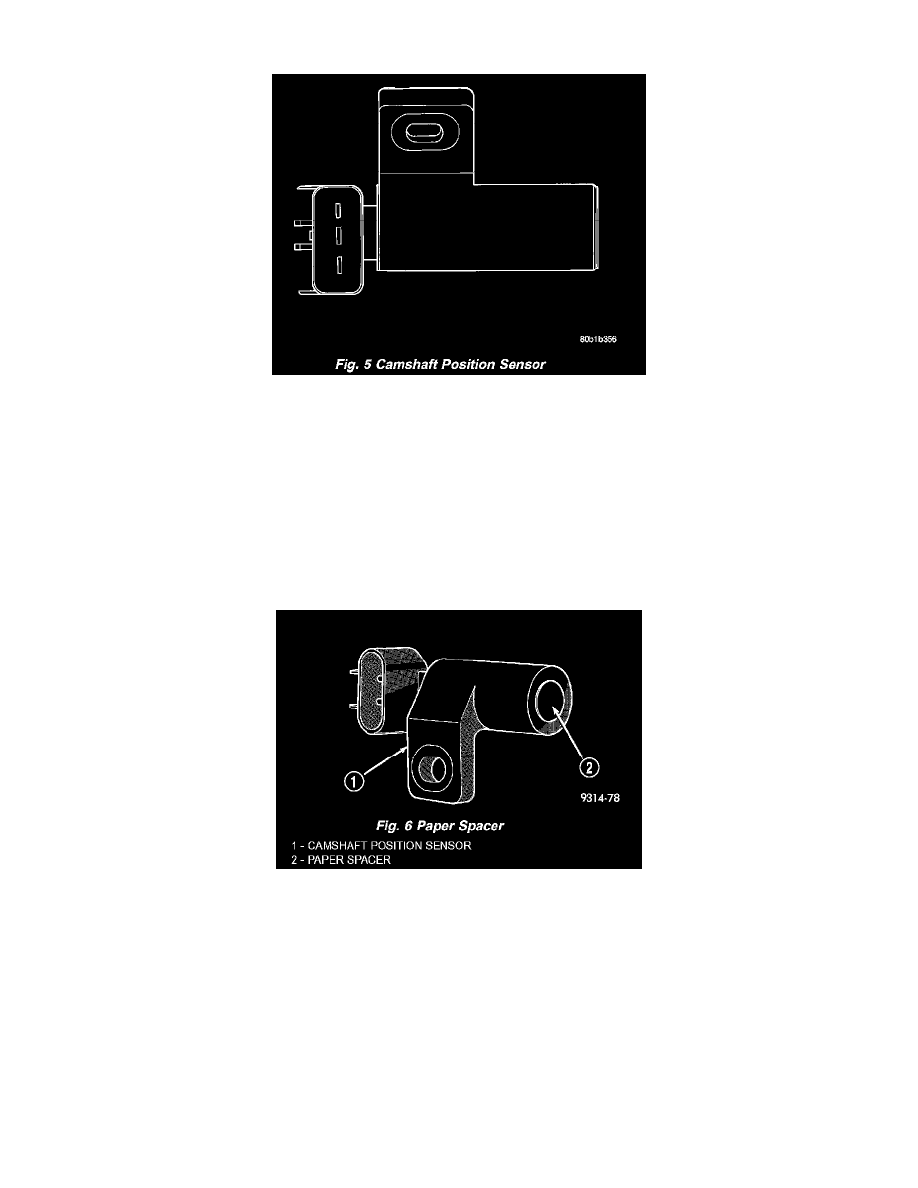
Fig. 5 Camshaft Position Sensor - 3.5L
REMOVAL
The camshaft position sensor is installed in the timing belt housing cover above the left camshaft sprocket.
1. Disconnect the negative battery cable.
2. Loosen the upper intake plenum, refer to the Intake System section.
3. Disconnect electrical connector from sensor.
4. Remove camshaft position sensor screw.
5. Pull sensor up out of the timing belt housing cover.
INSTALLATION
The camshaft position sensor is installed in the timing belt housing cover above the left camshaft sprocket.
Fig. 6 Paper Spacer - 3.5L
If the removed sensor is reinstalled, completely remove the old spacer from the sensor face. Attach a NEW SPACER to the face of the sensor before
installation. If installing a new sensor, confirm that the paper spacer is attached to the face.
1. Install sensor in the timing belt housing and push sensor down until contact is made with the camshaft sprocket. While holding the sensor in this
position, install and tighten the retaining bolt to 12 Nm (105 in. lbs.) torque.
2. Attach electrical connector to sensor.
3. Install the upper intake plenum, refer to the Intake System section.
4. Connect the negative battery cable.