
Crossfire SRT-6 V6-3.2L SC VIN N (2005)
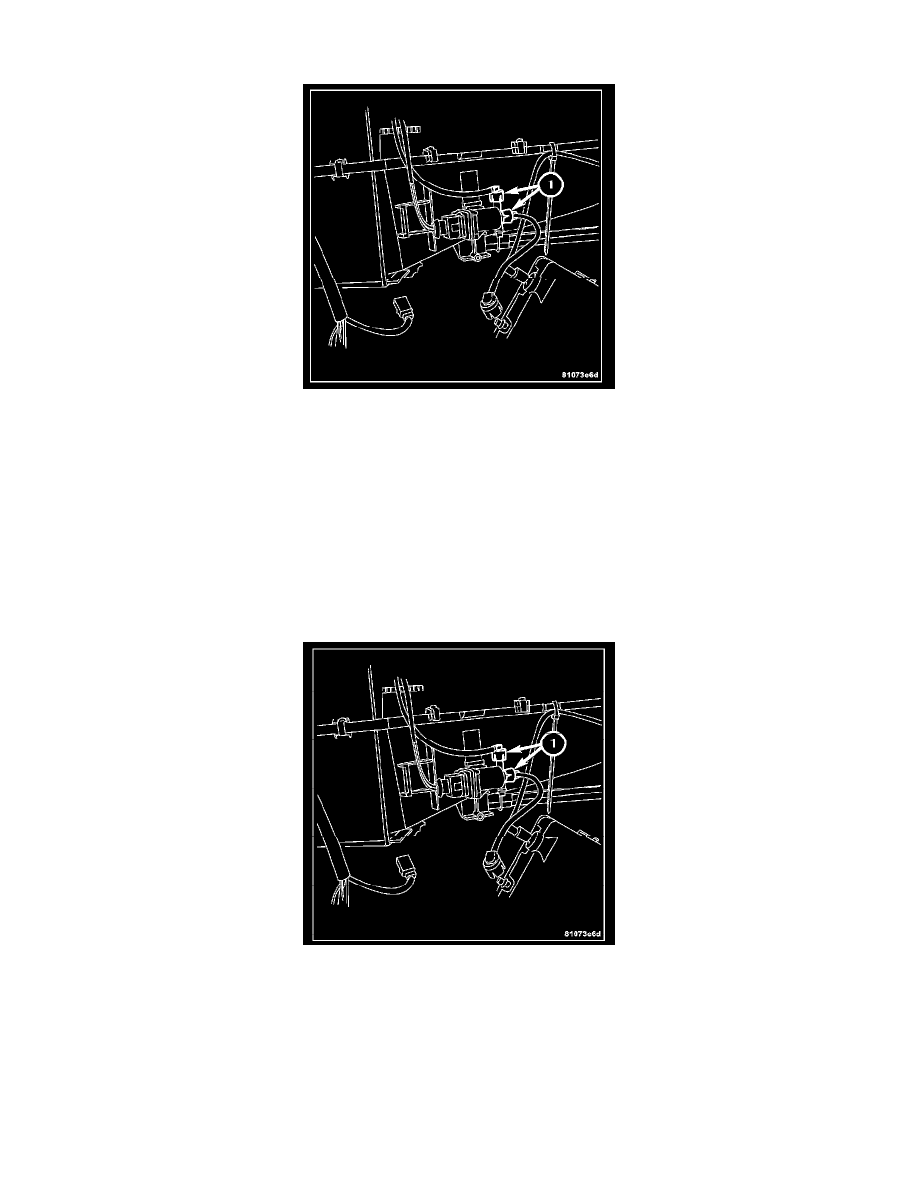
26. Remove the electrical harness connector on heater core temperature sensor located on the front of the heater housing and the evaporator
temperature sensor (1) located on the left side of the heater case.
27. Disconnect the electrical harness connector from the fresh air/recirculating air flap switchover valve (1) located on the right front of the heater
housing where the vacuum lines for the reservoir where removed.
28. Remove all the nylon ties on the heater housing attaching any wiring harnesses.
CAUTION:
-
To avoid any damage to the vehicle a helper may be required to aid in the removal of the instrument panel support.
-
Be sure not to spill any residual coolant from the heater housing into the passenger compartment of the vehicle.
29. Remove the heater housing from the vehicle by tipping it forward and removing through the passenger side door.
INSTALLATION
1. Install the HVAC housing to the vehicle.
2. Install any wiring harnesses associated with the HVAC housing with nylon ties in their respected routing positions.
3. Connect the harness connector (1) to the fresh air/recirculating air flap switchover valve located on the right side of the heater housing.