
Crossfire SRT-6 V6-3.2L SC VIN N (2005)
6.
Remove the connector guide bushing from the transmission.
7.
**2004 VA vehicles go to Step # 8.2005 VA vehicles go to Step # 9.**
8.
**Install a new connector guide bushing, p/n 05166827AA, in the transmission. Proceed to Step # 12.**
9.
If there is a locator tab present, using side cutter pliers, remove the locator tab on the connector guide bushing (Fig. 3).
10.
Using transmission fluid, lubricate and place 1 p/n 52108323AB 0-ring and 1 p/n 52108324AB 0-ring on the connector guide bushing.
NOTE:
The 0-rings are two different sizes. Be careful to place the new 0-rings in the correct location.
11.
Install the connector guide bushing in the transmission.
12.
Tighten the bronze bolt securing the guide bushing in place. Tighten the bronze bolt to 2.5 N.m +/- 0.2 N.m (22 in.lbs +/- 2 in.lbs.) (Fig. 2).
13.
Connect the 13-pin plug connector. Secure the connector by turning the bayonet lock of the connector guide bushing clockwise.
14.
Clean the area of any residual transmission fluid which may be present as a result of the repair.
15.
Lower the vehicle.
16.
Connect the negative battery cable.
NOTE:
Be sure to use the correct transmission fluid, Mopar p/n 05127382AA.
17.
Check the transmission fluid and adjust as necessary. Refer to the service information available in TechCONNECT. Reference: Service Info, 21 -
Transmission/Transaxle/Automatic - NAG1/Fluid - Standard Procedure.
WK VEHICLE REPAIR PROCEDURE:
1.
Disconnect and isolate the negative battery cable.
2.
Raise the vehicle on a suitable hoist.
3.
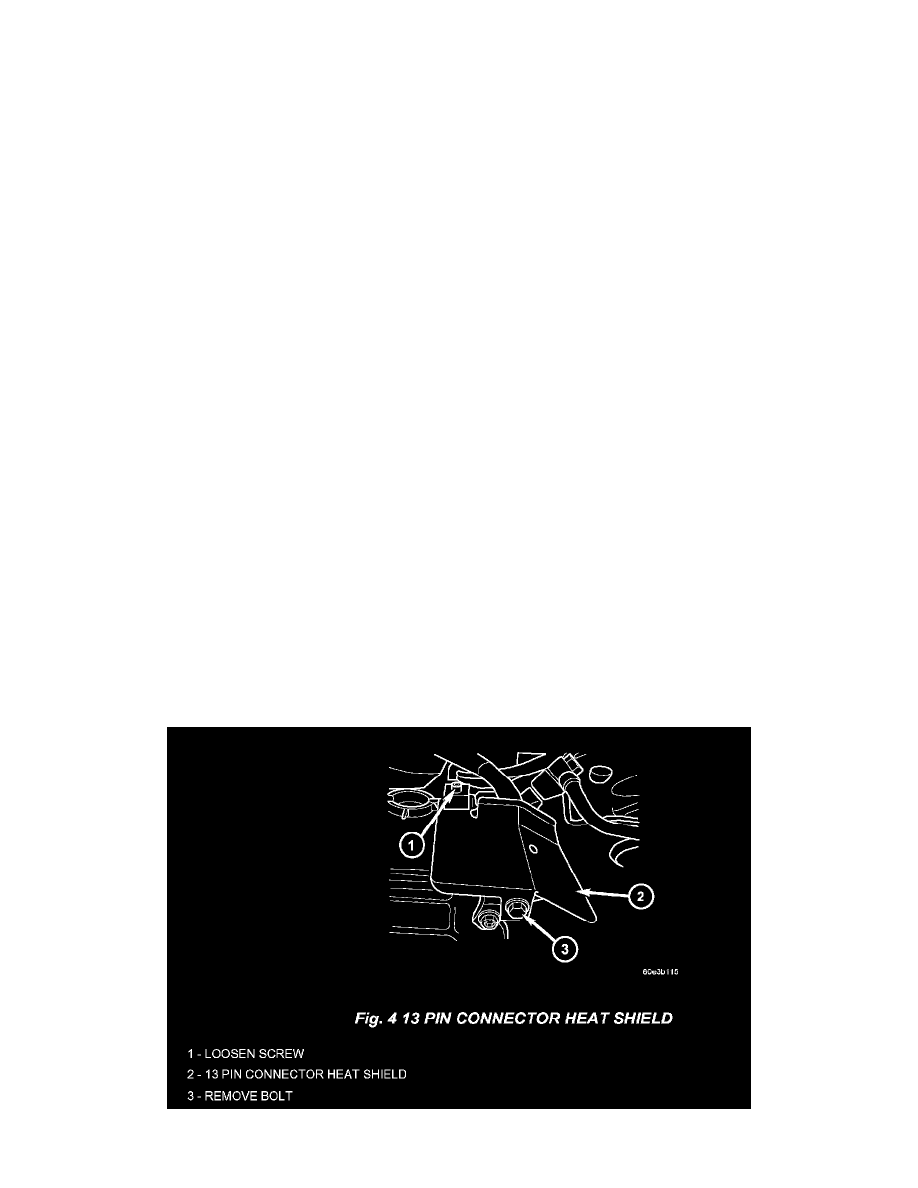
Remove the bolt and loosen the screw securing the 13 pin connector heat shield in the right front corner of the transmission assembly (Fig. 4).
Remove the heat shield.
4.
Disconnect the 13-pin connector plug by turning the bayonet lock of the connector guide bushing counter clockwise (Fig. 1).