
LeBaron L4-135 2.2L VIN B 2-bbl (1982)
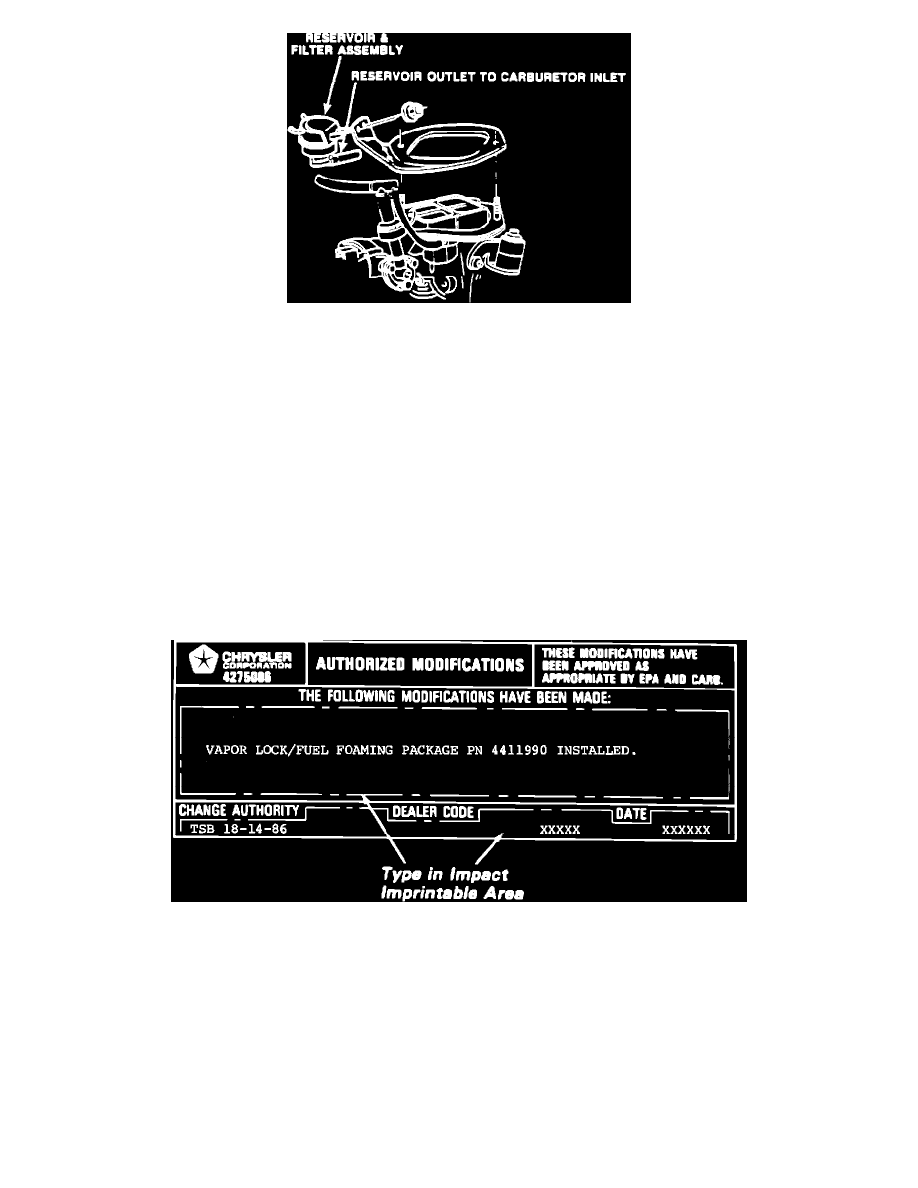
FIGURE 7-B
13.
Connect the hose on the reservoir outlet to the carburetor inlet and secure with hose clamp, PN 6500651 (Figure 7-B). Torque to 10 inch
pounds.
14.
If solenoid cover was removed in Step 1, reinstall the cover over the solenoid.
E.
Underbody Component Installation
1.
Remove existing fuel tank and install the new fuel tank assembly, PN 4203719, following the service manual procedure. Use a new
positioning pad, PN 4185506, and new insulator pads, PN 4185395 and 4279340. Use the new fuel tank straps, PN 4279175 and 4279174.
Be sure to attach the fuel tank vent hose to the fuel tank before it is raised against the floor pan. Use new fuel supply hose, PN 4279877, and
new fuel return hose, PN 4279874.
2.
Connect the 5-pin terminal of the body wiring harness to the fuel tank gauge unit.
3.
Reconnect battery.
4.
Inspect the entire installation for proper wire and hose routing. Start engine and inspect for leaks.
FIGURE 9
5.
Type in Authorized Modification Label, PN 4275086, as shown in Figure 9 and attach near VECI label.