
Lebaron GTS L4-153 2.5L SOHC VIN K TBI (1988)
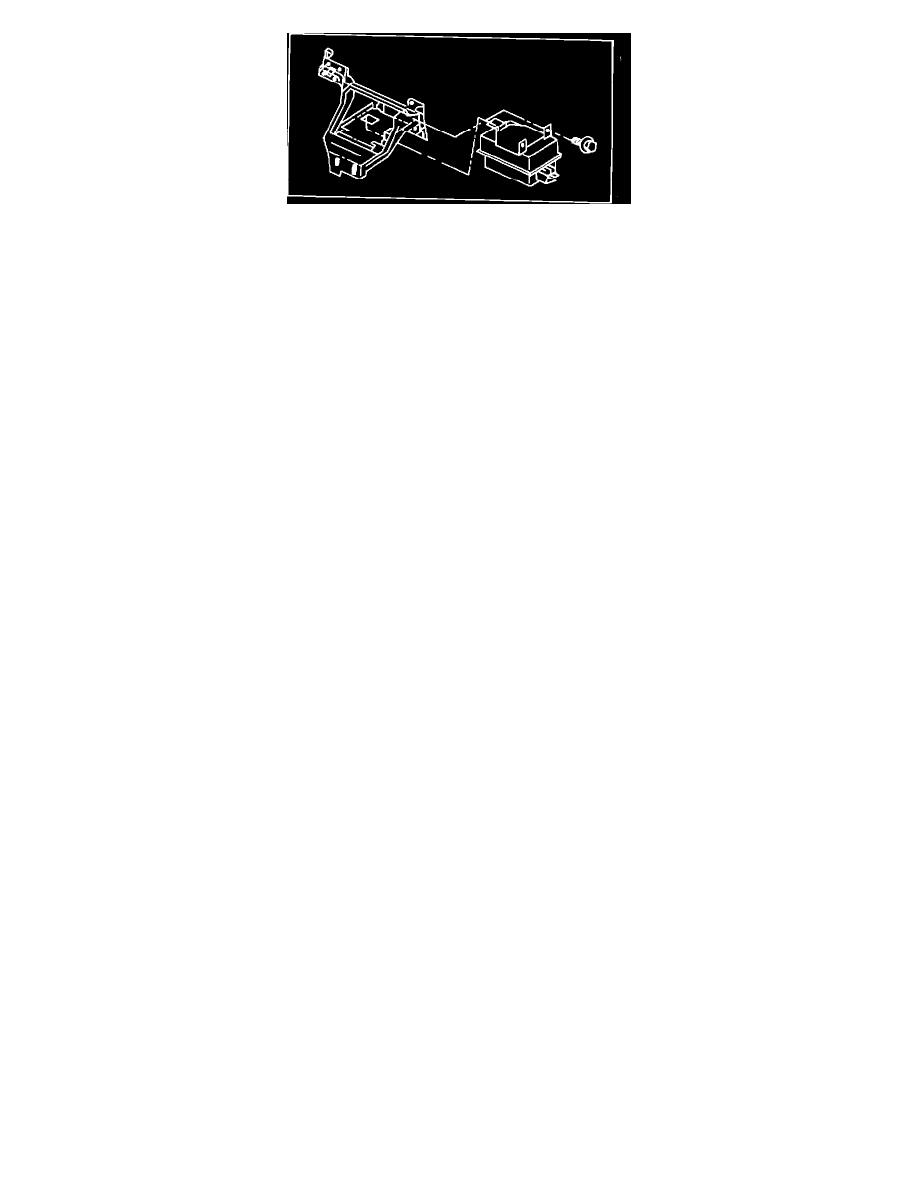
ASDM MOUNTING ON I/P REINFORCEMENT
WARNING:
BEFORE BEGINNING ANY AIRBAG SYSTEM INSTALLATION OR REMOVAL PROCEDURES, REMOVE AND ISOLATE THE
NEGATIVE (-) BATTERY CABLE (GROUND) FROM THE VEHICLE BATTERY.
THE SPECIFIED FASTENERS, SCREWS, AND BOLTS MUST NEVER BE REPLACED WITH ANY SUBSTITUTES. ANY TIME A NEW
FASTENER IS NEEDED. YOU MUST REPLACE WITH THE CORRECT ONES PROVIDED IN THE SERVICE PACKAGE OR ONES LISTED
IN THE PARTS BOOKS.
WARNING:
THE ASDM CONTAINS ONE OF THE SENSORS WHICH ENABLE THE SYSTEM TO ACTIVATE THE AIRBAG. TO AVOID
ACCIDENTAL DEPLOYMENTS NEVER CONNECT THE ASDM ELECTRICALLY TO THE SYSTEM UNLESS IT IS BOLTED
TO THE VEHICLE.
Removal
1.
Remove the floor console, vertical console trim bezel, vertical console carrier (G/Jbody only, if so equipped), and radio.
2.
Remove glove box.
3.
Remove left side fasteners on the I/P reinforcement.
4.
Disconnect the electrical connectors from the ASDM.
5.
Remove two attaching screws holding the ASDM to the support bracket, remove the ASDM.
Installation
1.
Install the ASDM (arrow pointing forward) in the I/P center support bracket. Make sure to insert tab on the ASDM in the slot on the support
bracket.
2.
Attach the ASDM to the support bracket supplied with ASDM (torque to 15-20 in.lbs.).
3.
Remount the I/P center support bracket to the left and right side I/P reinforcements.
4.
Connect the ASDM electrical connectors to the ASDM.
5.
Install vertical console carrier. Install the floor console.
6.
Connect DRB II to ASDM diagnostic connector. (Located at right side of console on G/J-body and at right kick panel on M-body.)
7.
From PASSENGER side of vehicle, turn the ignition key to "ON" position. Exit vehicle with DRB II.
8.
After checking that no one is inside the vehicle, reconnect the negative battery terminal.
9.
Using the DRB II, read and record any fault data including stored faults.
10.
Refer to the Diagnostic Test Manual if any faults found in previous steps.
11.
Erase fault codes using DRB II.
NOTE:
IF PROBLEMS REMAIN, FAULT CODES WILL NOT ERASE.