
LHS V6-3.5L VIN G (1998)
Connecting Rod Bearing: Service and Repair
PLASTIGAGE METHOD
Engine crankshaft bearing clearances can be determined by use of Plastigage or equivalent. The following is the recommended procedure for the use
of Plastigage:
NOTE: The total clearance of the main bearings can only be determined by removing the weight of the crankshaft. This can be accomplished by
either of two methods:
PREFERRED METHOD
Shimming the bearings adjacent to the bearing to be checked in order to remove the clearance between upper bearing shell and the crankshaft. This
can be accomplished by placing a minimum of 0.254 mm (0.010 inch) shim (e. g. cardboard, matchbox cover, etc.) between the bearing shell and the
bearing cap on the adjacent bearings and tightening bolts to 14-20 Nm (10-15 ft. lbs.). The number of main bearing will vary from engine to engine.
Engine With 5 Main Bearings
-
When checking # 1 main bearing shim # 2 main bearing.
-
When checking # 2 main bearing shim # 1 & 3 main bearing.
-
When checking # 3 main bearing shim # 2 & 4 main bearing.
-
When checking # 4 main bearing shim # 3 & 5 main bearing.
-
When checking # 5 main bearing shim # 4 main bearing.
Engine with 4 Main Bearing
-
When checking # 1 main bearing shim # 2 main bearing.
-
When checking # 2 main bearing shim # 1 & # 3 main bearing.
-
When checking # 3 main bearing shim # 2 & # 4 main bearing.
-
When checking # 4 main bearing shim # 3 main bearing.
NOTE: Remove all shims before reassembling engine.
ALTERNATIVE METHOD
The weight of the crankshaft can be supported by a jack under the counterweight adjacent to the bearing being checked.
PLASTIGAGE PROCEDURE
1. Remove oil film from surface to be checked. Plastigage is soluble in oil.
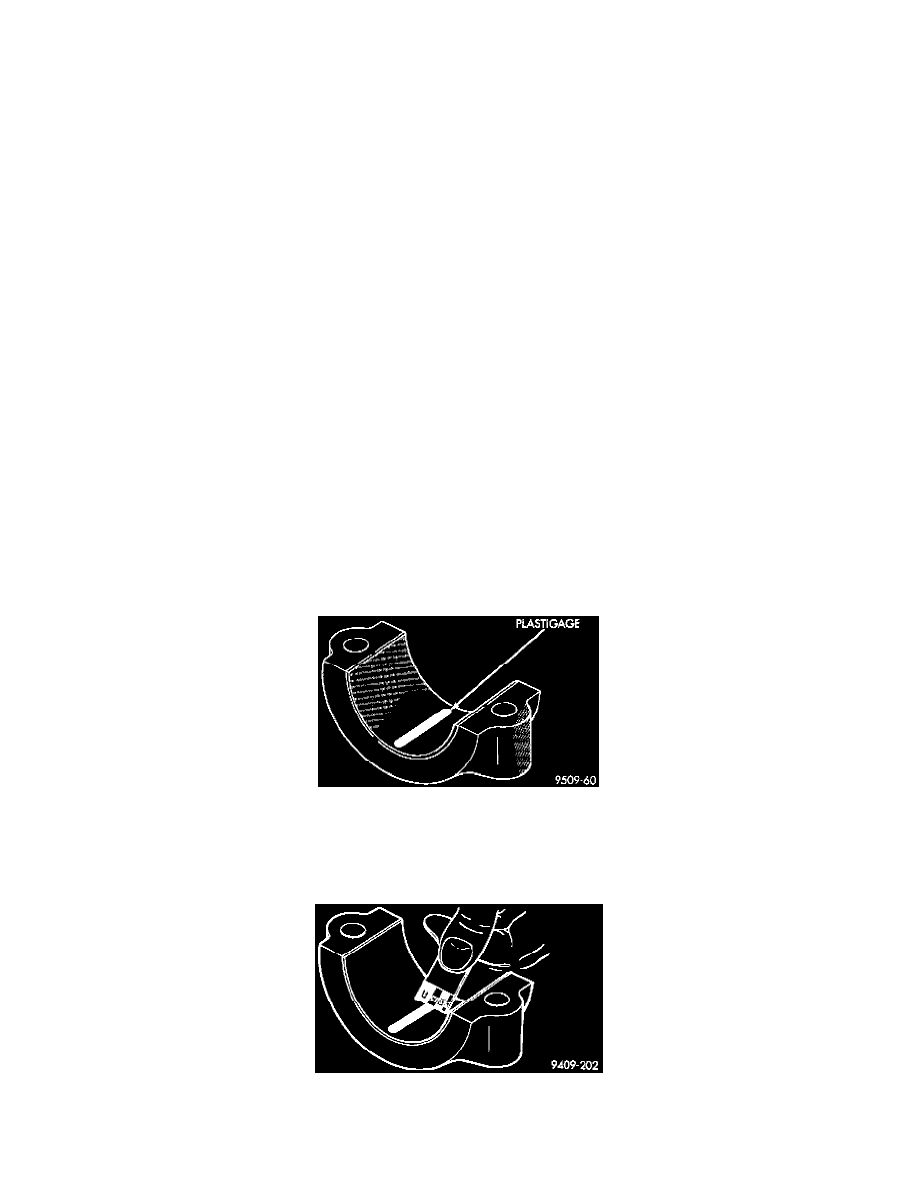
Plastigage Placed In Lower Shell
2. Place a piece of Plastigage across the entire width of the bearing shell in the cap approximately 6.35 mm (1/4 inch) off center and away from the
oil holes. (In addition, suspected areas can be checked by placing the Plastigage in the suspected area). Torque the bearing cap bolts of the bearing
being checked to the proper specifications.
Clearance Measurement
3. Remove the bearing cap and compare the width of the flattened Plastigage with the metric scale provided on the package. Locate the band closest