
LHS V6-3.5L VIN G (1998)
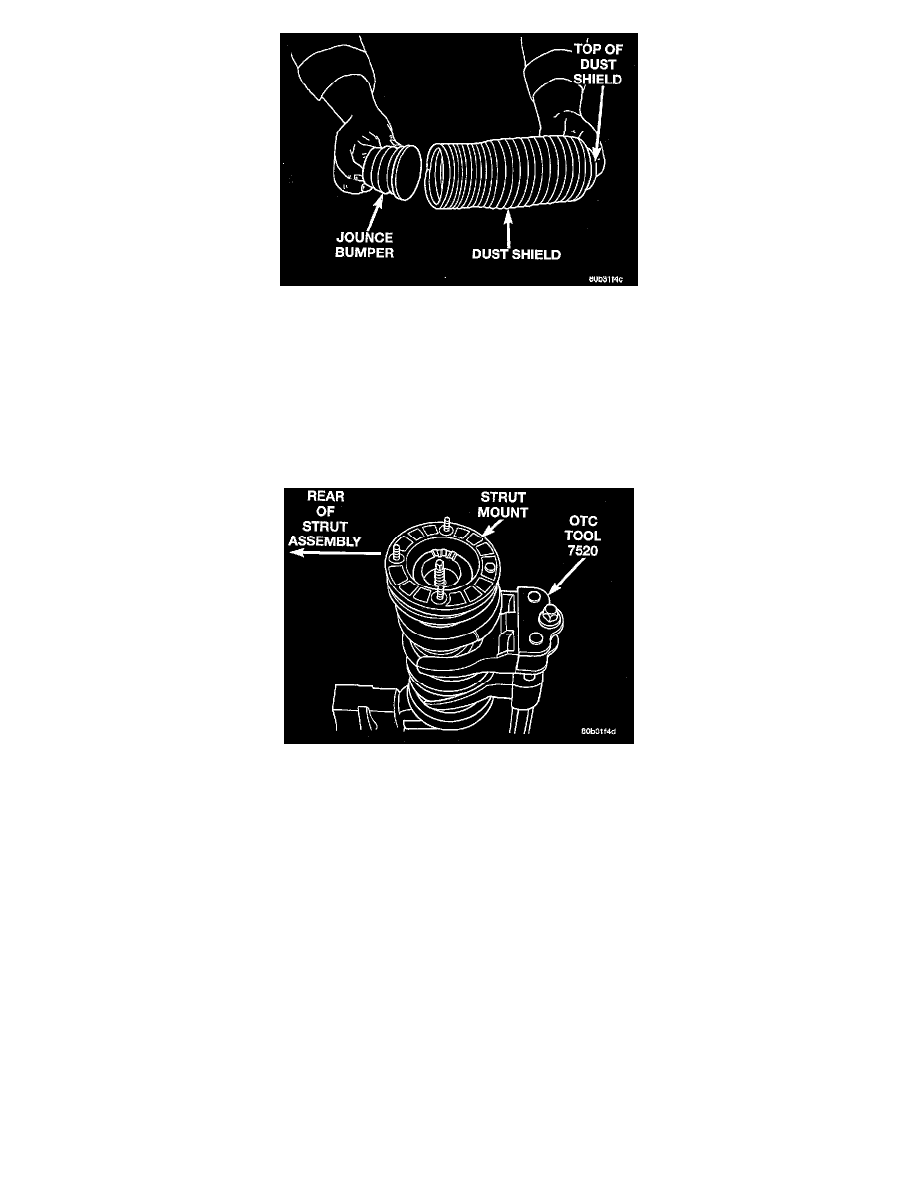
Jounce Bumper Installed Into Dust Shield
2. Install jounce bumper into dust shield from the bottom. Jounce bumper should snap into position at top end of dust shield.
3. Install the dust shield and jounce bumper into position in bottom of upper strut mount. Dust shield should snap into position. Once correctly
installed, the dust boot should be able to be rotated within the mount without coming loose.
WARNING: Coil spring must be installed on strut so the sleeve on the spring is towards the upper end of assembly.
4. Lower the coil spring with compressor onto the strut unit. Set the spring into the form fitting seat of the strut or just align the paint mark on the
spring with the paint mark on the strut unit if previously marked.
Strut Mount Positioning
5. Install the upper strut mount assembly onto the strut shaft, aligning paint marks (if applicable). Position mount so center mounting stud is aligned
with the stabilizer bar attaching link bracket on the strut assembly.
6. Install the upper strut mount to strut shaft nut on the strut shaft. Install Strut Shaft Socket, Special Tool 6864, on strut shaft nut. Use a deep well
socket inserted into the opening of tool 6864 to keep strut shaft from turning. Tighten the strut shaft nut to a torque of 75 Nm (55 ft. lbs.).
7. Loosen the Spring Compressor until spring is seated on upper strut mount and all tension is relieved from the spring compressor. Remove
Compressor.
8. Install the strut assembly back into the vehicle.
9. Check and reset rear wheel TOE to specifications if required.