
New Yorker V6-3.5L VIN F (1994)
Rocker Arm Assembly: Service and Repair
REMOVAL
1. Remove cylinder head covers as outlined under ``Cylinder Head Cover, Replace.''
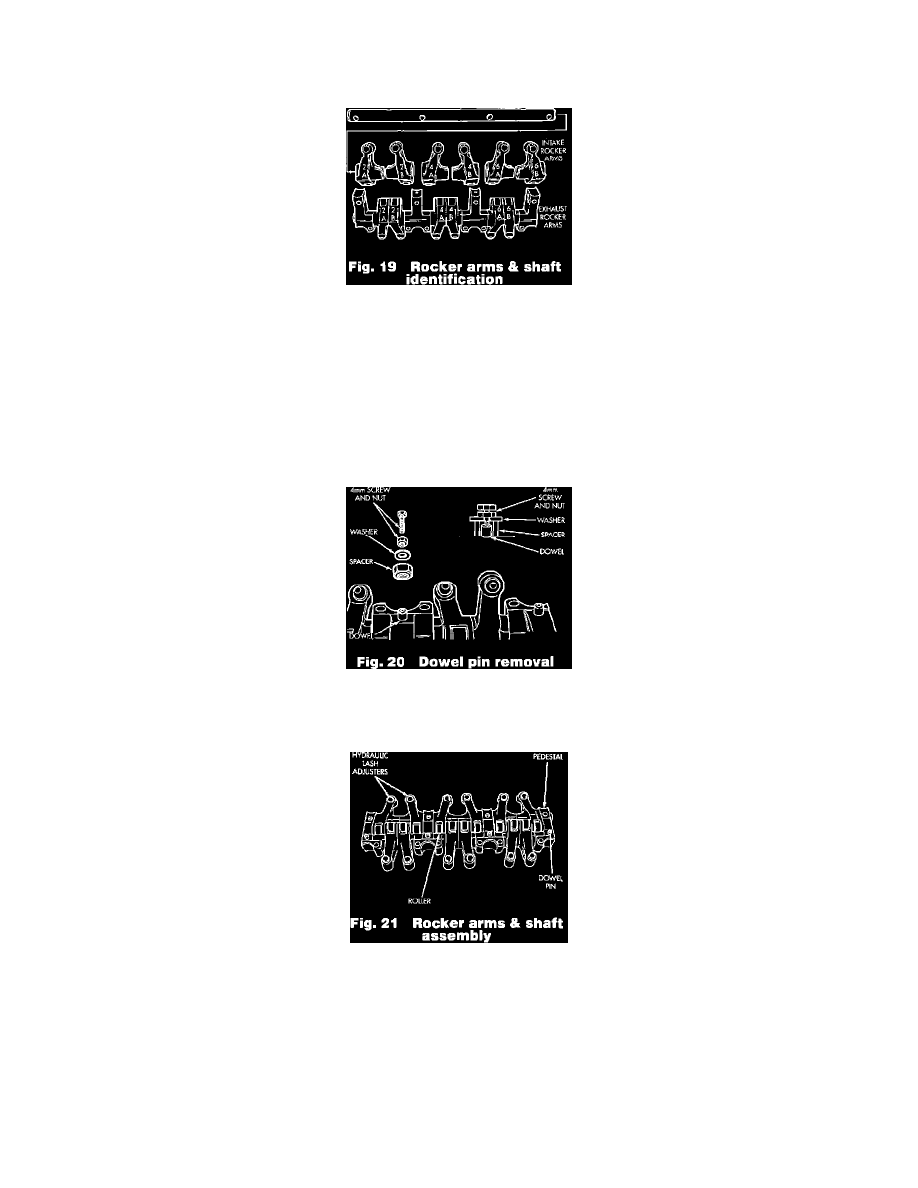
Fig. 19 Rocker Arms and Shaft Identification
2. Identify and mark rocker arm assembly and rocker arms before disassembly, Fig. 19.
3. Remove rocker arm assembly bolts then rocker arms.
4. Check rocker arms for the following wear or damage:
a. Roller scuffing or wear.
b. Bore scuffing or wear.
c. Swivel pad on lash adjuster missing or broken.
d. Rocker arm showing signs of fatigue or cracking.
e. Roller axle protruding from arm.
Fig. 20 Dowel Pin Removal
5. Remove dowel pin using a 4mm screw, nut, spacer and washer installed into pin, Fig. 20.
Fig. 21 Rocker Arms and Shaft Assembly
6. Remove rocker arms and pedestals in order, Fig. 21.
7. Check rocker arm mounting portion of shafts for wear or damage.
8. Check oil holes for clogging with small wire, clean as required.
INSTALLATION
1. Install rocker arms and pedestals onto shaft.
2. Install dowel pins in correct locations, Fig. 21. Dowel pins pass through pedestal into rocker shafts. Dowel pins should be pressed until they
bottom out in pedestal.
3. Rotate camshaft placing lobes in a neutral position (no load on valves).