
PT Cruiser L4-2.4L (2008)
CAUTION: Do not allow oil or solvents to contact the timing belt as they can deteriorate the rubber and cause tooth skipping.
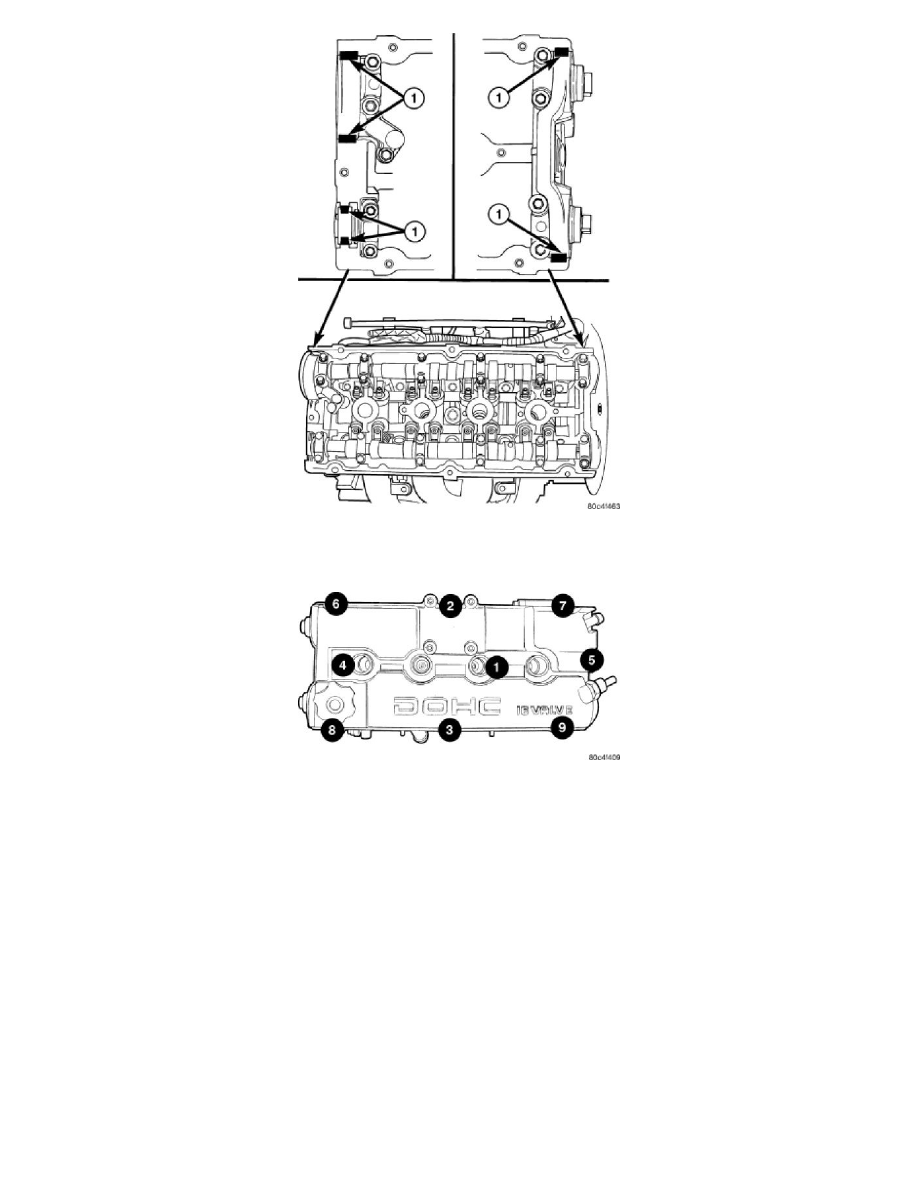
3. Apply Mopar(R) Engine RTV GEN II at the camshaft cap corners and at the top edges of the 1/2 round seal (1).
CAUTION: When installing cylinder head cover bolts, be careful not to interchange the two (2) center bolts with the seven (7) perimeter bolts.
The two (2) center bolts contain an aluminum washer between the bolt head and torque limiter for sealing purposes.
4. Install cylinder head cover assembly to cylinder head. Install all bolts, ensuring the two (2) bolts containing the sealing washer are located in the
center locations of cover. Tighten bolts in sequence shown. Using a 3 step torque method as follows:
a. Tighten all bolts to 4.5 Nm (40 in. lbs.).
b. Tighten all bolts to 9.0 Nm (80 in. lbs.).
c. Tighten all bolts to 12 Nm (105 in. lbs.).
5. Install ignition coil and spark plug wires. Tighten fasteners to 12 Nm (105 in. lbs.).