
PT Cruiser L4-2.4L (2008)
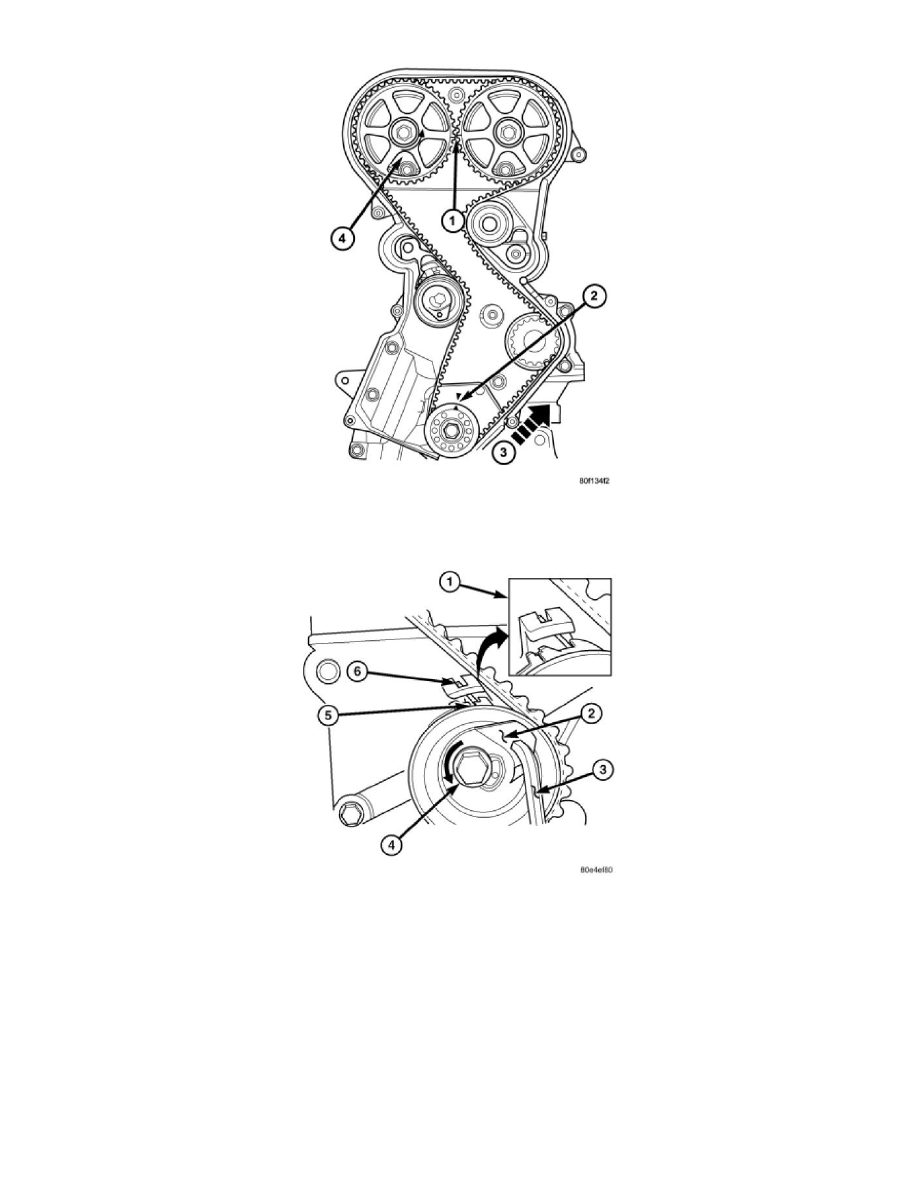
3. Install timing belt. Starting at the crankshaft, go around the water pump sprocket, idler pulley, camshaft sprockets and then around the tensioner.
4. Move the exhaust camshaft sprocket (4) counterclockwise to align marks and take up belt slack.
5. Insert a 6 mm Allen wrench (3) into the hexagon opening located on the top plate (2) of the belt tensioner pulley. Rotate the top plate (2)
COUNTERCLOCKWISE. The tensioner pulley will move against the belt and the tensioner setting notch (1) will eventually start to move
clockwise. Watching the movement of the setting notch (1), continue rotating the top plate (2) counterclockwise until the setting notch is aligned
with the spring tang (6). Using the allen wrench (3) to prevent the top plate (2) from moving, torque the tensioner lock bolt (4) to 25 Nm (220 in.
lbs.). Setting notch (5) and spring tang (6) should remain aligned after lock bolt (4) is torqued.
6. Remove allen wrench (3) and torque wrench.
NOTE: Repositioning the crankshaft to the TDC position must be done only during the CLOCKWISE rotation movement. If TDC is
missed, rotate a further two revolutions until TDC is achieved. DO NOT rotate crankshaft counterclockwise as this will make verification
of proper tensioner setting impossible.