
PT Cruiser L4-2.4L (2008)
Steering Shaft Coupler: Service and Repair
Steering Coupling - Installation
INSTALLATION
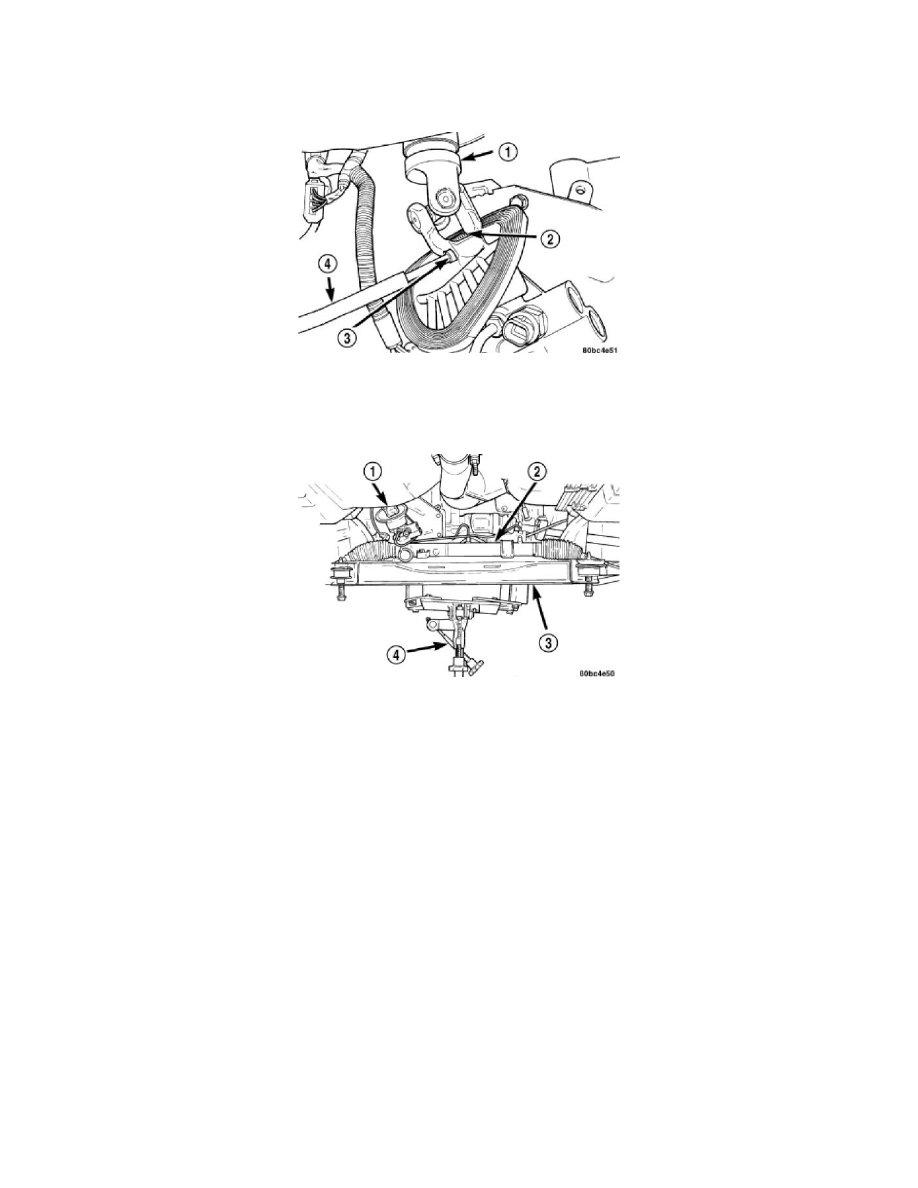
1. Push the column end of the steering column lower coupling (1) partway up through the hole in the dash panel, then match the flat on the inside of
the coupling to the flat on the power steering gear pinion shaft and slide the coupling onto the shaft.
2. Align the roll pin hole in the coupling to the notch in the gear pinion shaft and install the roll pin (3) through the coupling until it is centered.
3. Center the power steering gear rack in its travel.
4. Using the transmission jack (4), raise the front suspension crossmember and power steering gear until the crossmember contacts its mounting spot
against the body and frame rails of the vehicle. As the crossmember is raised, carefully guide the steering column lower coupling (1) up through its
hole in the dash panel.
5. Start the two crossmember mounting bolts through the lower control arm rear isolator bushings into the tapping plates mounted in the body. Next,
install the two front and the two rear mounting bolts attaching front suspension crossmember to frame rails of vehicle. Lightly tighten all six
mounting bolts to approximately 2 Nm (20 in. lbs.) to hold the front suspension crossmember in position at this time.
NOTE: When installing the front suspension crossmember back in the vehicle, it is very important that the crossmember be attached to
the body in exactly the same spot as when it was removed. Otherwise, the vehicle's wheel alignment settings (caster and camber) will be
lost.