
PT Cruiser L4-2.4L (2008)
Front Cross-Member: Service and Repair
Front Crossmember - Removal
REMOVAL
CAUTION: If the front suspension crossmember is being replaced due to collision damage, inspect the steering column lower coupling for
damage. Refer to steering column in the steering section for the procedure.
1. Raise the vehicle. Refer to HOISTING in the LUBRICATION AND MAINTENANCE area for the correct lifting procedure.
2. Remove both front tire and wheel assemblies from the vehicle.
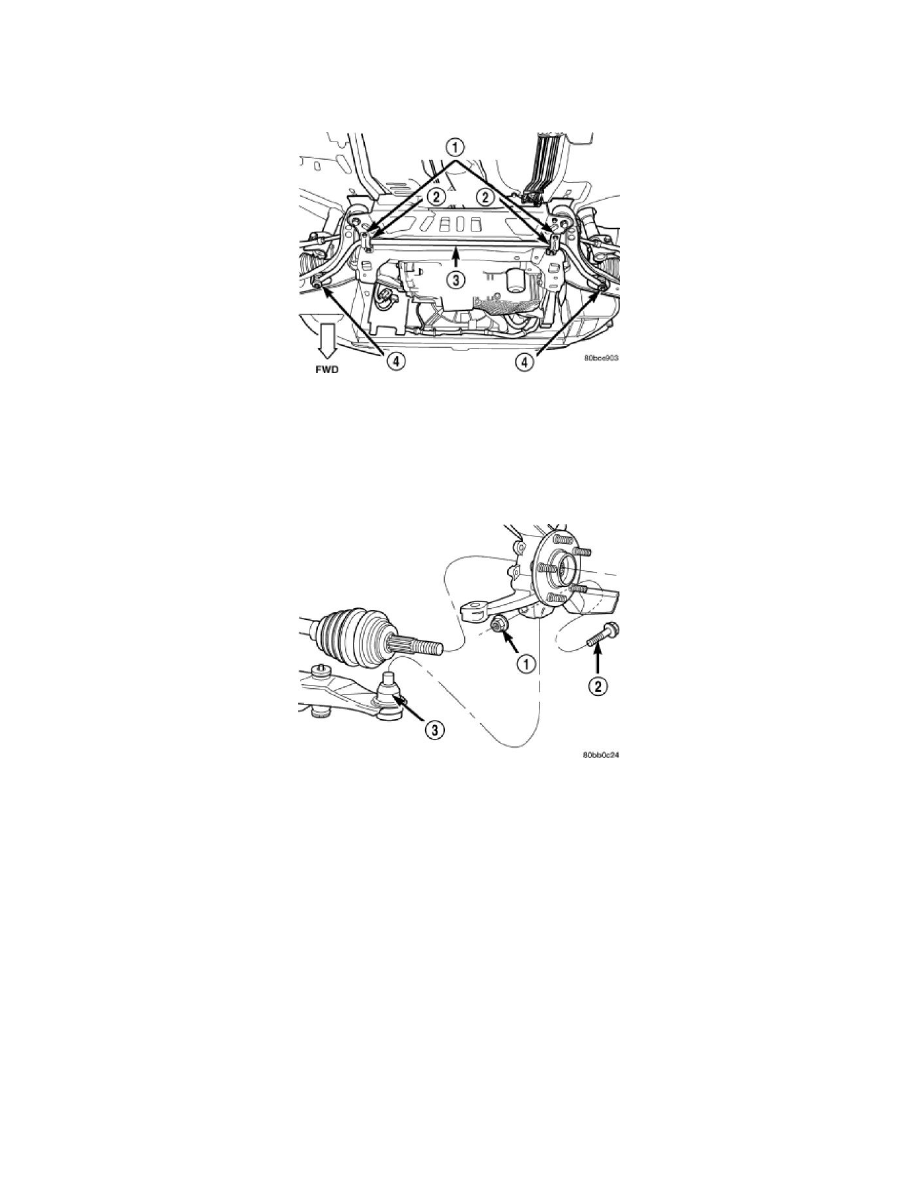
3. Remove both stabilizer bar links (4) from the vehicle. Remove each link by holding the upper retainer/nut with a wrench and turning the link bolt.
4. Remove the stabilizer bar cushion retainer bolts and retainers (1), and remove the stabilizer bar with cushions attached from the vehicle.
5. Remove the nut (1 )and pinch bolt (2) clamping each ball joint (3) stud to the steering knuckle.
CAUTION: After removing the steering knuckle from the ball joint stud, do not pull outward on the knuckle. Pulling the steering knuckle
outward at this point can separate the inner c/v joint on the driveshaft. Refer to front driveshafts in the differential and driveline area for
further information.
NOTE: Use caution when separating the ball joint stud from the steering knuckle, so the ball joint seal does not get cut.