
PT Cruiser L4-2.4L Turbo (2009)
3. Seat the grommet in the side panel and connect the cable to the instrument panel harness connector.
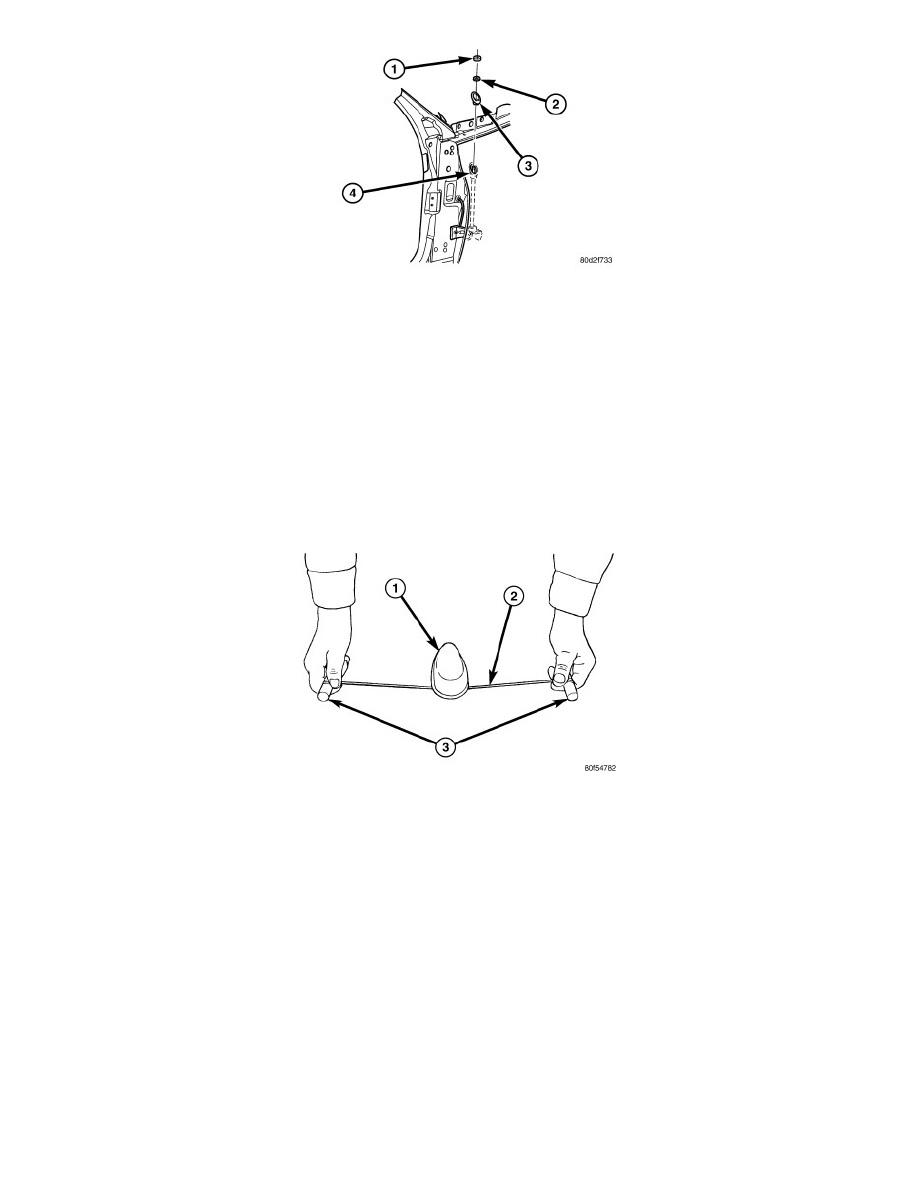
4. Install antenna nut (2) and adapter (3).
5. Install shroud (1), if equipped.
6. Install the inner fender shield.
7. Install antenna mast. Tighten to 5 Nm (46 in. lbs.). Ensure that the antenna mast is fully seated on antenna base and that there is no gap
between the mast and base.
8. Connect the antenna cable to the instrument panel antenna cable.
9. Install the right side cowl trim panel.
10. Connect the battery negative cable.
Satellite Radio Antenna Mast - Removal
REMOVAL
1. Disconnect and isolate the battery negative cable.
2. Lower the rear portion of the headliner as necessary to access underside of antenna (1)See: Body and Frame/Interior Moulding /
Trim/Headliner/Service and Repair/Headliner - Removal.
3. An adhesive removal tool can be created by using an 18 to 24 inch piece of nylon cord (2) wrapped around two handles (3). Using the removal
tool, guide the nylon cord under the dust seal on the forward side of the antenna. Grab the handles and work the cord through the adhesive.
Continue this for 360° around the antenna.
4. Disconnect the wire harness connectors from the antenna.
5. From inside the vehicle, and using a flat bladed tool, depress one of the retaining tabs on the antenna. Push up the one side of the antenna
connector through the roof panel. Depress the other side of the connector and remove the antenna.
6. Remove any remaining adhesive from roof panel with isopropyl alcohol and a lint free cloth. If original antenna is being reinstalled, remove
adhesive from antenna mounting surface.
Satellite Radio Antenna Mast - Installation
INSTALLATION