
PT Cruiser L4-2.4L Turbo VIN G (2004)
Lower Side Moulding / Trim: Service and Repair
MOLDING - BODY SIDE
REMOVAL
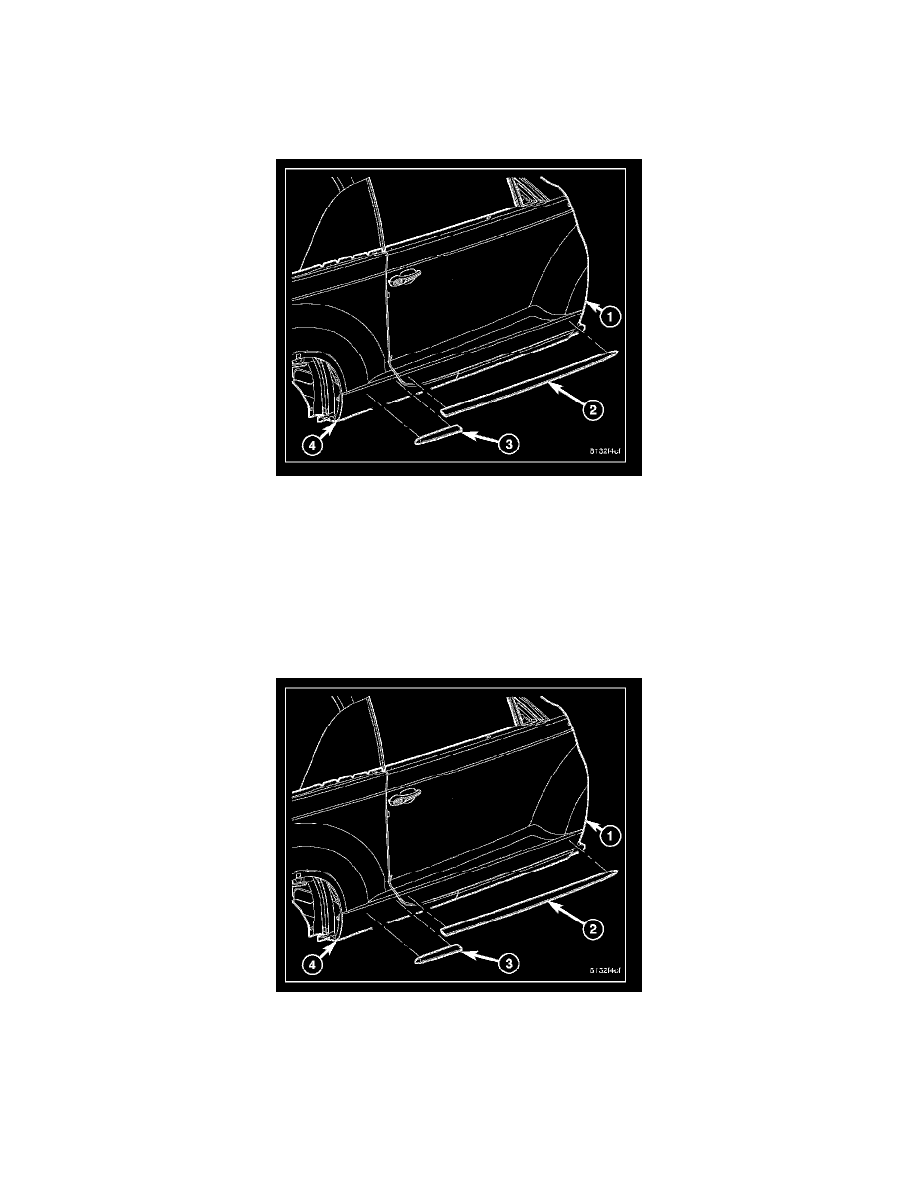
NOTE: Convertible model shown in illustration. Sedan model similar.
1. Mark all body side molding attachment locations on the front door (1) and quarter panel or rear door (4) (depending on application) with a grease
pencil or other suitable device to provide reference marks for reinstallation.
2. Using a heat gun, gently apply heat in a circular motion to loosen the adhesive bond that secures the body side moldings (2 and 3).
3. Using a trim stick C-4755 or equivalent, remove the body side molding (2) by gently pry up at the corners and carefully pulling on the remaining
portion of the molding.
4. Clean off all traces of adhesive or double sided tape from the panel with a general purpose adhesive remover.
INSTALLATION
NOTE: Convertible model shown in illustration. Sedan model similar.
1. Clean panel surfaces with isopropyl alcohol.
2. Position the body side moldings (2 and 3) to the front door (1) and quarter panel or rear door (4) (depending on application) and align the
moldings to the previously marked locations.
3. Install and press the moldings securely to ensure the adhesive fully adheres to the body panels.
4. Clean away the reference points previously marked.