
PT Cruiser L4-2.4L Turbo VIN G (2004)
Radiator Cooling Fan Motor: Service and Repair
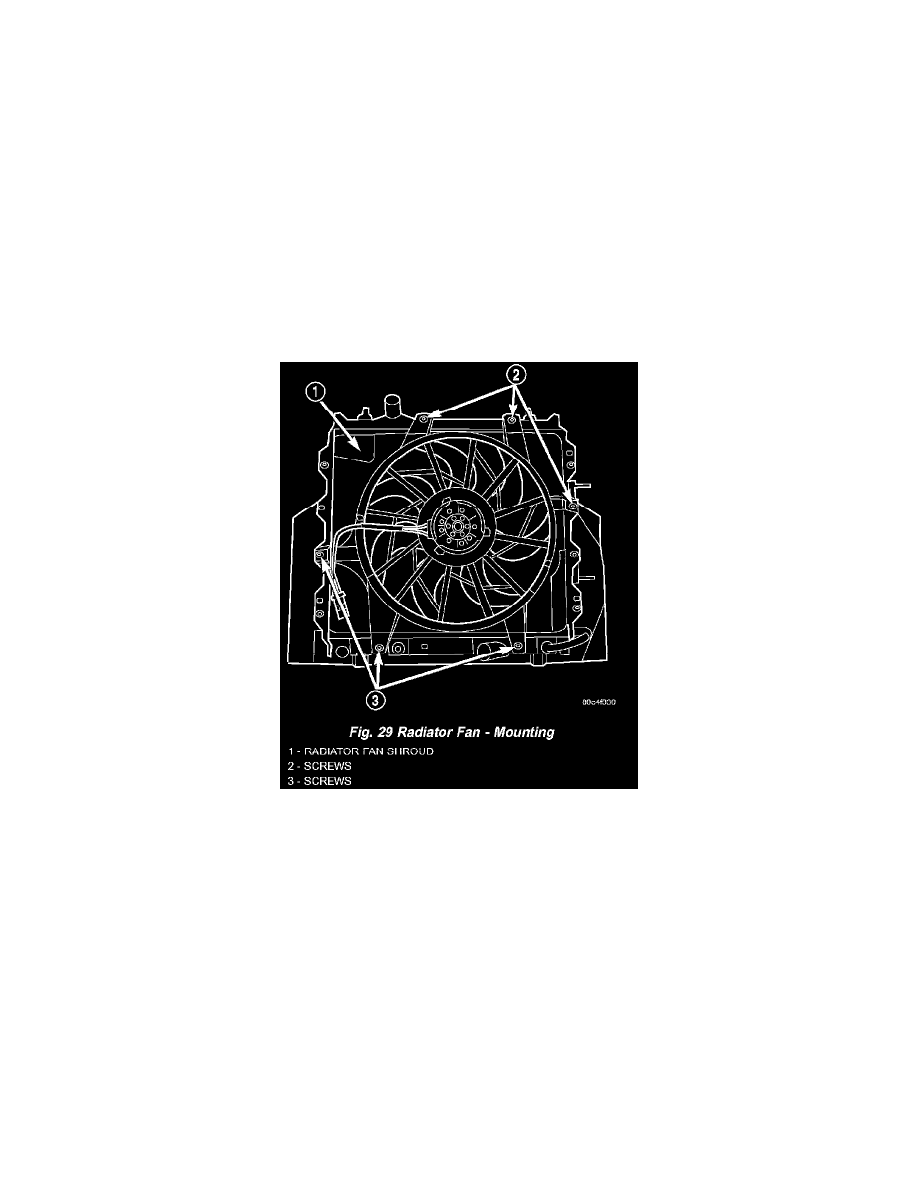
RADIATOR FAN
REMOVAL
NOTE: The fan motor, fan, and the shroud are serviced as an assembly.
WARNING: DO NOT OPEN THE RADIATOR DRAINCOCK WITH THE SYSTEM HOT AND UNDER PRESSURE BECAUSE
SERIOUS BURNS FROM COOLANT CAN OCCUR.
1. Disconnect negative cable from battery.
2. Remove battery and battery tray attaching screws. Move tray rearward for radiator fan clearance.
3. Drain cooling system below upper radiator hose level.
4. Remove grille.
5. Remove upper radiator support crossmember.
6. Remove upper radiator hose from radiator.
7. Hoist vehicle.
8. Disconnect radiator fan electrical connector.
9. Remove the two lower and left side radiator fan screws.
10. Lower vehicle and remove the remaining radiator fan attaching screws.
CAUTION: Care should be taken not to damage the radiator cooling fins and tubes during fan removal.
11. Remove radiator fan by lifting up from the engine compartment.
INSTALLATION
1. Install the radiator fan into position on the radiator.
2. Install the upper and right side radiator fan retaining screws and tighten to 6 Nm (55 inch lbs.).
3. Raise vehicle and install the remaining fan attaching screws. Tighten to 6 Nm (55 inch lbs.) .
4. Connect radiator fan electrical connector.
5. Lower vehicle and install the upper radiator hose to radiator. Align hose and position clamp so it will not interfere with the engine or the hood.
6. Install upper radiator support crossmember.
7. Install grille.
8. Install battery tray and battery.
9. Connect cables to battery.
10. Fill cooling system.