
PT Cruiser L4-2.4L Turbo VIN G (2004)
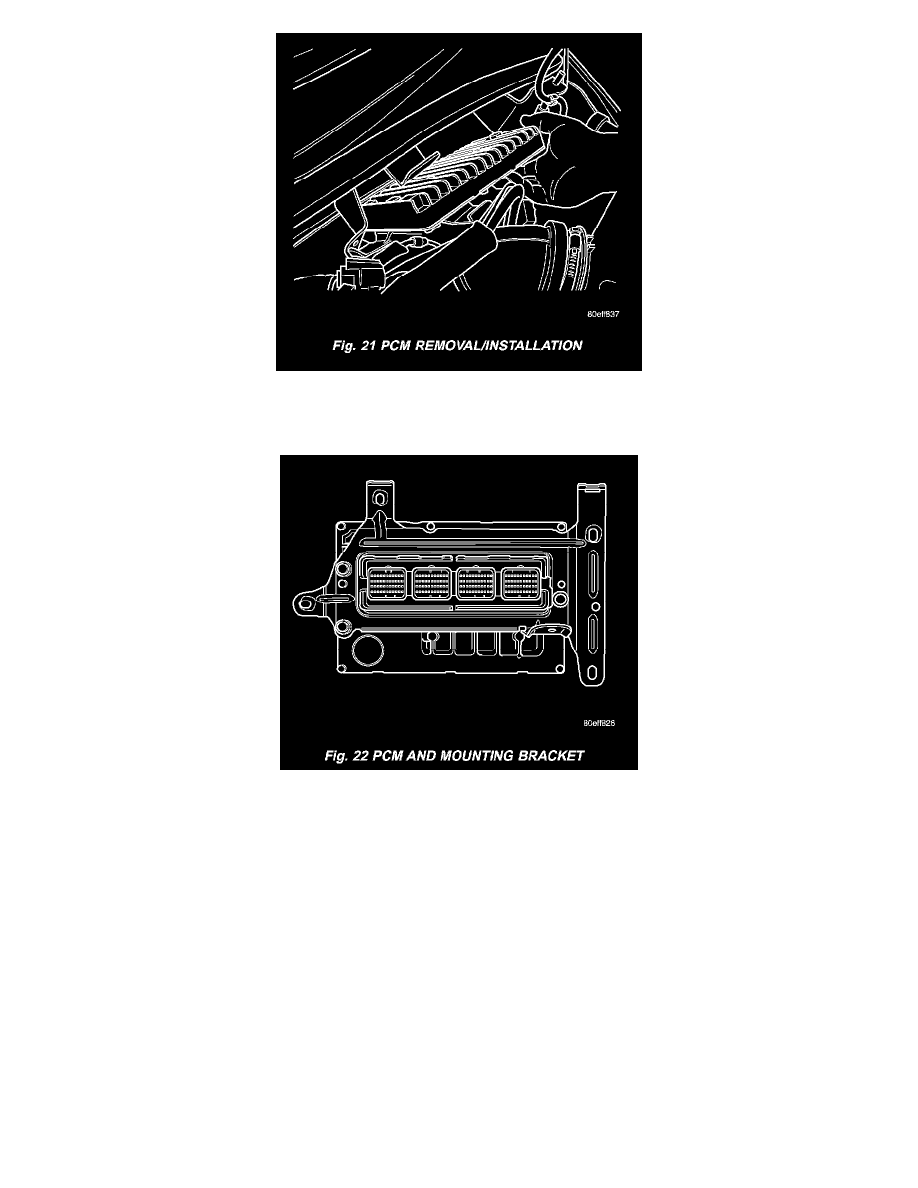
Fig. 21 PCM Removal/Installation
5. Remove the 3 mounting screws from the PCM mounting bracket and remove PCM and bracket assembly.
Fig. 22 PCM And Mounting Bracket
6. Remove the 3 screws from the PCM bracket to PCM.
INSTALLATION
1. Install the PCM bracket and 3 screws to the PCM and tighten to 11.8 Nm (105 in. lbs.).
2. Install the PCM and bracket assembly and locate the bracket on the tab.
3. Install the 3 mounting screws to the PCM mounting bracket and tighten to 10.7 Nm (95 in. lbs.).
NOTE: The electrical connector for the PCM are COLOR Coded.
4. Connect and lock the 3 or 4 electrical connectors to the Powertrain Control Module (PCM).
5. Relocate and install the clutch reservoir.
6. Connect the negative battery cable.