
PT Cruiser L4-2.4L Turbo VIN G (2004)
Clockspring Assembly / Spiral Cable: Service and Repair
REMOVAL
1. Place the front road wheels in the straight ahead position. Then:
-
Rotate the steering wheel half turn (180 degrees) to the right (clockwise).
-
Lock column with ignition lock cylinder.
2. Open hood.
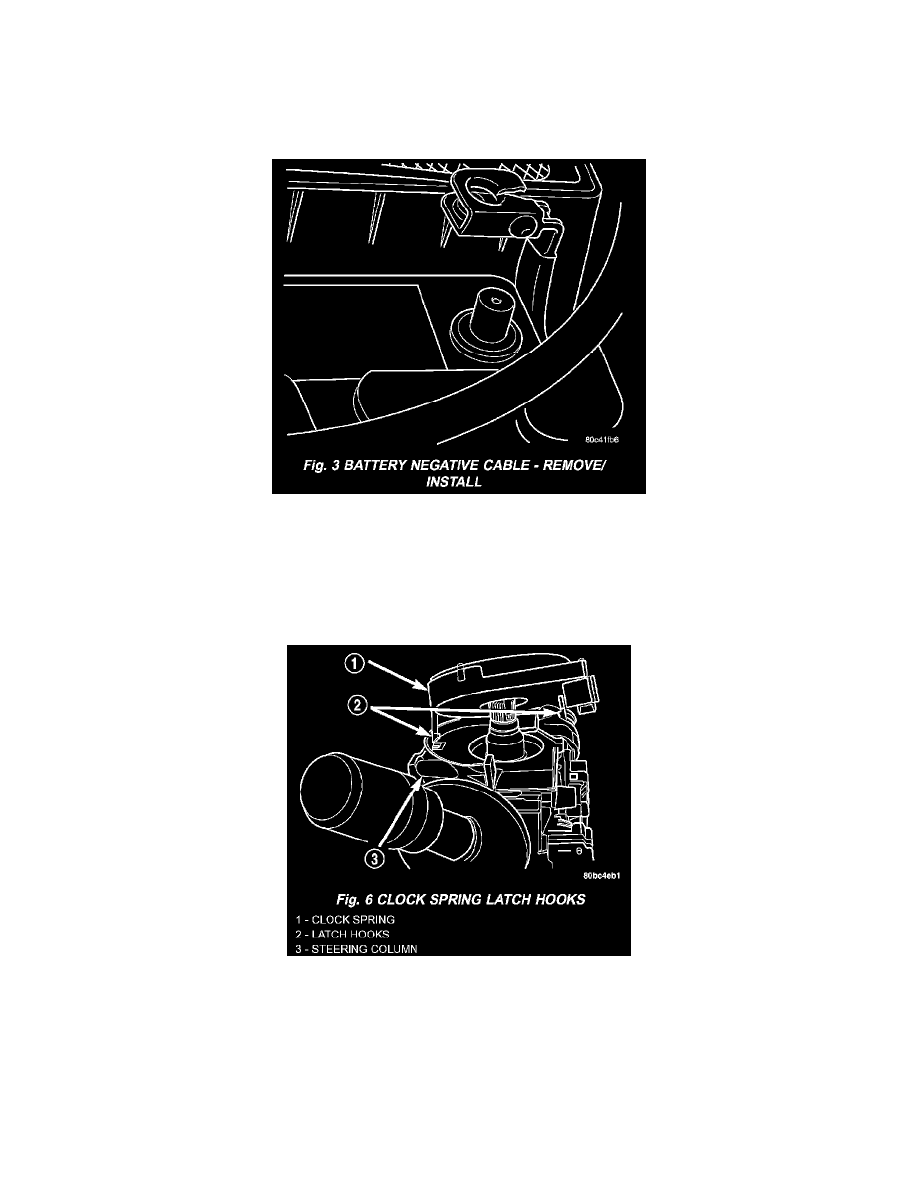
Fig. 3 Battery Negative Cable - Remove/Install
3. Disconnect and isolate the battery negative cable. Wait two minutes for the capacitor to discharge before removing non-deployed module.
4. Remove steering wheel.
5. Remove upper and lower steering column shrouds to gain access to clock spring wiring.
6. Remove multi-function switch (Refer to ELECTRICAL/LAMPS/LIGHTING - EXTERIOR/ MULTI-FUNCTION SWITCH - REMOVAL).
7. Disconnect the 7-way connector between the clock spring and the instrument panel wiring harness at the base of the clock spring.
Fig. 6 Clock Spring Latch Hooks
8. Remove clock spring by lifting the top latch tab up slightly to guide it over the lock housing. The clock spring cannot be repaired, and must be
replaced if faulty.
9. Rotate clock spring rotor a half turn (180 degrees) to the left (counter clockwise).
10. Lock the clock spring rotor in the center position as follows: Insert a paper clip wire through the hole in the rotor at the 10 o'clock position and
bend to prevent it from falling out.
INSTALLATION
1. Confirm that: