
PT Cruiser L4-2.4L Turbo VIN G (2004)
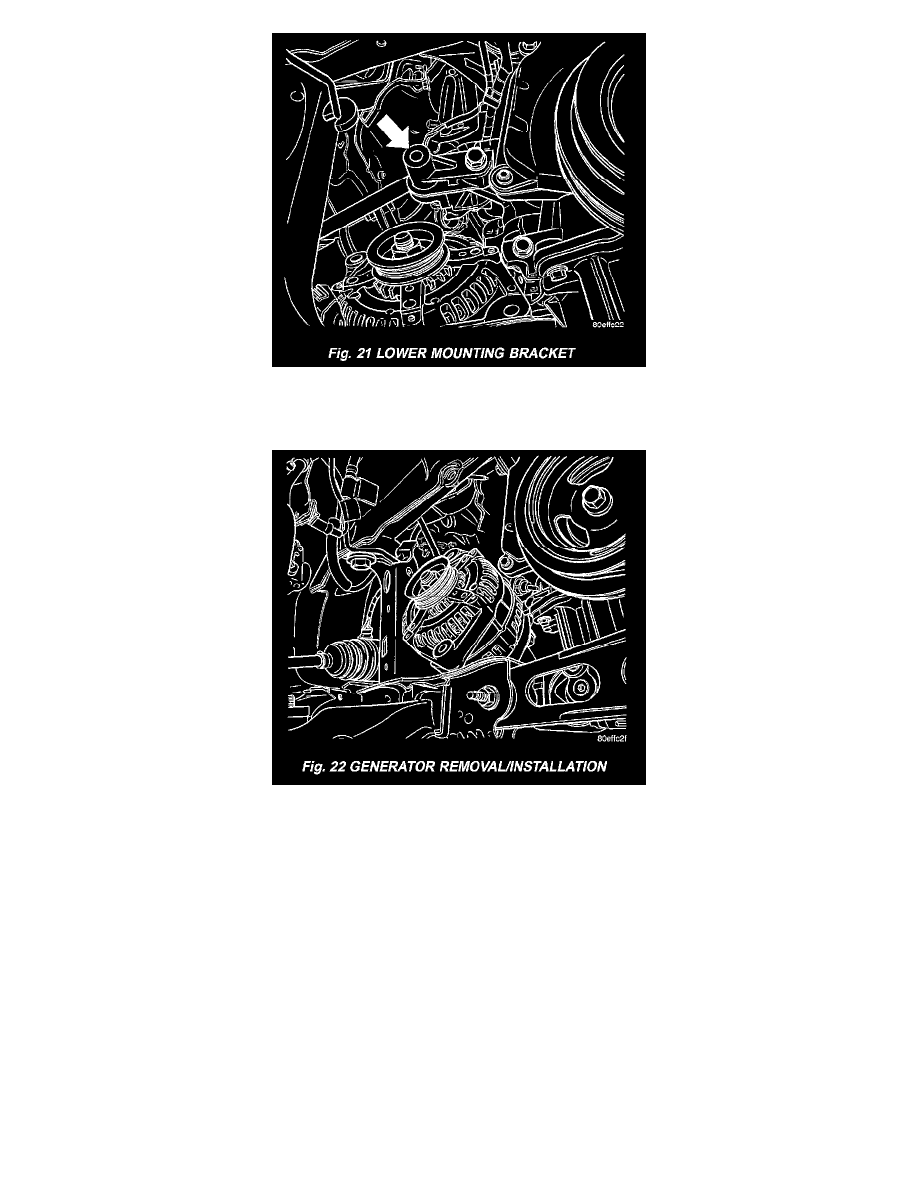
Fig. 21 Lower Mounting Bracket
20. Remove the lower mounting bracket for the generator.
Fig. 22 Generator Removal/Installation
21. Remove generator through the axle shaft hole.
INSTALLATION
1. Install generator through the axle shaft hole in wheel well.
2. Put generator on upper t-bolt and loosen install the nut.
3. Install the lower mounting bracket for the generator to the block and tighten bolts to 54 Nm (40 ft. lbs.).
4. Loose install the lower pivot bolt for the generator.
5. Install the B+ terminal nut and wire and tighten nut to 11.3 Nm (100 in. lbs.).
6. Plug in the field circuit to the generator.
7. Install the axle shaft assembly.
8. Install the 2 bolts for the axle shaft bearing support and tighten bolts to 54.2 Nm (40 ft. lbs).
9. Install the axle shaft into the steering knuckle.
10. Install the lower control arm to the steering knuckle and install the bolt and tighten bolts to 94.9 Nm (70 ft. lbs.).
11. Install the axle retaining nut and tighten nut to 244 Nm (180 ft. lbs.).
12. Install and tension the generator belt, refer to the Cooling section for more information.
13. Tighten the accessory drive belt t-bolt and tighten nut to 54 Nm (40 ft. lbs.).
14. Tighten the lower generator pivot bolt and tighten bolts to 54 Nm (40 ft. lbs.).
15. Install the pencil strut.