PT Cruiser L4-2.4L Turbo VIN G (2004)

Wheel Cover: Service and Repair
Wheel Cover
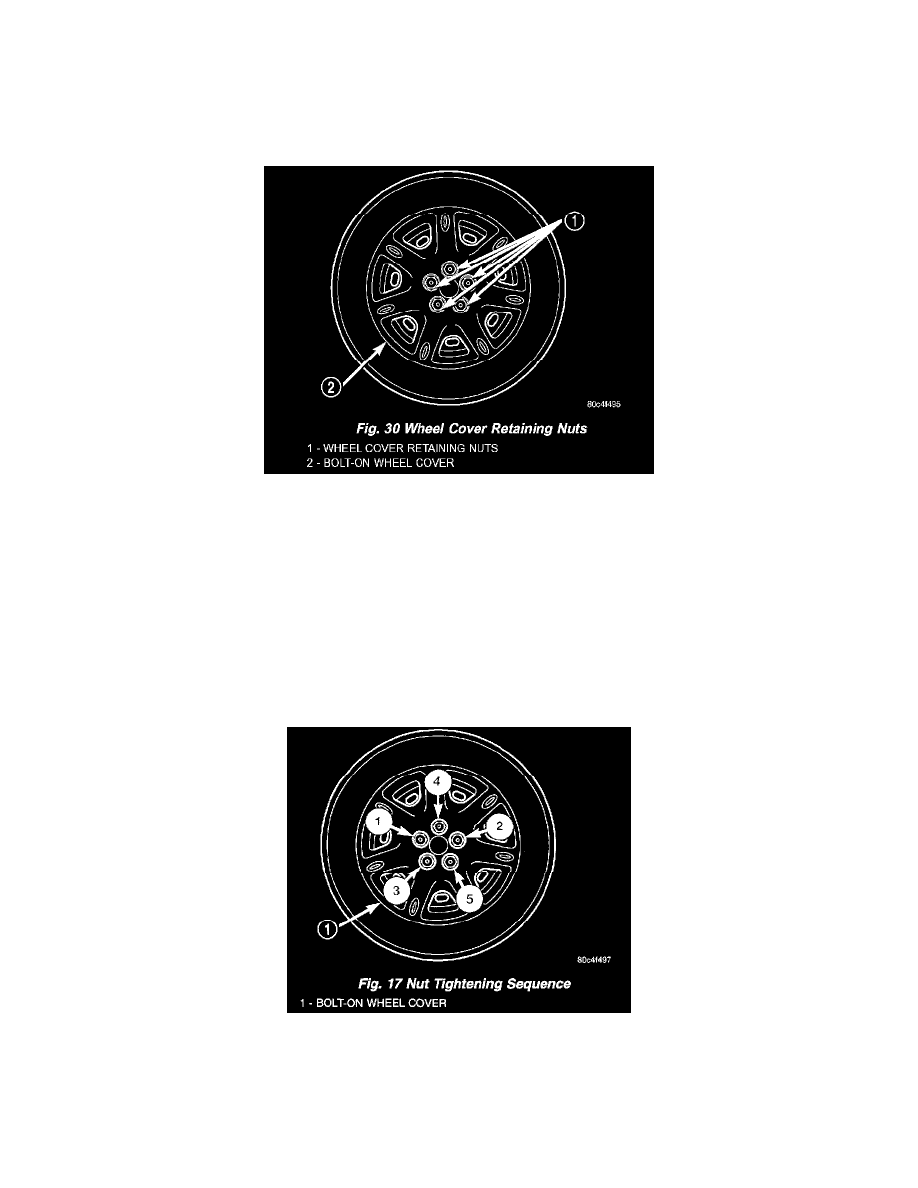
REMOVAL - WHEEL COVER
NOTE: When un-threading the wheel cover retaining nuts from the wheel nuts, it is recommended that a hand wrench be used and not an impact
wrench. Use of an impact wrench could result in damage to the wheel cover retaining nuts.
1. Un-thread the 5 nuts attaching the wheel cover to the wheel nuts.
2. Grasp the wheel cover and pull straight outward from the wheel. This will remove the wheel cover from the wheel.
INSTALLATION - WHEEL COVER
1. Align the valve notch in the wheel cover with the valve stem on the wheel. Align the wheel cover retaining nuts with the externally threaded wheel
nuts.
2. By hand, start to thread all 5 of the wheel cover retaining nuts onto the externally threaded wheel nuts.
NOTE: When tightening the wheel cover retaining nuts it is recommended that a hand wrench be used and not an impact wrench. Use of an
impact wrench could result in damage to the wheel cover retaining nuts.
NOTE: To avoid rattling of the wheel cover, be sure all five retaining nuts are correctly tightened using the procedure described in the following
step.
3. Progressively tighten each of the wheel cover retaining nuts following the pattern shown in the figure. Repeat the tightening sequence at least one
more time. If a retaining nut "jumps" a thread (slips), which is an override feature of the retaining nut, retighten all the nuts again following the
proper tightening sequence to a point just prior to the thread slip occurring.
