
Sebring V6-2.5L VIN N (1997)
Shift Cable: Service and Repair
REMOVAL
1. Remove air cleaner and air intake hose assembly.
2. Remove center dash trim panel.
3. Remove center console cup holder assembly.
4. Remove floor console assembly.
5. Remove console side panels.
6. Remove Transmission Control Module (TCM) bracket.
7. Remove TCM.
8. Remove shifter cable from transaxle operating lever by removing nut and clip.
9. Remove shifter cable from shifter lever assembly by removing clip.
10. Remove shifter cable from shifter lever mechanism.
11. Remove cable from firewall grommet by removing grommet assembly nuts.
12. Remove gearshift cable from vehicle.
ADJUSTMENT
Lift and rotate the gearshift hand lever into the park (P) gate position and remove the ignition key. This confirms the shift lever is in the gated park
(P) position.
After confirming the park gate position, turn the ignition switch . If the starter will operate, the park gate position is correct. Move the shift lever
into the neutral (N) position. If the starter will operate in this position, the linkage is properly adjusted. If the starter fails to operate in either
position, linkage adjustment is required.
1. Park the vehicle on level ground and set the parking brake.
2. Place the gearshift lever in park (P) gate position and remove key.
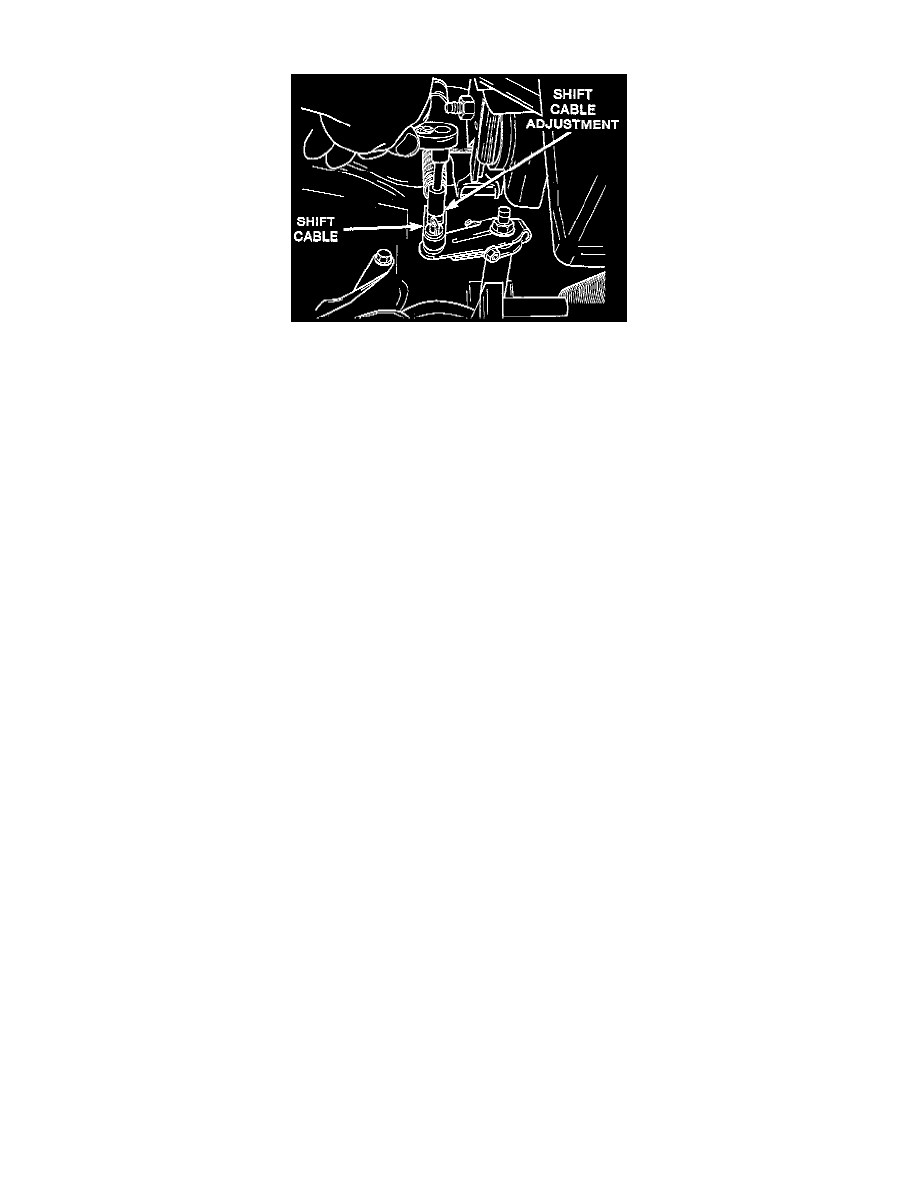
3. Loosen the cable adjustment screw at the transaxle operating lever.
4. Pull the transaxle operating lever fully forward to the park detent position.
5. Release the park brake, then rock the vehicle to assure it is in park lock. Reset the park brake.
6. Tighten the cable adjustment screw to 8 Nm (70 inch lbs.). Gearshift cable should now be properly adjusted.
7. Check adjustment by using the preceding procedure.