Sebring Convertible V6-2.7L (2009)

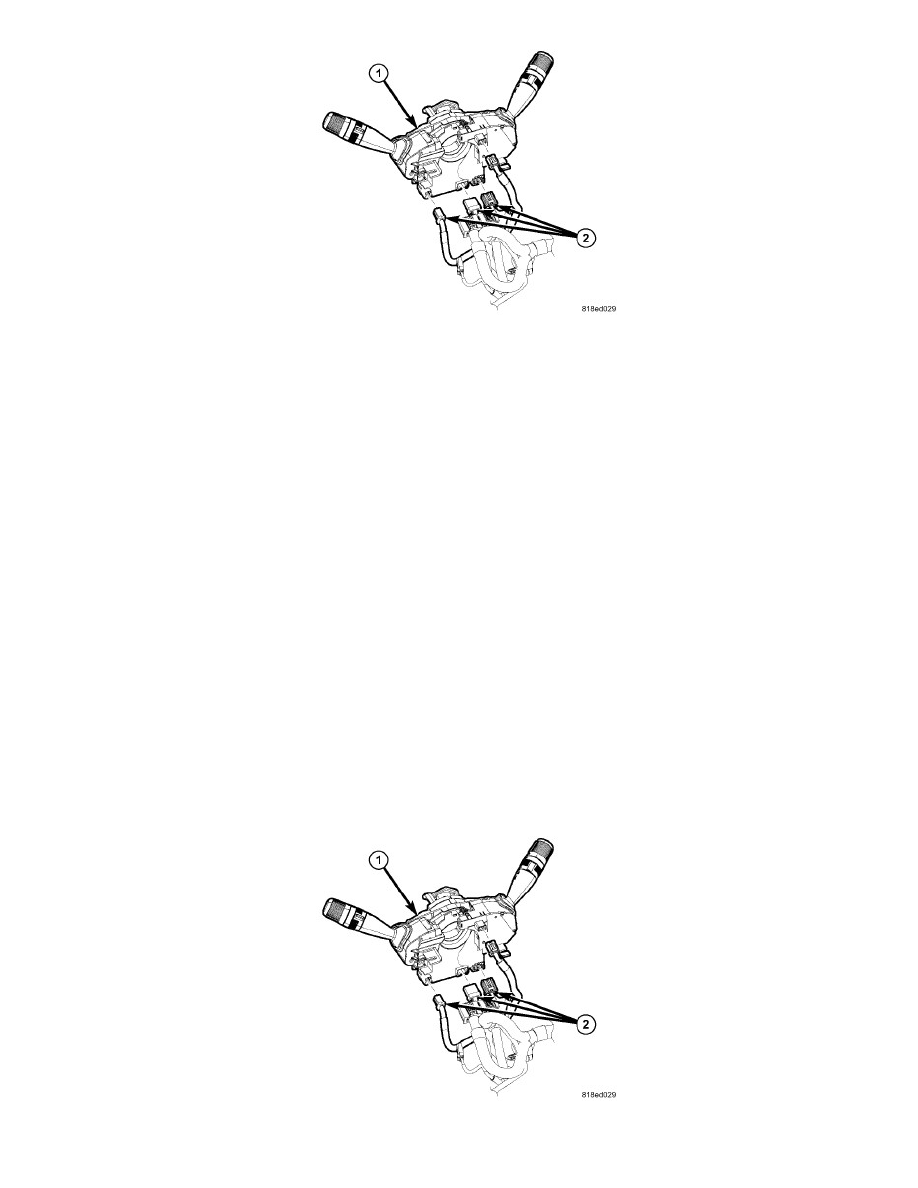
10. Pull the clockspring (1) away from the steering column lock housing far enough to access and disconnect the three instrument panel wire harness
connectors (2) from the receptacles on the back of the clockspring case.
11. Remove the clockspring from the steering column.
Clockspring - Installation
INSTALLATION
WARNING: To avoid serious or fatal injury on vehicles equipped with airbags, disable the supplemental restraint system before attempting
any steering wheel, steering column, airbag, occupant classification system, seat belt tensioner, impact sensor, or instrument panel
component diagnosis or service. Disconnect and isolate the battery negative (ground) cable, then wait two minutes for the system
capacitor to discharge before performing further diagnosis or service. This is the only sure way to disable the supplemental
restraint system. Failure to take the proper precautions could result in accidental airbag deployment.
NOTE: A service replacement clockspring is shipped with the clockspring pre-centered and with a molded plastic locking pin installed. This
locking pin should not be removed until the steering wheel has been installed on the steering column. If the locking pin is removed
before the steering wheel is installed, the clockspring centering procedure must be performed.
When a clockspring is installed into a vehicle without properly centering and locking the entire steering system, the Steering Angle
Sensor (SAS) data does not agree with the true position of the steering system and causes the ESP system to shut down. This may also
damage the clockspring without any immediate malfunction. Unlike some other Chrysler vehicles, this SAS never requires calibration.
See: Procedures .
Determining if the clockspring/SAS is centered is also possible electrically using the diagnostic scan tool. Steering wheel position is
displayed as ANGLE with a range of up to 900 degrees. Refer to the appropriate menu item on the diagnostic scan tool.
Before starting this procedure, be certain to turn the steering wheel until the front wheels are in the straight-ahead position and that
the entire steering system is locked or inhibited from rotation.
1. If a new clockspring (1) is being installed, transfer the multifunction switch jumper harness from the old clockspring or position a new jumper
