
Sebring Convertible V6-2.7L (2009)
Shock/Installation
Assembly
ASSEMBLY
NOTE: If the coil spring has been removed from the spring compressor, proceed with the next step, otherwise, proceed with 3.
NOTE: To determine the flat coil end of the coil spring for the following step, attempt to stand the coil spring on end on a flat, level surface. If
the coil spring stands on end, the end on the flat surface is the flat coil end. If the coil spring falls over, the end on the flat surface is
not the flat coil end. Stand the coil spring on the opposite end to verify.
1. Place the coil spring flat coil end downward (see above note) in the spring compressor following the manufacturer's instructions.
2. Slowly compress the coil spring until enough room is available for shock assembly reassembly.
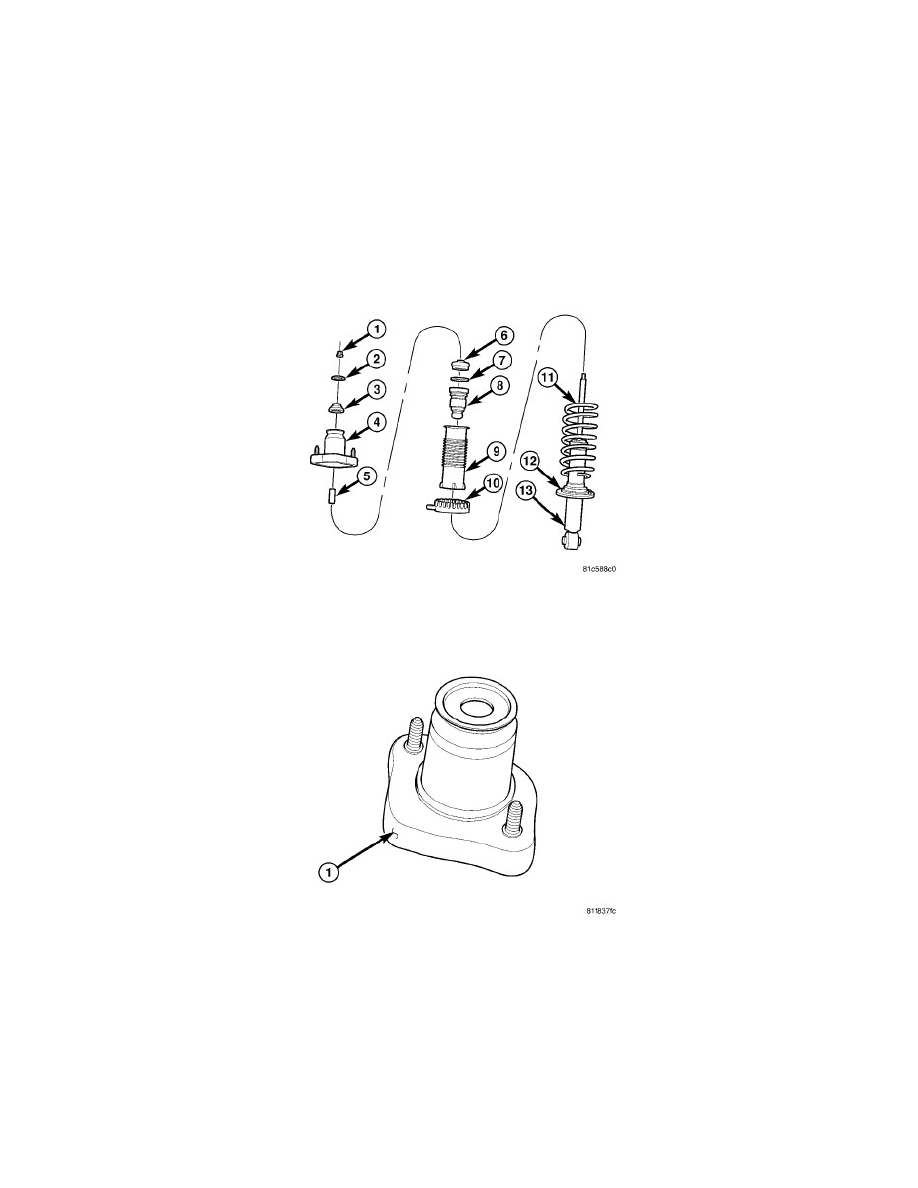
3. Assemble the bushings (3, 6) and sleeve (5) through the upper mounting bracket (4).
NOTE: When installing the upper spring isolator on the upper mounting bracket in the following step, make sure the tab on the isolator is
positioned toward the forward mounting stud on the mounting bracket. To determine the forward mounting stud on the mounting
bracket, position the angular formed side (as viewed from above; opposite side of bracket is rounded) of the mounting bracket flange
(1) toward you with the mounting studs pointing upwards. The stud to the left would be the forward mounting stud for a left rear
shock assembly. The stud to the right would be the forward mounting stud for a right rear shock assembly.