
Sebring Convertible V6-2.7L Flex Fuel (2008)
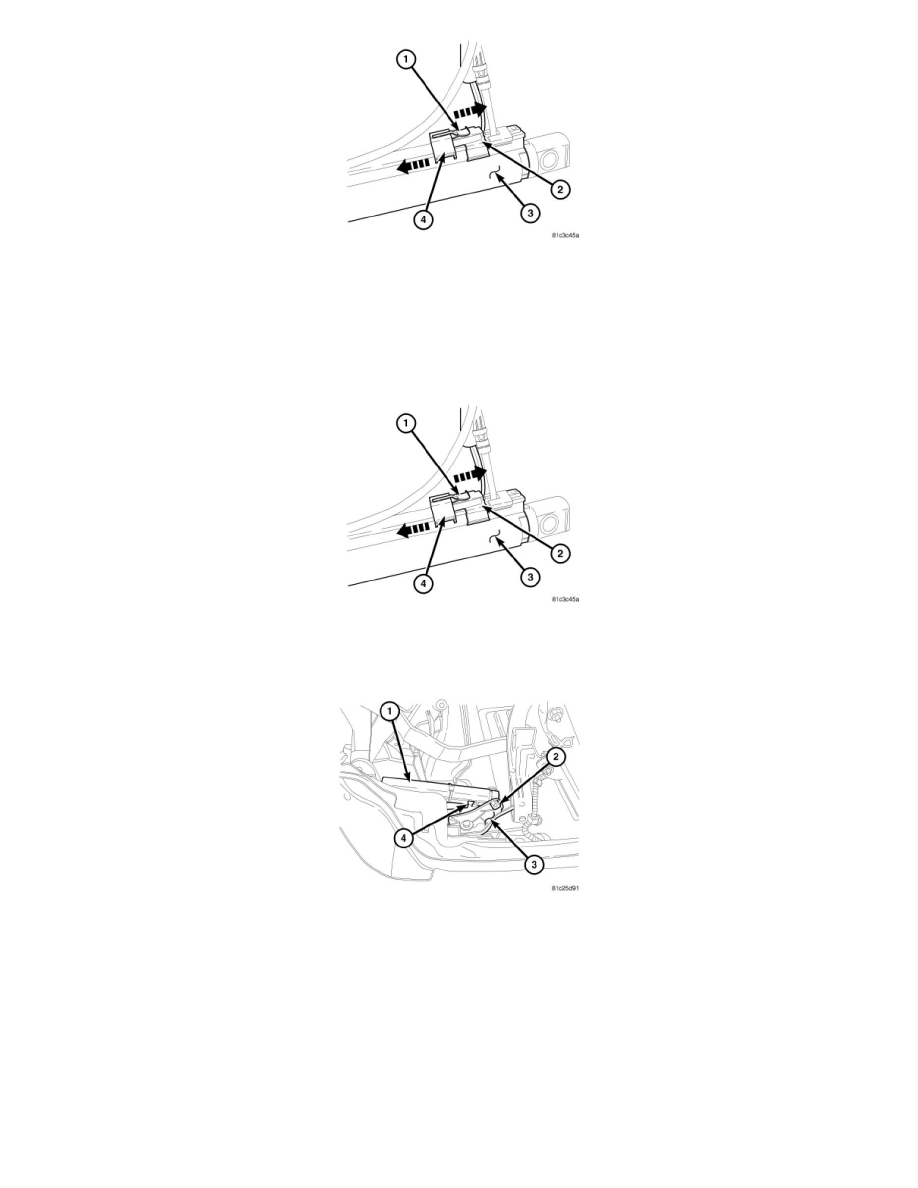
6. Using a small flat bladed screwdriver or other suitable tool, gently slide the position switch retainer locking tab (1) away from the retainer (4).
7. Slide the position switch retainer (4) away from the switch (2).
8. Lift the position switch (2) off of the folding top stack cylinder (3).
9. Disconnect any position switch wire harness routing clips and remove the switch from the vehicle.
Installation
INSTALLATION
1. Position the folding top stack cylinder position switch (2) onto the folding top stack cylinder (3).
2. Secure the position switch to the folding top stack cylinder. Push the switch retainer (4) over the switch (2). Push the position switch retainer
locking tab (1) towards the retainer (4) until the two are fully engaged.
3. Connect the position switch (4) wire harness routing clips to the left inner quarter panel.
4. Connect the folding top stack cylinder position switch electrical connector.
5. Position the cylinder onto the vehicle main pivot bracket assembly (3) and install the retaining pin and clip (2).
6. Install the left and right trunk trim panels.
7. Install the rear trunk trim panel.
8. Close the rear decklid.
9. Connect the battery negative cable.
Removal
REMOVAL