Sebring Convertible V6-2.7L VIN R (2003)

Valve Seat: Service and Repair
Removal and Installation
INTAKE/EXHAUST VALVES & SEATS
REMOVAL
1. Remove cylinder head(s).
2. Remove valve spring.
3. Before removing valves, remove any burrs from valve stem lock grooves to prevent damage to the valve guides.
4. Remove valve. Identify each valve to ensure installation in original location.
INSPECTION
Valves
1. Clean and inspect valves thoroughly. Replace burned, warped and cracked valves.
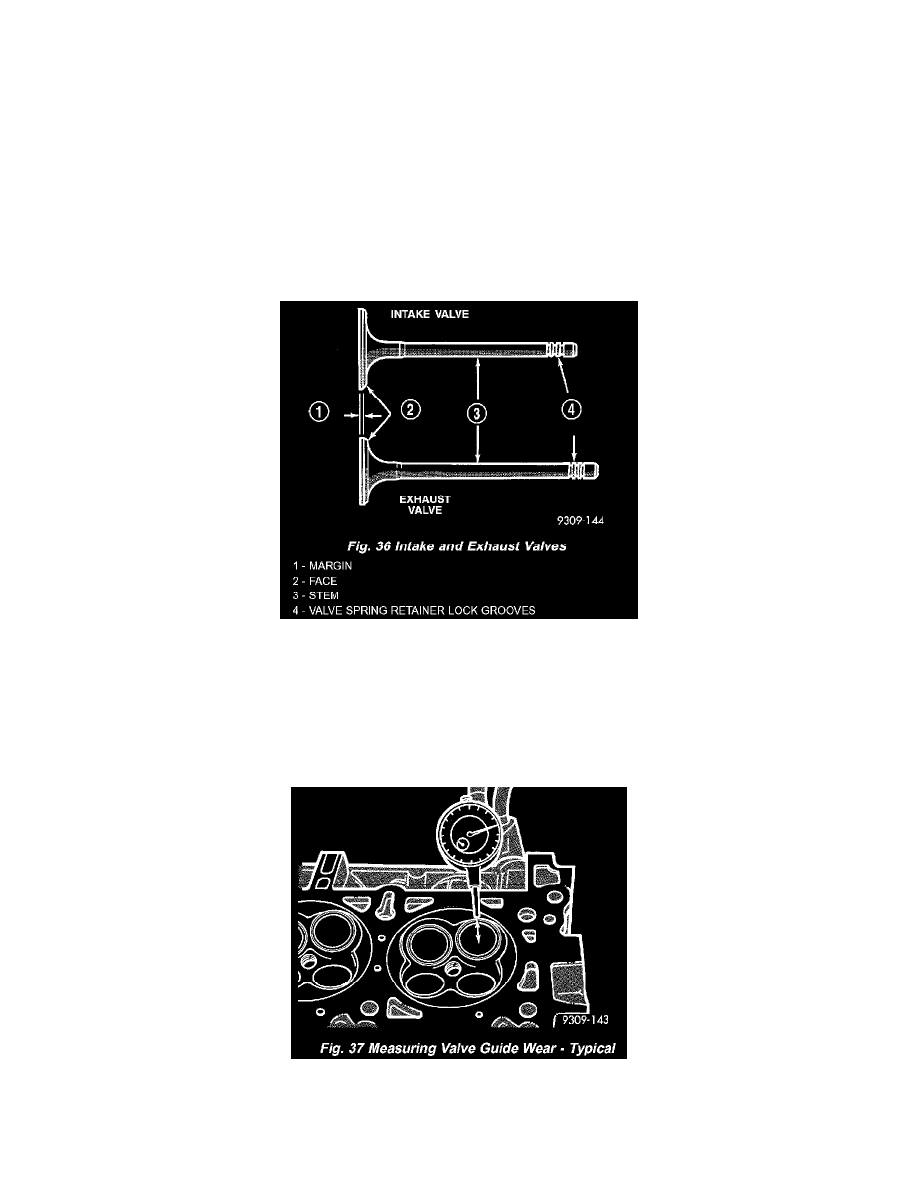
2. Measure valve stems for wear (Fig. 36).
NOTE: Valve stems are chrome plated and should not be polished (Fig. 36).
Valve Guides
1. Remove carbon and varnish deposits from inside of valve guides with a reliable guide cleaner.
2. Measure valve stem-to-guide clearance as follows:
3. Install valve into cylinder head so it is 15 mm (0.590 inch.) off the valve seat. A small piece of hose may be used to hold valve in place.
4. Attach dial indicator Tool C-3339 to cylinder head and set it at right angle of valve stem being measured (Fig. 37).
5. Move valve to and from the indicator.
NOTE: Replace cylinder head if stem-to-guide clearance exceeds specifications, or if guide is loose in cylinder head.
