
Sebring Convertible V6-2.7L VIN R (2003)
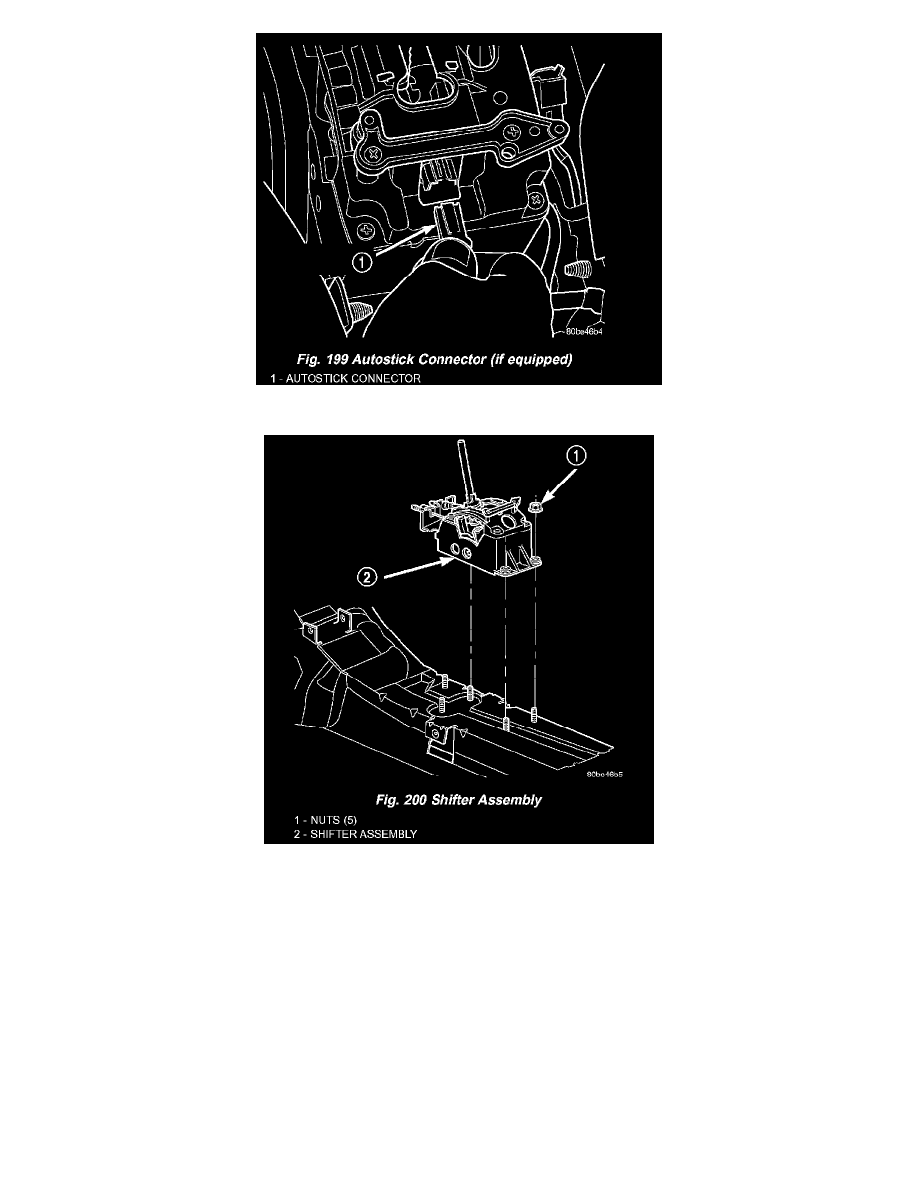
9. Disconnect Autostick connector (if equipped) (Fig. 199).
10. Remove the five nuts at the base of the shifter assembly. Remove assembly from vehicle (Fig. 200).
INSTALLATION
1. Install shifter mechanism (Fig. 200). mechanism-to-floor pan nuts to 17 Nm (150 in. lbs.).
2. Install gearshift cable into conduit bracket and onto shift pin. Install retainer clip (Fig. 196).
3. Tighten cable adjuster nut to 23 Nm (200 in. lbs.).
4. Insert interlock cable core wire into interlock adjustment lever groove. Make sure the interlock cable slug is seated in the groove (Fig. 198).
5. Insert interlock cable adjuster end into bracket and snap into place (Fig. 198).
6. Adjust the gearshift and interlock cables.
NOTE: Gearshift and Interlock cables MUST be adjusted.
7. If equipped with Autostick, connect the Autostick connector (Fig. 199).
8. Install center console assembly (Fig. 195).
9. Connect range indicator lamp and install gearshift bezel (Fig. 194).
10. Install the gearshift knob and tighten set screw (Fig. 193) to 2 Nm (20 in. lbs.).
11. Connect the battery negative cable.