
Sebring Coupe V6-3.0L VIN H (2005)
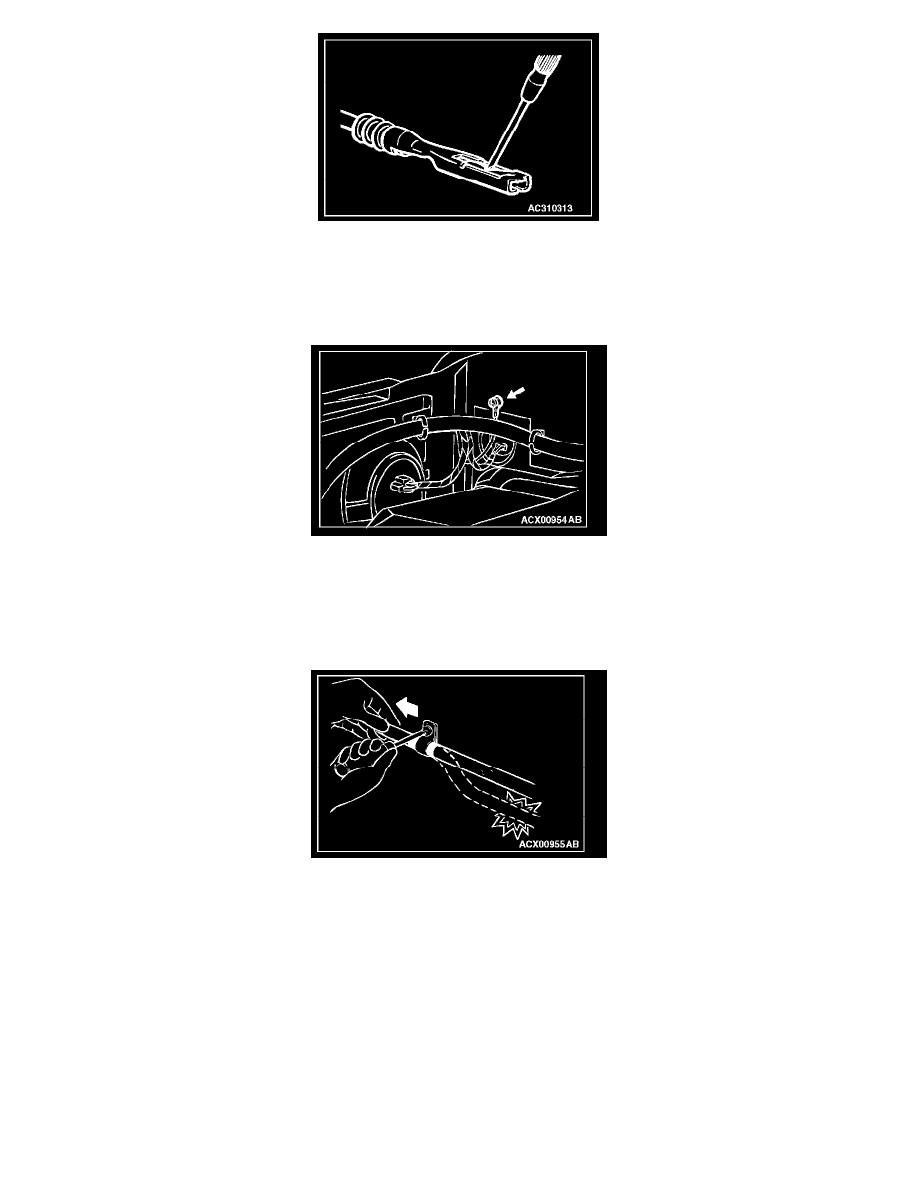
CAUTION: Make sure the lance is pressed in before the terminal is inserted into the connector.
3. Press the contact point of the male terminal down by holding a screwdriver [1.4 mm (0.06 inch) width] as shown in the figure.
Cable and Wires Check
1. Check connections for looseness, rust, and stains.
2. Check terminals and wires for corrosion by battery electrolyte, etc.
3. Check terminals and wires for open circuit or frayed wires.
4. Check wire insulation and coating for damage, cracks, and wear.
5. Check conductive parts of terminals for contact with other metallic parts (vehicle body and other parts).
6. Check grounding parts to verify that there is complete continuity between attaching bolt(s) and vehicle body.
7. Check for incorrect wiring.
8. Check that harnesses are secured to prevent contact with sharp edges and corners or hot parts (exhaust manifold, pipe, etc.).
9. Check that harnesses are secured firmly to provide enough clearance from the fan pulley, fan belt, and other rotating or moving parts.
10. Check that the harness between fixed parts (such as the vehicle body) and vibrating parts (such as the engine) are long enough to allow for
vibration and movement.
Battery Handling