
Sebring LX Convertible L4-2.4L VIN X (2002)
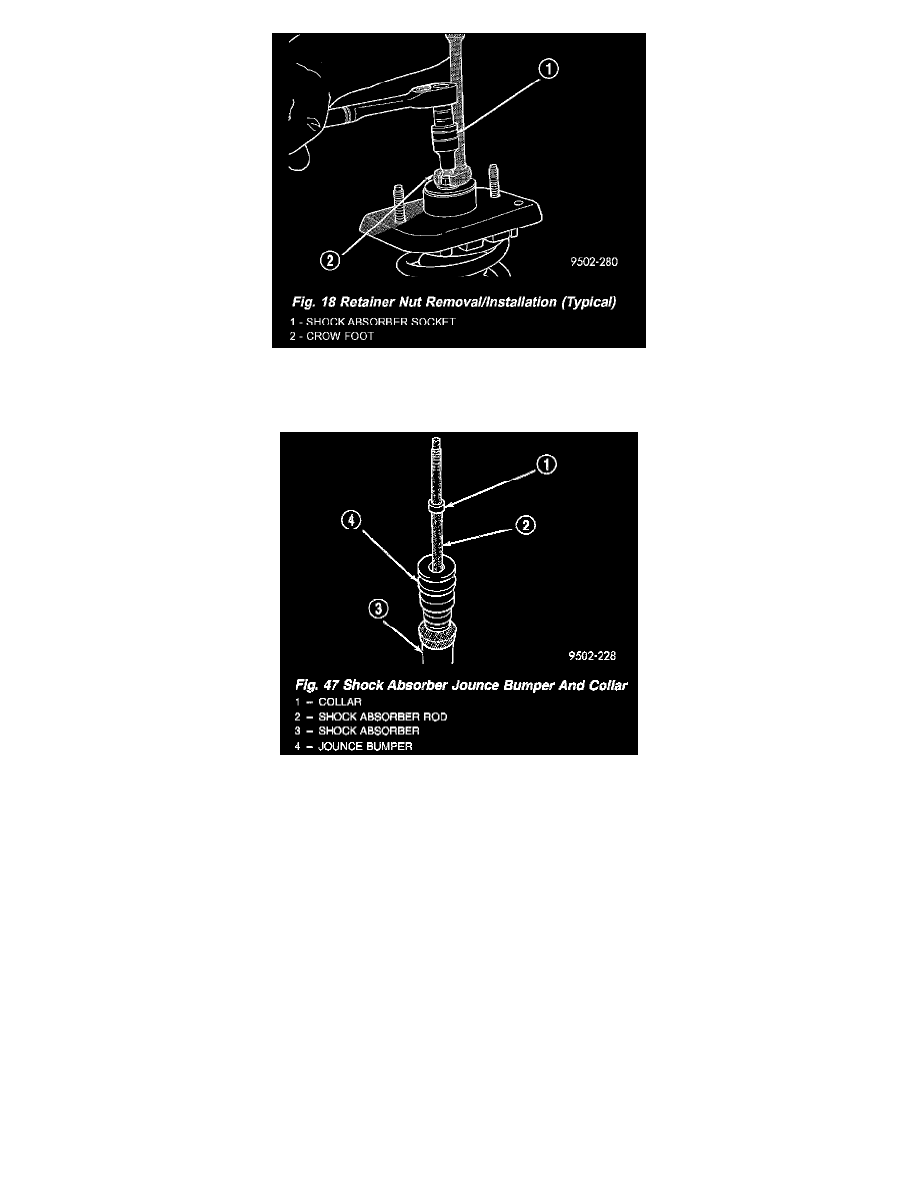
10. Remove the clamp from the bottom of the coil spring and remove the shock absorber, lower spring isolator, jounce bumper, and collar out through
the bottom of the coil spring.
11. Remove the jounce bumper and the collarfrom the rod of the shock absorber.
Fig. 47
12. Remove the lower coil spring isolatorfrom the lower spring seat on the shock absorber.
13. Remove the upper shock rod isolator bushing and sleeve from the upper shock mount.
14. Remove the lower shock rod isolator bushing from the upper shock mount.
15. Inspect the shock assembly components for the following and replace as necessary:
^
Inspect the shock for any condition of rod binding over the full stroke of the shaft.
^
Check the upper shock mount for cracks and distortion, and locating studs for any sign of damage.
^
Check the upper and lower shock rod isolator bushings for severe deterioration of the rubber.
^
Check the upper and lower coil spring isolators for severe deterioration of the rubber.
^
Inspect the dust shield for rips and deterioration.
^
Inspect the jounce bumper for cracks and signs of deterioration.
^
Inspect the coil spring for any sign of damage to the coating.
16. If the coil spring needs to be serviced, release the tension from the coil spring by backing off the compressor drive fully. Push back the compressor
upper hooks and remove the coil spring from the compressor.
ASSEMBLY - SHOCK ASSEMBLY
1. If the coil spring has been removed from the compressor, place the lower end (smaller diameter) of the coil spring in the spring compressor
supported by the lower hooks at the same position as in disassembly, following the manufacturer's instructions.
2. Position the upper hooks of the spring compressor on the coil spring near the top as in disassembly.
3. Compress the coil spring enough to reinstall the shock absorber and upper mount.