
Sebring LXI Convertible V6-2.7L VIN R (2002)
Front Door Panel: Customer Interest
Door Trim Belt Line Molding - Delaminating
NUMBER: 23-016-02
GROUP: Body
DATE: Apr. 1, 2002
THIS BULLETIN IS BEING PROVIDED IN ADVANCE. DO NOT ORDER PARTS OR PERFORM ANY ACTIONS RELATED TO THIS
BULLETIN UNTIL APRIL 29, 2002.
SUBJECT:
Door Trim Belt Line Molding Delamination
OVERVIEW:
This bulletin involves replacing both door trim panel belt line moldings (black hard plastic strip at the top of the door trim panel).
MODELS:
2001 - 2002 (JR27) Sebring Convertible
SYMPTOM/CONDITION:
Top surface of door trim panel belt line molding has a blistered or peeling appearance. The condition first appears at the rear edge most often, but can
occur anywhere along the molding.
DIAGNOSIS:
Visually inspect the door trim panel belt line moldings, if either panel has a blistered or peeling appearance perform the Repair Procedure.
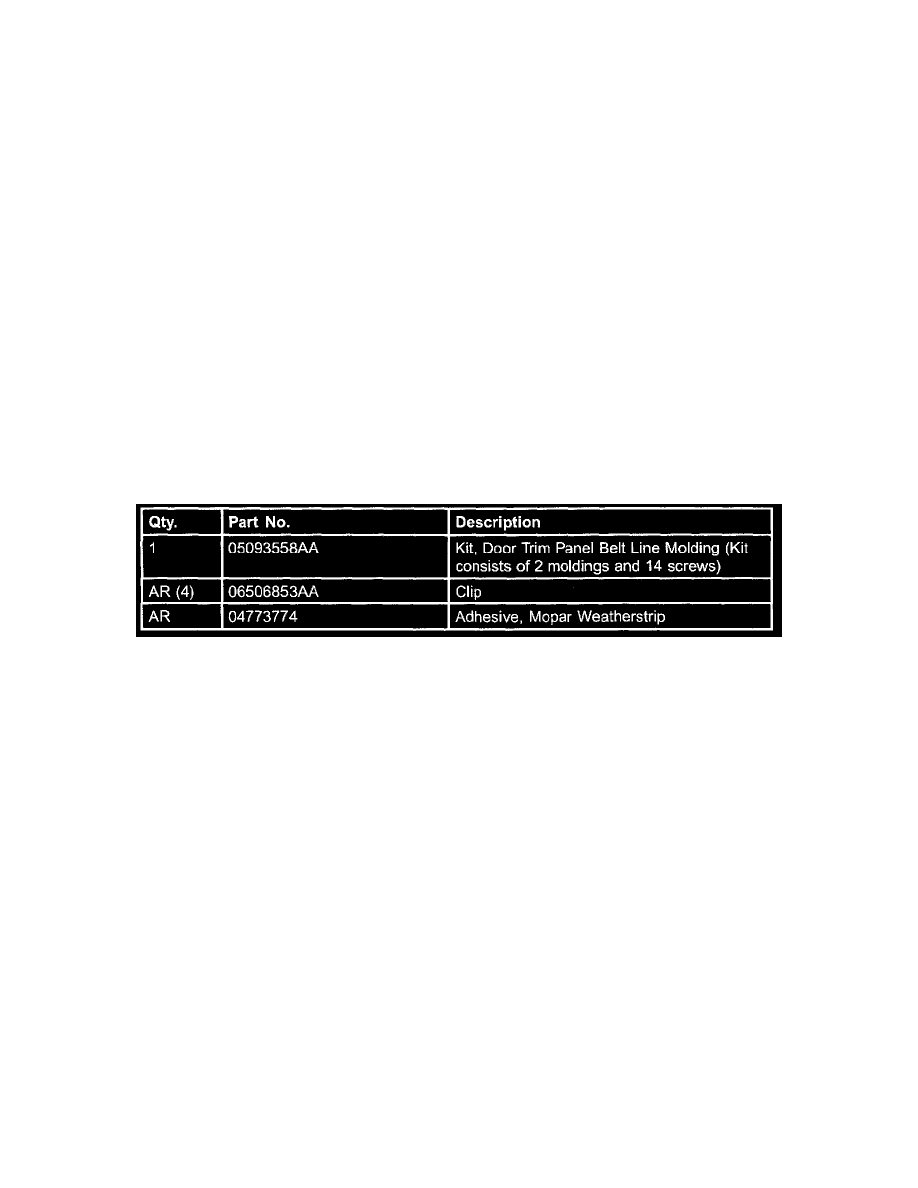
PARTS REQUIRED
REPAIR PROCEDURE:
1.
Lower the door glass.
2.
Remove the door trim panel using the procedures outlined in the appropriate service manual or service information on MDS2.
3.
Mark the back of the door trim panel at both ends of the belt line molding channel that has staples in it with a pen or marker.
4.
Starting at the rear end of the door trim panel, notice how staples on the underside of the black molding hold it to the panel. Twist the black
molding with some force to disengage the first few staple points. Lightly pry on the back surface of the fiber door panel, while pulling the strip
away from the panel. Once the first few staples have disengaged, the rest of the strip can be detached by pulling it away, using the leverage of the
strip.
5.
Run a light bead of Mopar Weatherstrip Adhesive, p/n 04773774, on to the back side of the door trim panel (between the markings made in step
3), where the new molding will be attached. Place the new molding onto the door trim panel by sliding the C-channel on to the edge of the panel.
6.
Align the front tip of the new molding with the reference marks made in step 3 and ensure that the new molding is fully engaged onto the edge of
the trim panel.
7.
Gently drive the first screw into the forward-most pre-drilled hole on the bottom of the molding.
8.
Working from the front to back of the trim panel, drive each of the remaining 5 screws (kit includes two extra screws).
9.
Lightly wipe off any excess adhesive from the door panel, particularly near the lock knob area.
10.
Inspect the two back foam-sealed attachment clips at the back of the trim panel. If they are damaged and need replacement, use p/n 06506853AA
only. Do not substitute a different attachment clip.