Sebring Sedan L4-2.4L (2007)

Using a Scan Tool (StarSCAN(R)) with the appropriate Diagnostic Procedures available in TechCONNECT, verify all engine systems are functioning as
designed. If DTC's are present record them on the repair order and repair as necessary before proceeding further with this bulletin.
If any of the above Symptom/Conditions are present, perform the Repair Procedure. If P0139 was present, verify exhaust system integrity after the
reprogramming event by performing the drive cycle listed in TechCONNECT > Engine Electrical Diagnosis > Diagnosis and Testing > P0139, follow
step 10. If P0139 reoccurs exhaust system leak checks and repairs will be required. Follow procedures listed in TechCONNECT > Engine Electrical
Diagnosis > Diagnosis and Testing > Checking the Exhaust System for Leaks.
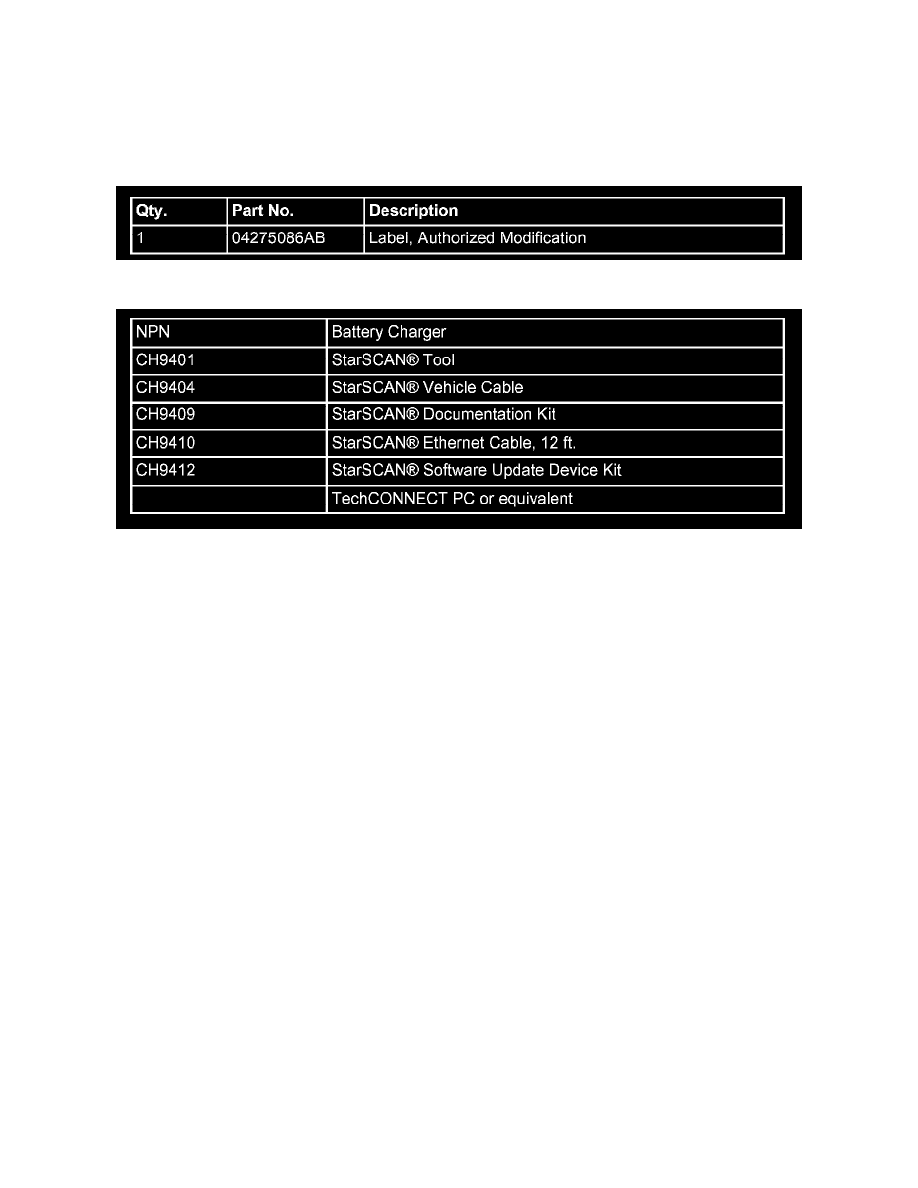
PARTS REQUIRED:
SPECIAL TOOLS / EQUIPMENT REQUIRED:
REPAIR PROCEDURE - USING THE INTERNET TO RETRIEVE THE FLASH FILE:
CAUTION:
DO NOT START THE ENGINE PRIOR TO COMPLETING **STEP 5n and/or 8h**. IF THE PROCEDURE IS NOT ADHERED TO THE
CONTROLLERS MAY NOT COMPLETE THE PROGRAMMING PROCESS.
NOTE:
When performing this Repair Procedure, the software release level in the StarSCAN(R); must be programmed with 7.02 SPI software or higher. The
software release level is visible in the blue header at the top of the StarSCAN(R) screen.
NOTE:
The StarSCAN® diagnostic scan tool fully supports Internet connectivity. However, to take advantage of this feature you must first configure the
StarSCAN(R) for your dealership's network. Make sure the StarSCAN(R) is configured to the dealership's network before proceeding. For
instruction on setting up your StarSCAN® for the dealer's network refer to either:
"DealerCONNECT > Service > StarSCAN and StarMOBILE tools > Online Documentation", or refer to the StarSCAN(R) Quick Start
Networking Guide. The StarSCAN(R) Quick Start Networking Guide is also available on the website under the "Download Center".
NOTE:
If this flash process is interrupted/aborted, the flash should be restarted.
1.
Install a battery charger and verify that the charging rate provides approximately 13.5 volts. Set the battery charger to continuous charge. Do not
allow the charger to time out during the flash process. Remove the charger from the battery when the flash process is complete.
2.
Connect the CH9410 StarSCAN(R) ethernet cable to the StarSCAN(R) and the dealer's network drop.
3.
Connect the CH9404 StarSCAN(R) vehicle cable to the StarSCAN(R) and the vehicle.
4.
Power ON the StarSCAN(R).
5.
Using the StarSCAN(R) at the "Home" screen:
a.
Select "ECU View"
