Sebring Sedan L4-2.4L VIN J (2004)

Front Door Striker: Service and Repair
Latch Striker
LATCH STRIKER
REMOVAL
1. Mark outline of door latch striker on B-pillar to aid in installation.
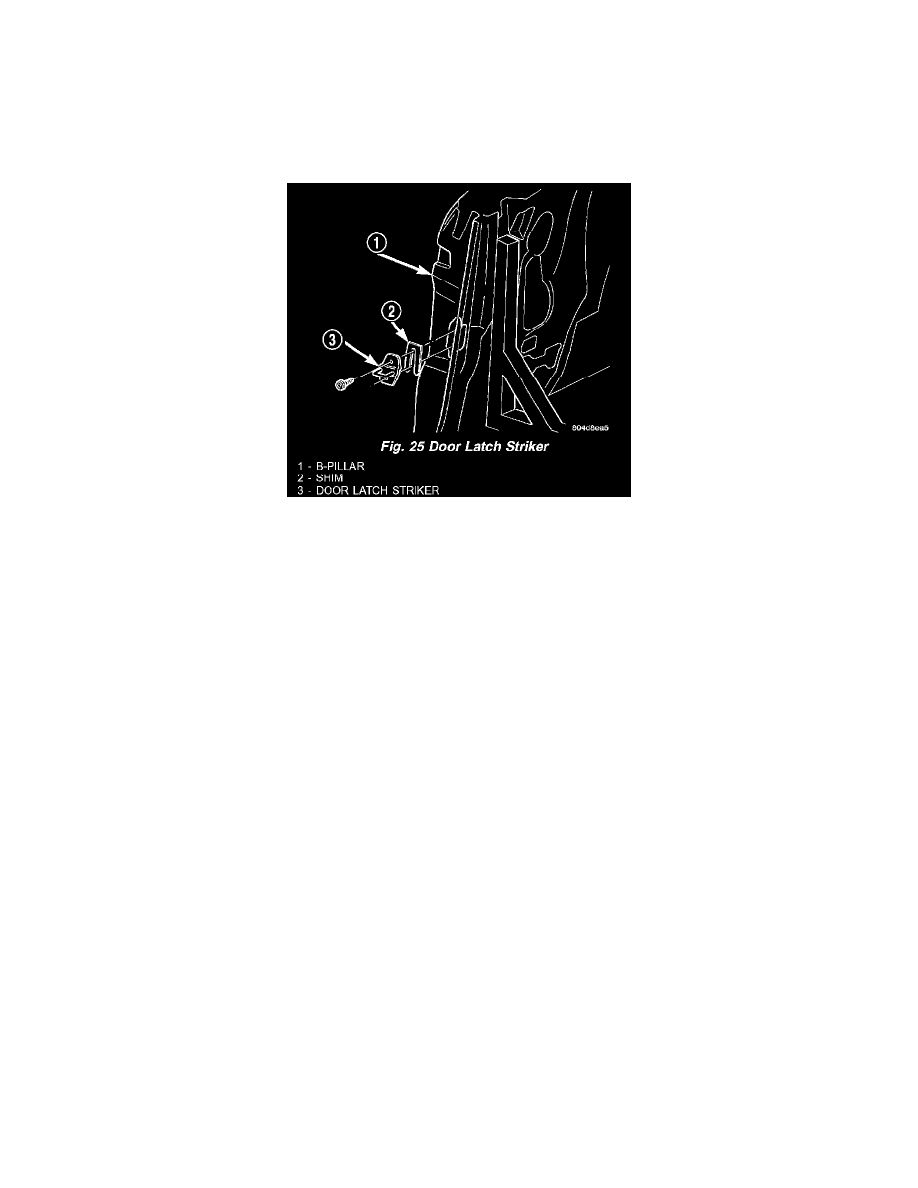
Fig. 25
2. Remove screws attaching door latch striker to B-pillar (Fig. 25).
3. Remove latch striker from vehicle.
NOTE: Be sure to check for any shims between door latch striker and B-pillar. If any shims are found, they must be reinstalled with the new door
latch striker to maintain proper door operation.
INSTALLATION
1. Position door latch striker and any shims on vehicle.
2. Loosely install screws attaching latch striker to B-pillar.
3. Align latch striker to marks on B-pillar made previously.
4. Tighten all fasteners.
5. Verify door fit and operation. Adjust door latch striker as necessary.
