
Sebring Sedan L4-2.4L VIN X (2001)
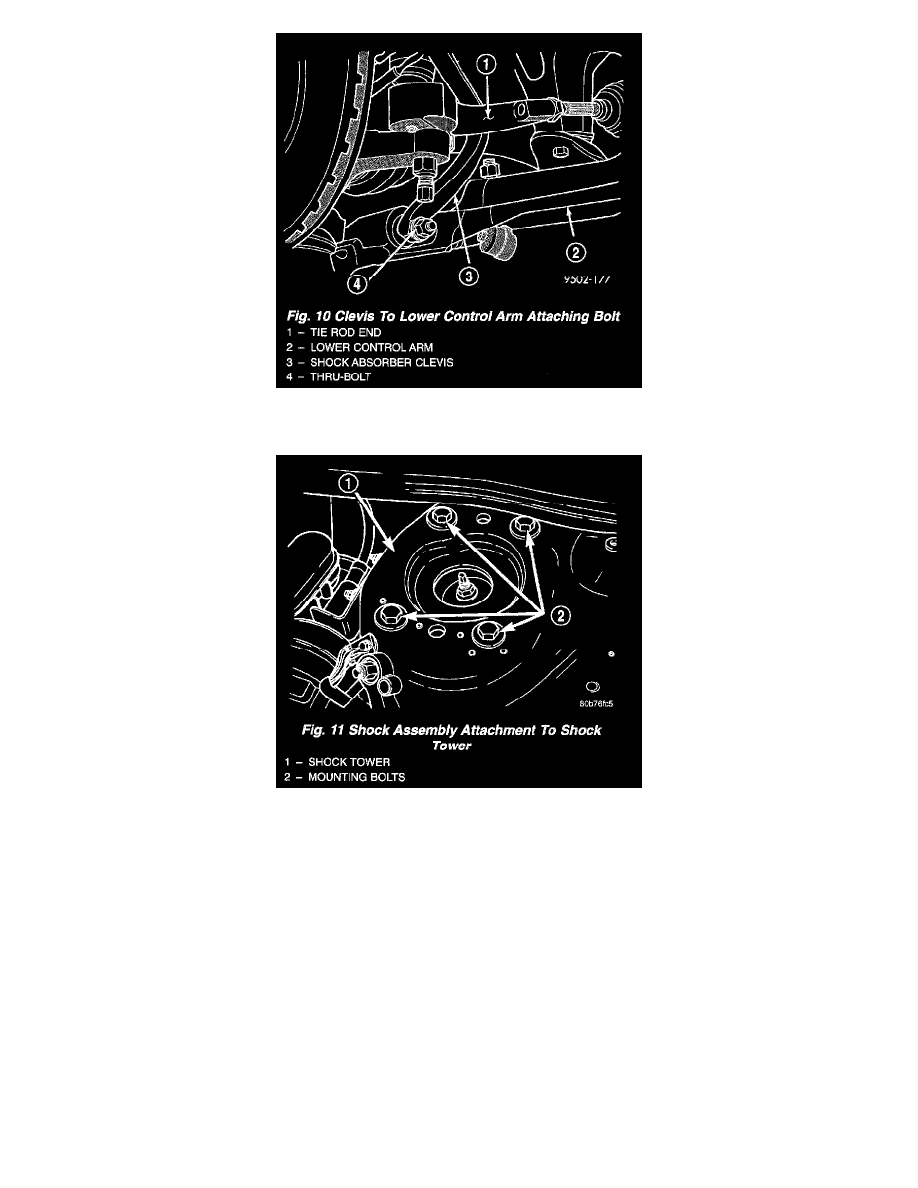
9. Remove the nut and thru-bolt attaching the shock absorber clevis to the lower control arm.
10. Remove the clevis from the shock absorber by carefully tapping the clevis off the shock absorber using a soft (brass) drift.
11. Remove the 4 bolts attaching the shock absorber/upper control arm mounting bracket to the shock tower of the vehicle.
12. Remove the shock assembly from the vehicle. The shock assembly is removed out through the front area of the front wheel well.
13. For disassembly and assembly of the shock assembly, Refer to SHOCK- DISASSEMBLY.
DISASSEMBLY - SHOCK ASSEMBLY
The shock assembly must be removed from the vehicle for it to be disassembled and assembled.
For the disassembly and assembly of the shock assembly, use strut spring compressor Pentastar Service Equipment (PSE) tool W-7200, or equivalent, to
compress the coil spring. Follow the manufacturer's instructions closely.
1. If both shocks are being serviced at the same time, mark the coil spring and shock assembly according to which side of the vehicle the shock was
removed from, and which shock the coil spring was removed from.