
Sebring Sedan V6-2.7L VIN T FFV (2003)
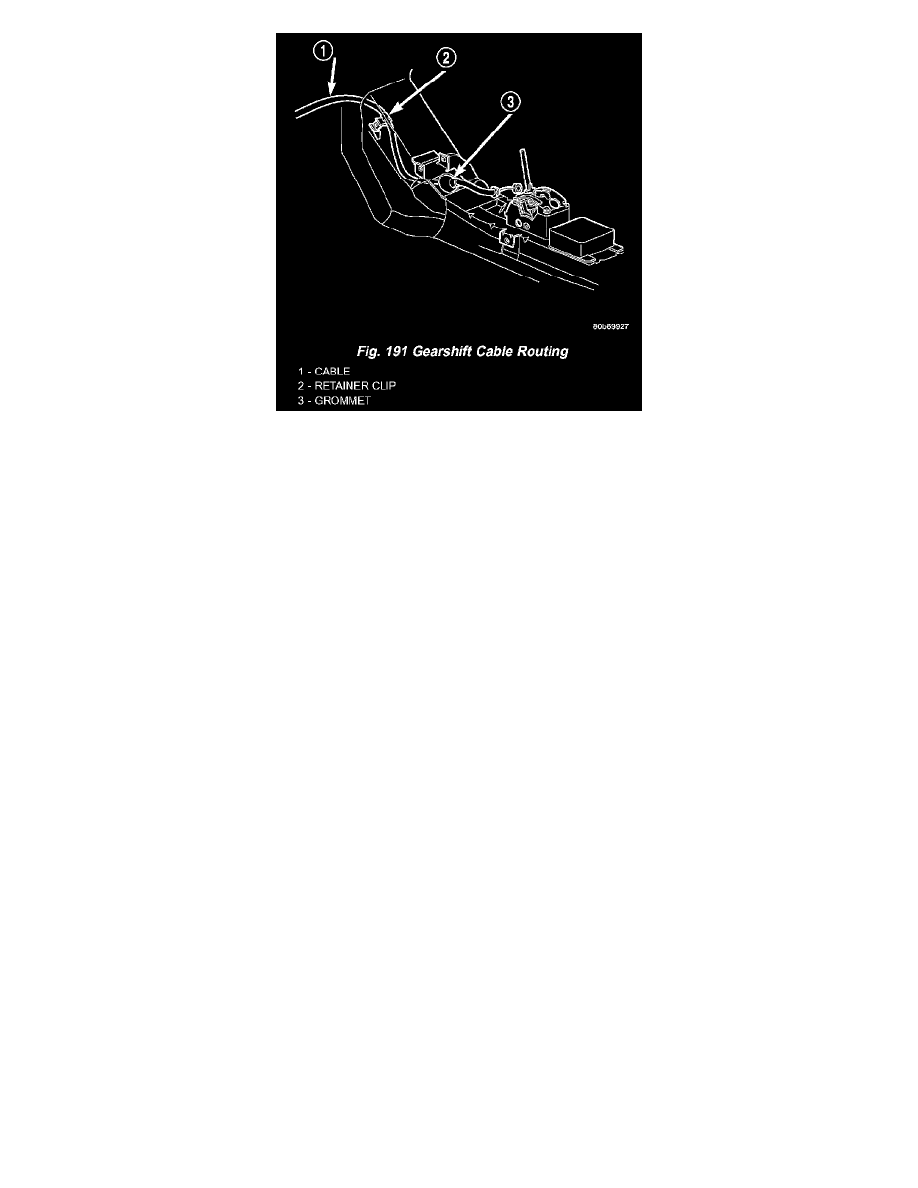
13. Remove the cable grommet from the floor pan area (Fig. 191).
14. Carefully remove the cable from the underbody by unfolding the cable retainer clip (Fig. 191) as you go along.
INSTALLATION
1. Install cable assy. into floor pan tunnel hole and secure grommet. If necessary, use a synthetic based lubricant to aid in grommet installation.
2. Position cable into retainer clip (Fig. 191) and tighten clip to secure cable. Route cable up towards transaxle shift lever.
3. Lower vehicle.
4. Install cable to transaxle and tighten screw to 14 Nm (125 in. lbs.) (Fig. 185).
5. Install cable to transaxle shift lever (Fig. 185).
6. Connect cable to shifter conduit bracket and shift pin. Install cable retaining clip (Fig. 190).
7. Verify transaxle shift lever and floor shifter lever are in the PARK position.
8. Tighten cable adjuster nut (Fig. 189) to 23 Nm (200 in. lbs.).
9. Install center console assembly (Fig. 188).
10. Install gearshift bezel (Fig. 187).
11. Install gearshift knob (Fig. 186) and tighten set screw to 2 Nm (20 in. lbs.).
12. Verify proper cable adjustment. Engine starter should only engage in PARK and NEUTRAL gear shifter positions. If adjustment is required, Refer
to GEAR SHIFT CABLE - ADJUSTMENTS.