
Sebring Sedan V6-3.5L (2009)
Valve: Removal and Replacement
Intake and Exhaust Valves - Removal
REMOVAL
1. Remove cylinder head(s) See: Service and Repair/Removal and Replacement/Cylinder Head - Removal.
2. Remove rocker arm assembly See: Rocker Arm Assembly/Service and Repair/Removal and Replacement/Valve Rocker Arm - Removal.
3. Remove valve spring(s) See: Valve Spring/Service and Repair/Removal and Replacement/Valve Springs - Removal.
4. Before removing valve, remove any burrs from valve stem lock grooves to prevent damage to the valve guides. Identify valves to insure
installation in original location.
5. Remove valve(s) from cylinder head.
Intake and Exhaust Valves - Installation
INSTALLATION
1. Coat valve stems with clean engine oil and insert the valves into the cylinder head.
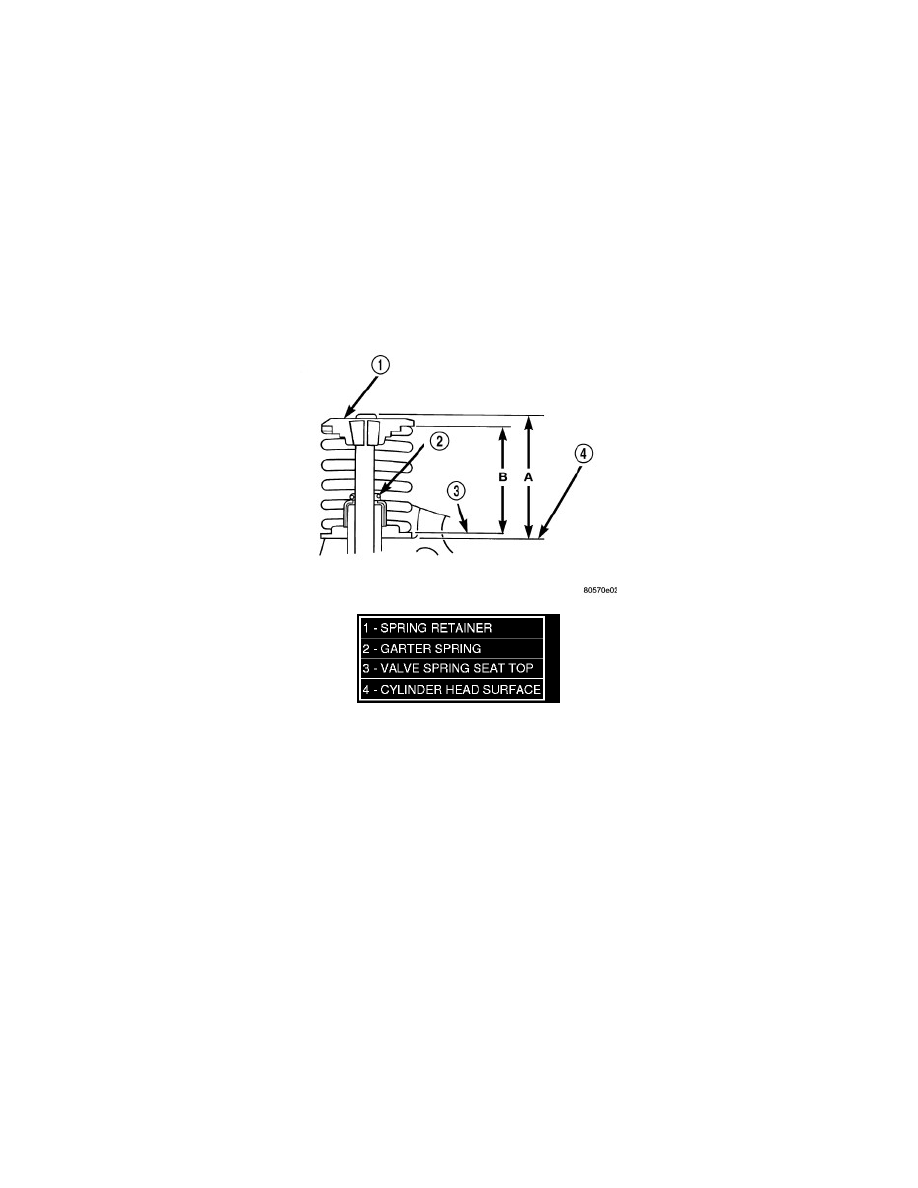
2. If valves or seats have been reground, check valve tip height (A). If valve tip height is greater than 43.65 mm (1.7185 in.) intake or 45.98 mm
(1.8102 in.) exhaust, grind valve tip until within specifications. Make sure measurement is taken from cylinder head surface to the top of valve
stem.
3. Install new valve stem seals.
4. Install valve springs See: Valve Spring/Service and Repair/Removal and Replacement/Valve Springs - Installation.
5. Install cylinder head(s) See: Service and Repair/Removal and Replacement/Cylinder Head - Installation.