
Sebring Sedan V6-3.5L (2009)
3. Align the air door(s) with the pivot shaft hole(s) in the air distribution housing (3) and install the two halves of the housing together. Make sure the
three plastic retaining tabs (6) are fully engaged.
4. Install the five screws (4) and one metal clip (5) that secure the two halves of the air distribution housing together. Tighten the screws to 2.2 Nm
(20 in lbs.). Make sure the metal clip is fully engaged to the housing halves.
NOTE: If any foam seal on the air distribution housing outlets is deformed or damaged, the seal must be replaced.
5. Inspect the foam seals (1), especially at the parting line (2). If a foam seal is deformed or damaged, it must be replaced.
NOTE: Align the pins on the mode door levers with the grooves in the back of the mode door cam prior to installation of the cam.
6. Align the mode door levers on the right side of the air distribution housing (2) to the mode door cam (1) and install the cam onto the housing.
Make sure the levers are correctly engaged to the cam.
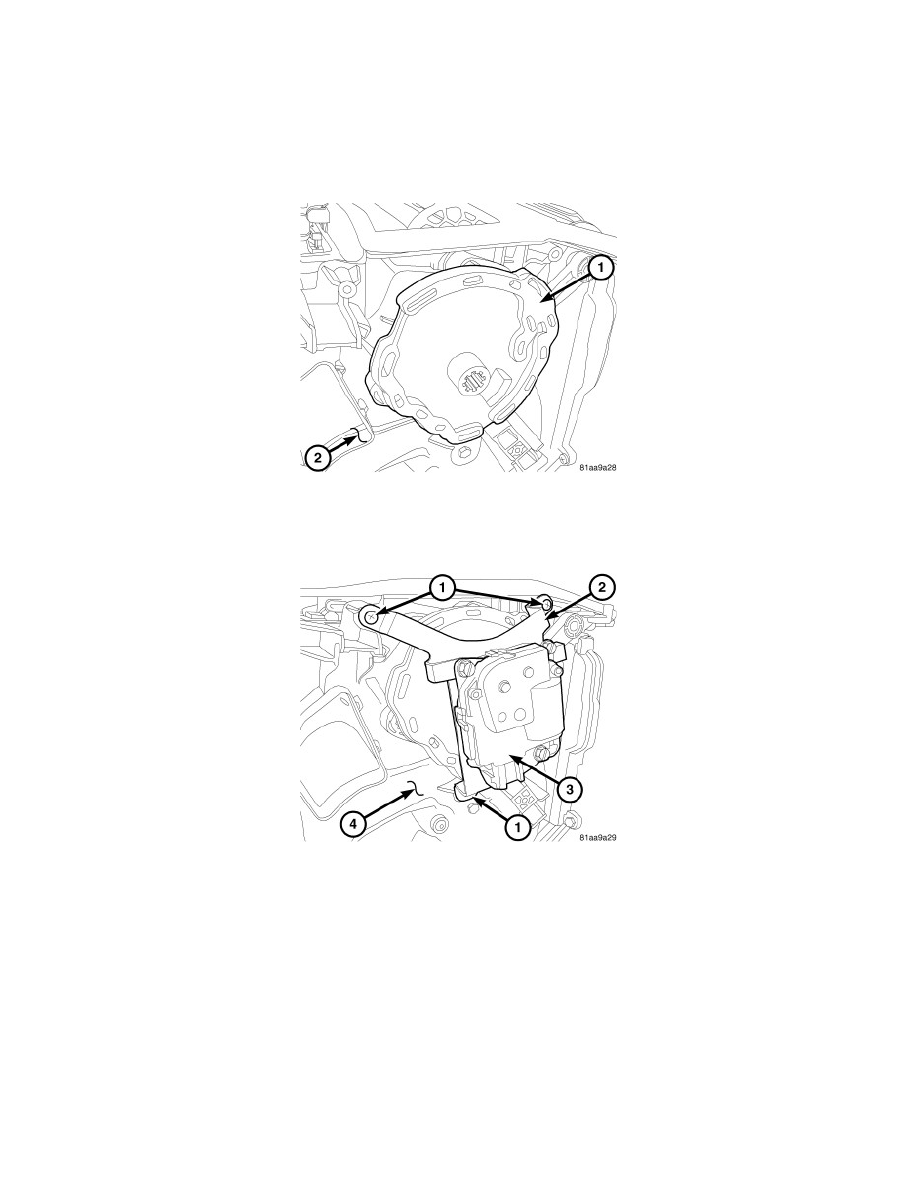
7. Position the mode door actuator (2) and bracket (3) onto the right side of the HVAC air distribution housing (4). If necessary, rotate the actuator
slightly to align the splines on the actuator output shaft with those in the mode door cam.
8. Install the screws (1) that secure the mode door actuator bracket to the air distribution housing. Tighten the screws to 2 Nm (17 in. lbs.).